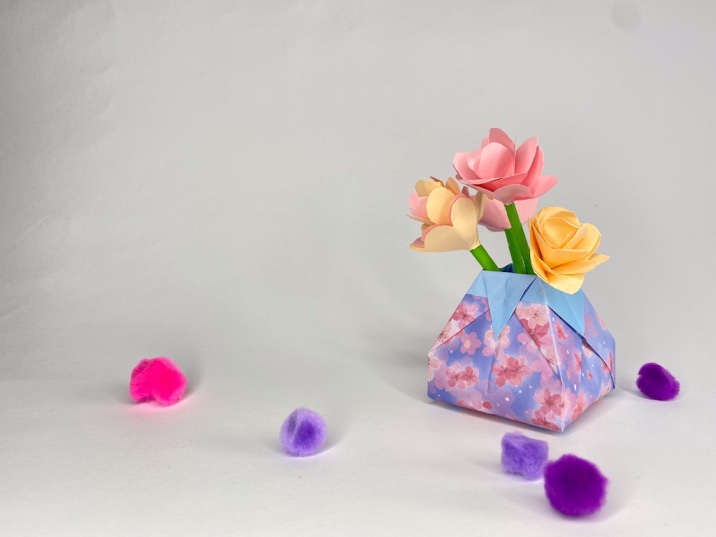
How to make an Origami paper vase at home (step-by-step photos)
Origami paper vase is a useful craft to make. You can quickly make this paper vase following the step-by-step instructions and make some paper flowers to put in the vase and keep it as a decorative item.
If you have patterned paper, more points because patterned paper makes the vase look more beautiful.
But if you don’t have it, don’t worry! This can be made using plain paper too.
Before getting into the tutorial I would appreciate it very much if you will check out our Youtube channel and subscribe to it. We add simple craft tutorials every week.
So let’s get into the tutorial and make a paper vase.
Some of the links in this post are affiliate links, which simply means that if you happen to purchase something, I get a small commission at NO extra cost to you.
Materials Required:
– Origami sheets (plain OR patterned)
– Glue (optional)
First, we are going to do a fold called preliminary fold in Origami. In this fold, we fold the paper diagonally, horizontally and vertically – unfolding in between each step.
And then, we collapse the paper into a square shape.
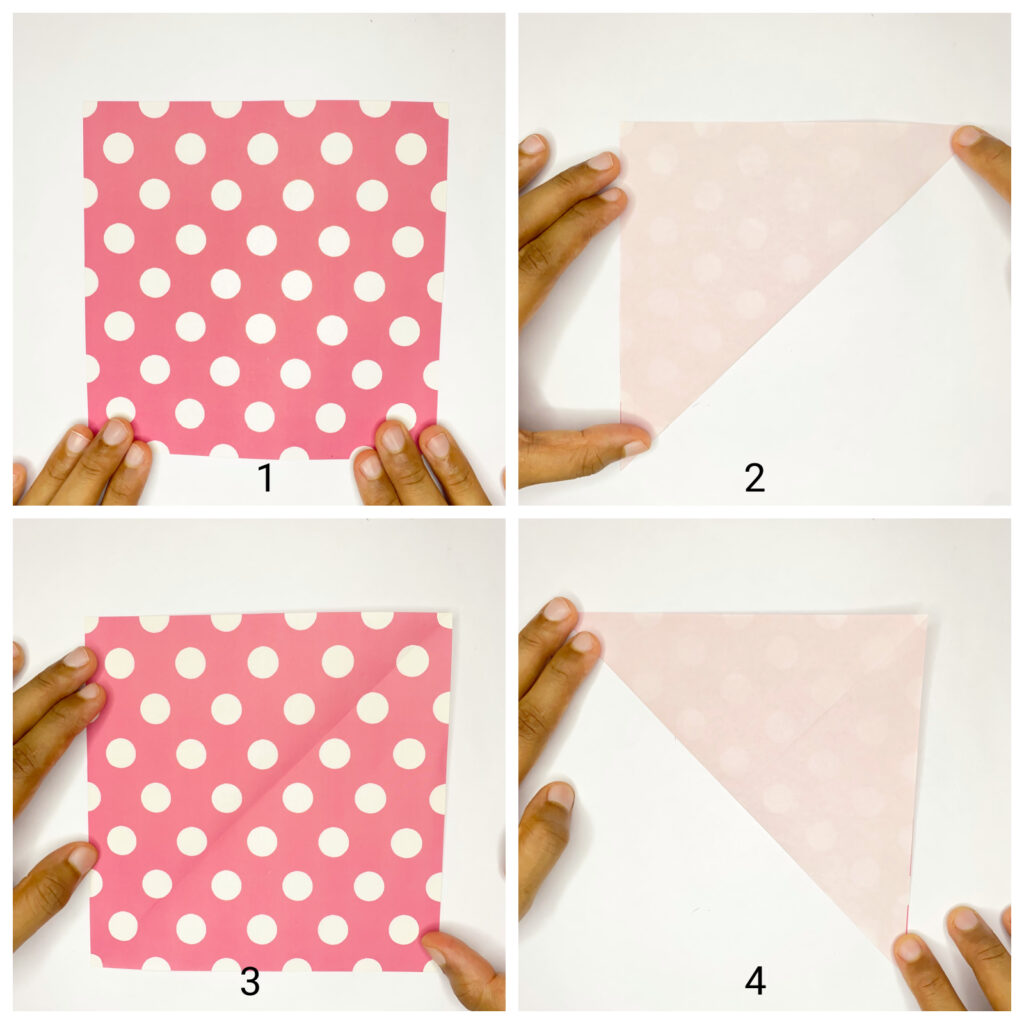
1. Take a square paper. Here we are using a square paper of size 15 cm.
2. Fold diagonally from right to left as shown in the picture and make a crease.
3. Unfold.
4. Fold diagonally from left to right as shown in the picture and make a crease.

5. Unfold.
6. Fold the paper horizontally from bottom to top.
7. Unfold again.
8. Fold the paper vertically from right to left.

9. Unfold the paper.
10. Here, we are going to complete the preliminary fold by folding the paper in a way that it acquires a square shape. Carefully watch each picture and you will be able to do it.
Let the paper face you when you do this. Start by folding the paper horizontally ( do not fold fully, fold only halfway through) by pinching the paper on its base at the edges as shown in pic 10.
11. Now push the right and left edges towards one another.
12. You can see two flaps of paper taking shape – one towards you and another in the back.

13. Notice the two flaps in the front and the back.
14. Now turn the back flap towards the right and the front flap towards the left.
15. After folding the flaps to alternate sides, you get the figure shown in pic 15.

16. Now, place the paper model down and fold the right edge towards the center and make a crease as shown in pic 16.
17. In the same way, fold the left edge towards the center and make a crease.
18. Fold the top corner towards the center. Fold only the piece of paper in the front.
19. Make a crease.

Now, what we do is repeat the same steps (16,17,18, 19) on the other side too. Flip the paper model over and fold the right, left and top edges toward the center.

20. After folding, here we carefully open the right paper flap and turn it over to the left side.
21. After turning, you get this figure.
22. Now, fold the top right edge towards the centre so that the corner meets the centre.
23. Make a crease.
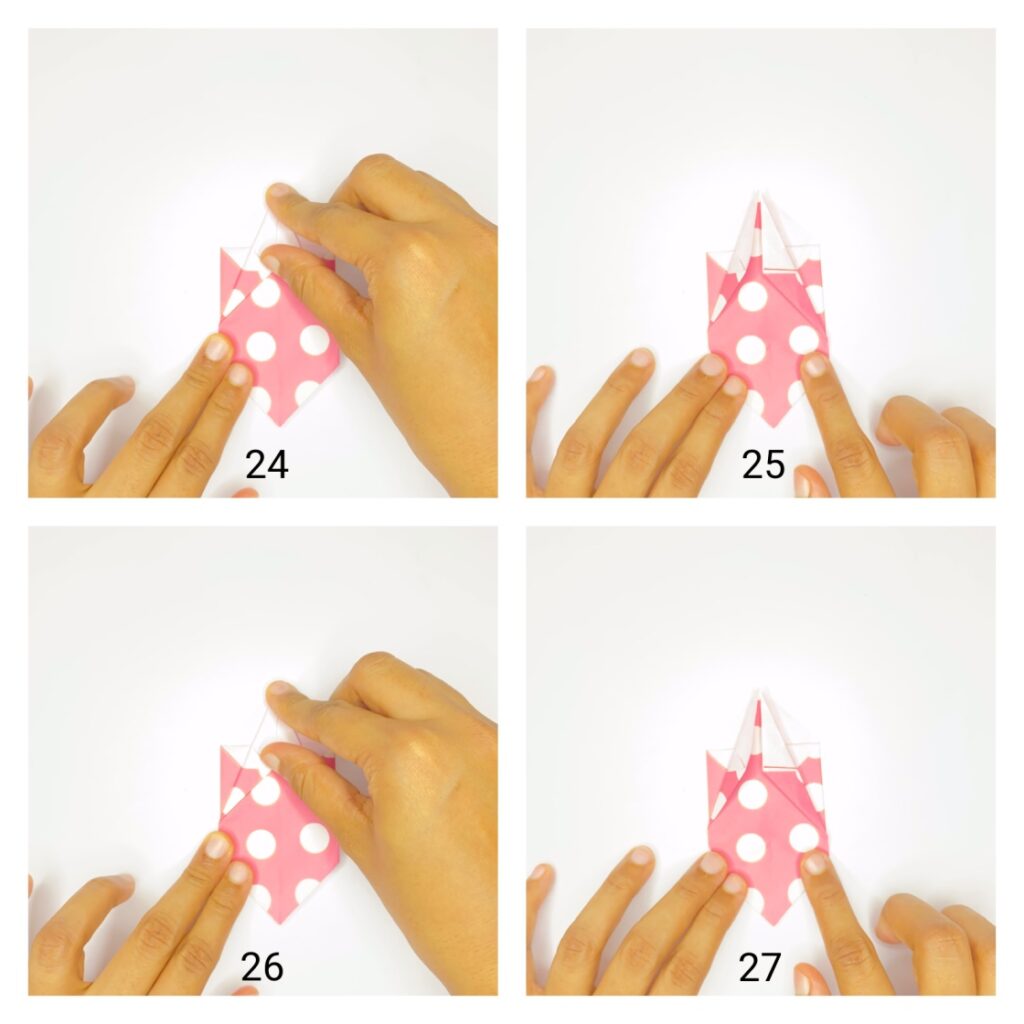
24 – 27. In the same way, fold the top left corner towards the center and make a crease.

28-30. Turn the paper model over and repeat the last steps. That is, fold the right and left edges towards the center and make a crease.

31-32. Now, do you see the triangular -shaped corner on top? Fold it towards you.
33-34. Turn the figure over and fold the triangular-shaped corner backwards.

35-37. Now what we need to do is to bring out the shape of paper vase. To do this, insert a finger into the opening and slowly push the walls of the paper vase out.
You can also blow gently into the paper vase to shape the base.
38. Normally, glue is not used in Origami crafts. But here we didn’t like the trianglar shapes sticking out. So, we glued it to the sides of the paper vase to give a neater look.
This step is optional.
And thus, the Origami paper vase is ready!

We put some paper roses in the paper vase. To make these paper roses, you can follow this tutorial.
NB: To make smaller roses, you can use a square paper of size 10 cm.
Video tutorial to make paper vase
If you have any doubt regarding any step, watch the video tutorial to make paper vase on our Youtube channel. We add new and easy craft tutorials every week.
We would appreciate it very much if you will subscribe and help us grow. Thanks in advance!
More craft tutorials:
– How to make a paper corner bookmark (5 kawaii corner bookmark ideas)
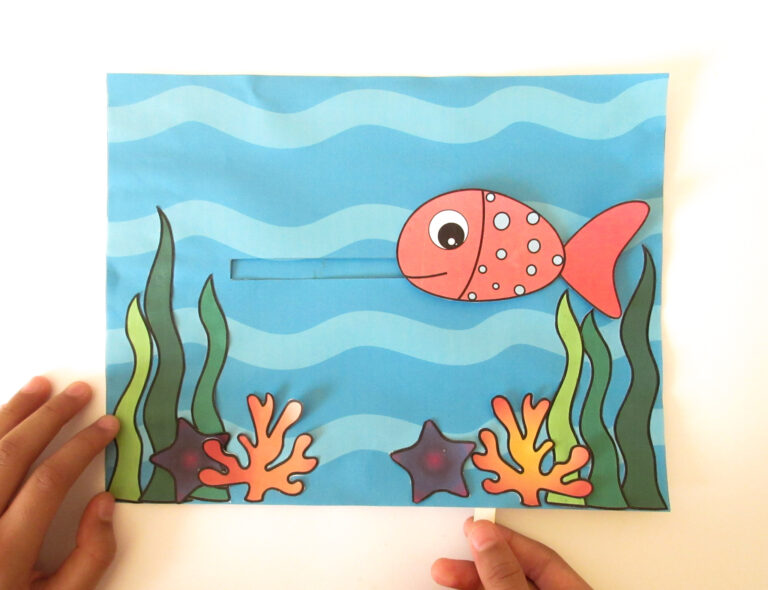
– How to make a simple paper fish step-by-step
– Easy popsicle summer craft for preschoolers and above (with free template)