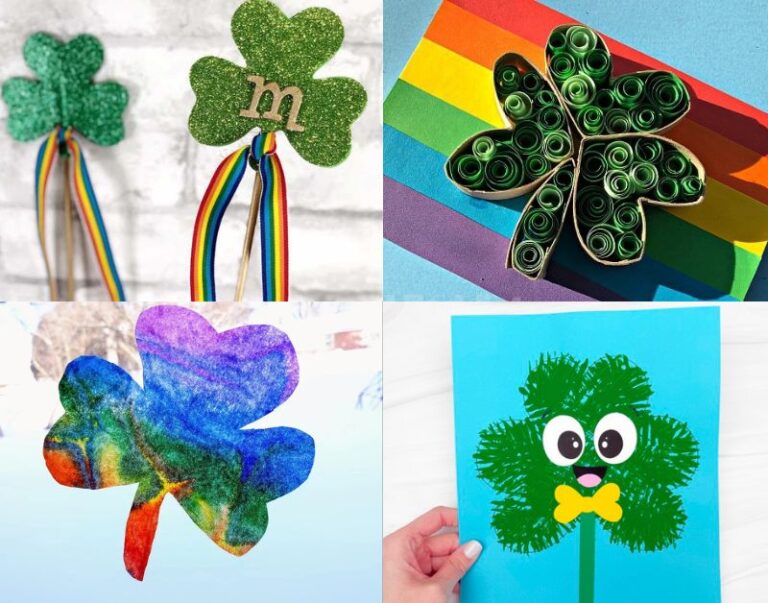

St. Patrick’s Day shamrock craft for kids
Easy paper shamrock garland craft idea for kids
The shamrock is a symbol of St. Patrick’s Day. The three leaves of the shamrock denote faith, hope, and love.
Saint Patrick used the shamrock to teach people about the concepts of Christianity. And later it became a symbol that represents Ireland itself.
In Ireland, many believe that the shamrock is a symbol of good luck and blessings.
So for St. Patrick’s Day, doing a shamrock craft is a no-brainer.
Here we have come up with a paper shamrock garland craft. It’s easy and simple. Please try it and let us know how it went in the comments below.
You will get the best results if you follow the measurements we have given. If you are doing it with young kids, you can help them with the measuring part.
So, shall we start?
Before moving on to the craft, we would appreciate it very much if you will check out our Youtube channel and subscribe to it. We regularly upload new easy craft tutorials that are different from what we publish on the blog. Thank you!
So, let’s start!
Some of the links in this post are affiliate links, meaning that if you happen to purchase something, I get a small commission at NO extra cost to you.
Materials Required:
- Construction papers
- Yarn
- Ruler and pencil
- Scissors
- Glitter powder
St. Patrick’s Day Shamrock Garland Craft step-by-step tutorial
Step 1: Make the paper shamrock
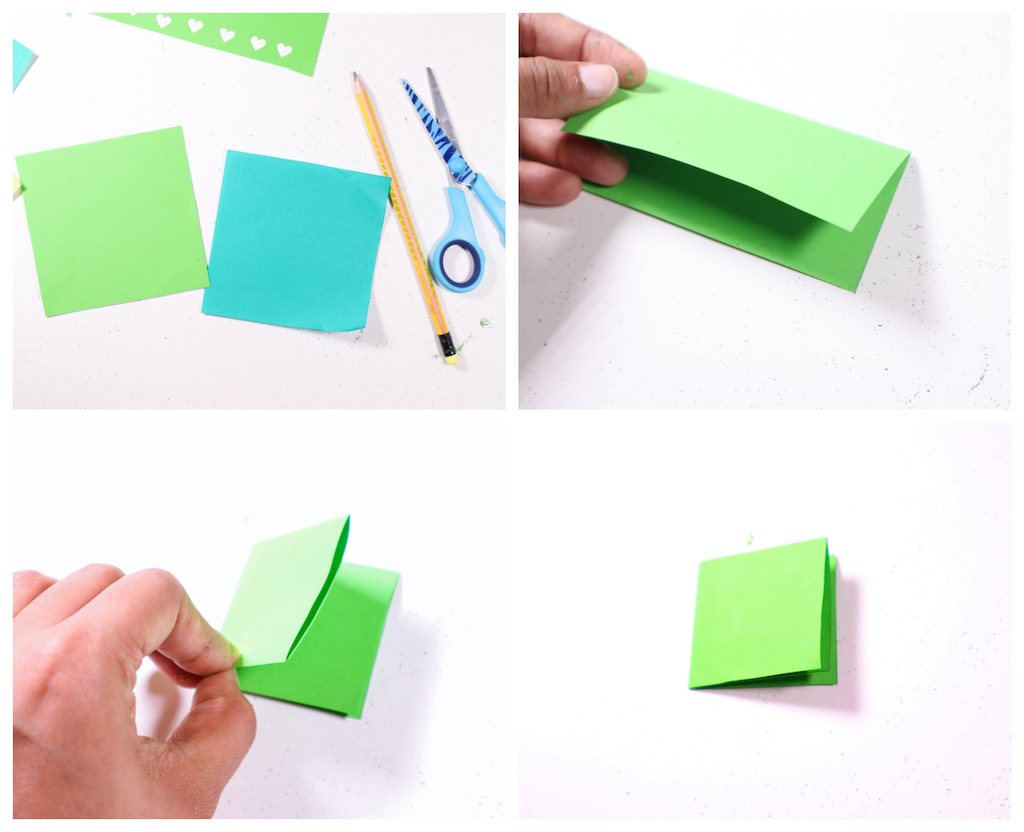
First, get the construction papers ready. We used bright green and teal colored papers for this project.
Cut the papers into squares, each side being 15 cm.
Now, fold the paper horizontally from top to bottom so that the top edge meets the bottom one. And make a crease in the middle.
Then, fold again vertically from left to right so that the left edge meets the right one. Similar to the previous step, make a crease.

The next step is to fold the paper diagonally from the bottom left corner to the top right. And make a crease.
Now, draw a half-petal outline (or half of a teardrop) on the paper (refer to the above picture). Cut along the line.
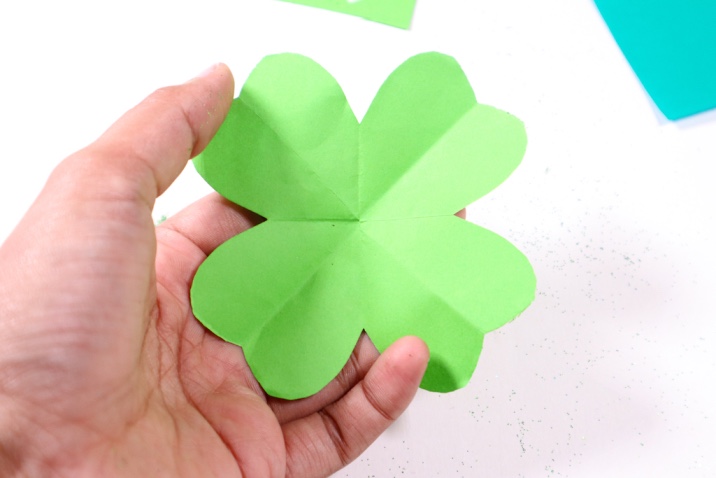
Open the folded paper and you have the paper shamrock!
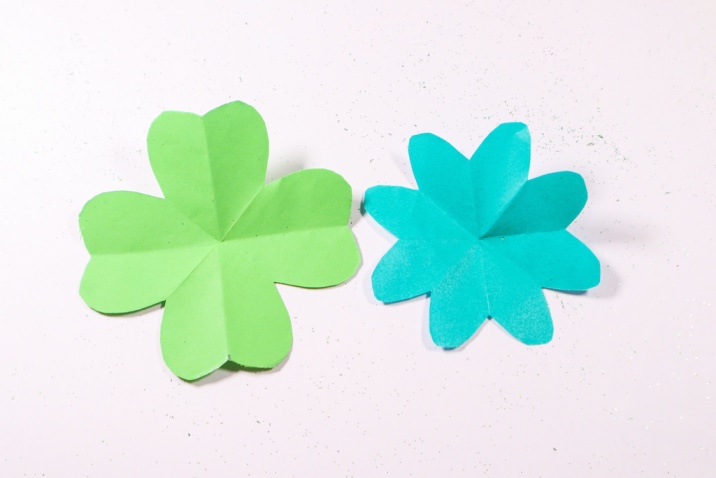
Repeat the same steps with the teal-colored paper to get another paper shamrock (Oops! Our shape looks a little different here!).
Step 2: Make the banner for the garland
In this step, we will make the banner for the garland. Carefully follow the instructions below to get the exact size of the banners we made.

First, take a white A4 size paper sheet or letter-size paper. And fold it horizontally from top to bottom. Make sure you are folding from top to bottom the longer part of the paper.
The next step is to measure and draw the outlines. This banner has a flat top and triangular-shaped bottom.
Let’s start with the top edge. Remember, we are doing these steps on the folded paper.
For the top flat edge, measure 11 cm on a ruler and mark it. And then, mark 10cm downwards (this is the width or breadth)
So, length=11 cm and breadth=10cm.
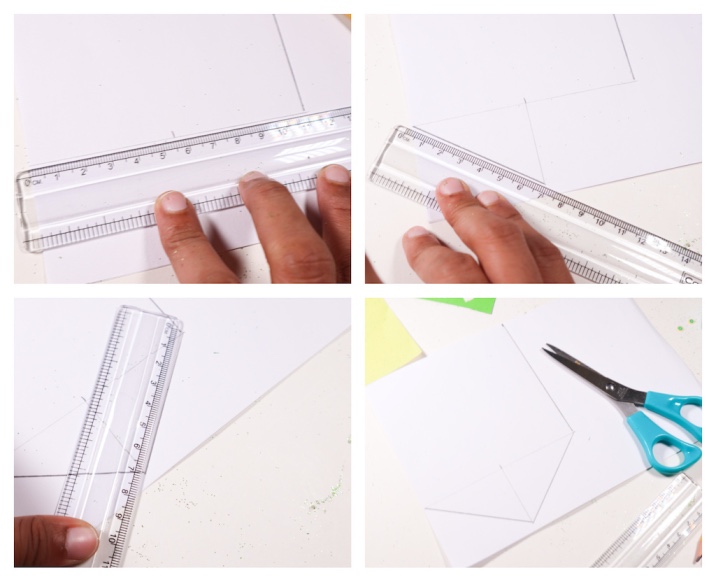
Complete the rectangle by drawing all 4 sides.
And now, the next step is to draw the bottom edge of the banner, a triangle.
We have already completed the rectangle. Let’s extend it a bit to draw a triangle.
First, mark the middle point of the bottom edge of the rectangle. The length of the rectangle is 11cm. Hence, the middle point is 5.5cm.
Draw a line starting from this point to further down so that we can keep it as a reference line for the slanted edges of the triangle to meet.
Next, draw two slanted lines from both corners of the rectangle (corners of the bottom edge). The measurement of these slanted lines is 7cm. Make them meet on the reference line we drew earlier.
To repeat the measurements,
Length of the rectangle=11cm
Breadth of the rectangle=10cm
Length of the slanted lines of the triangle=7cm
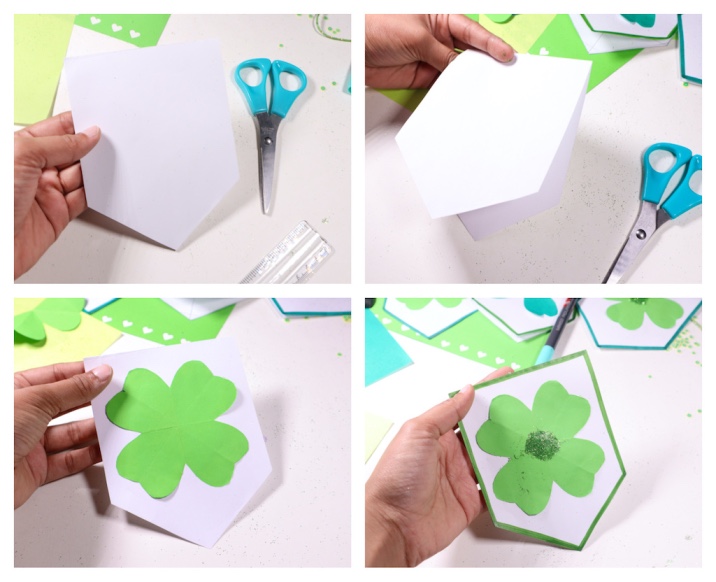
Now, cut along the lines and we have our banner ready. Since we did all the drawings by folding the paper in half, after cutting you must be able to open the banner as shown in the top right picture of the above collage.
Paste, the paper shamrock flower onto the banner, draw an outline, and make it pretty by sticking some glitter powder in the middle.

Now, on a yarn, place all the banners side by side. And we have our paper shamrock garland ready!