Paper Plate Scarecrow Craft for Kids
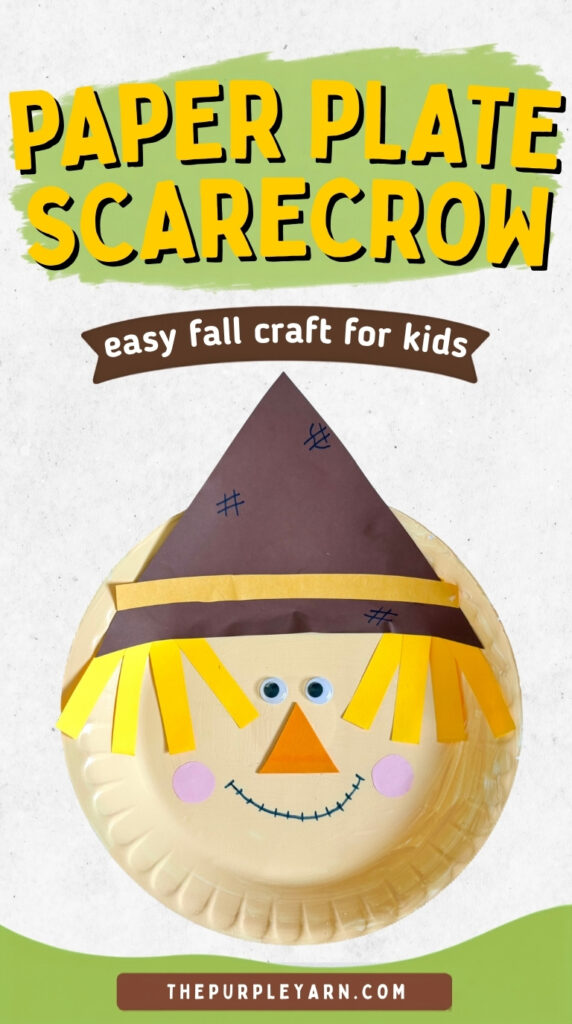
Bring a little bit of fall fun to craft time with this adorable paper plate scarecrow craft!
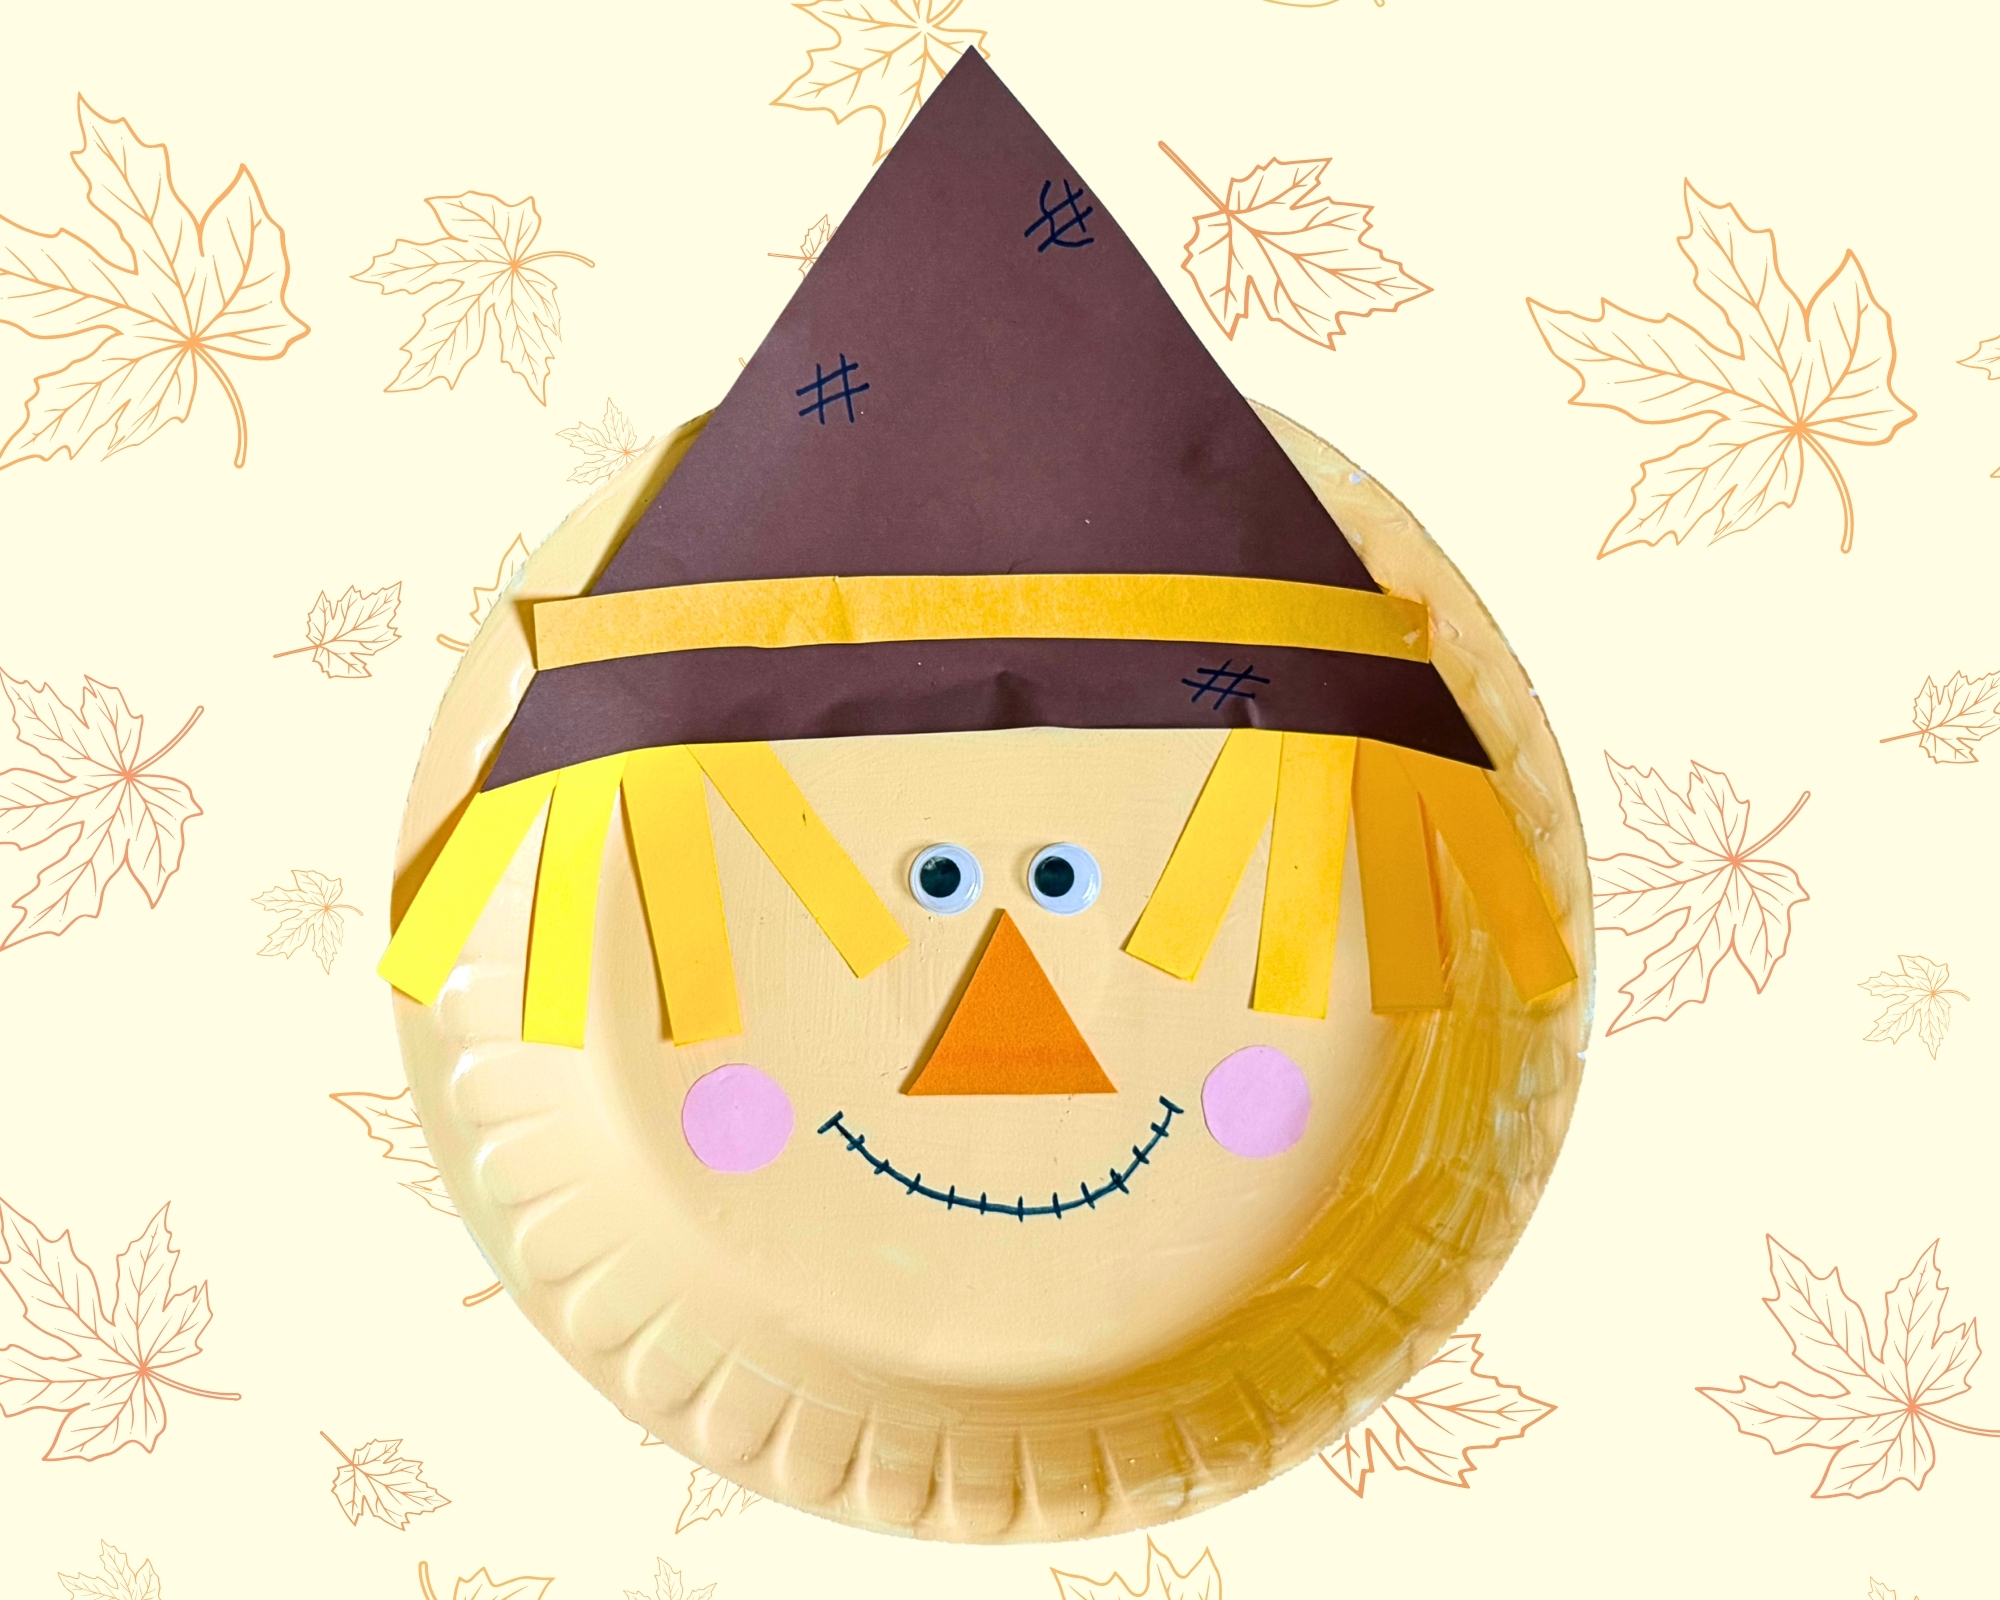
With a few simple supplies, let us show how kids can turn an ordinary paper plate into a cheerful scarecrow with a floppy-looking hat, bright yellow straw, and a cute face.
This scarecrow craft for kids is a great activity for fall, Thanksgiving, or a farm-themed lesson.
There are plenty of fun little details to add, from creating the scarecrow’s hat to giving it a friendly face with a carrot-shaped nose and rosy cheeks.
It’s also an easy fall craft for kids that doesn’t require anything complicated.
Just grab a paper plate, some colored paper, and a few basic craft supplies, and you’re ready to make your own little scarecrow!
So, shall we get started?
Before moving on to the craft, we would appreciate it very much if you would check out our YouTube channel and subscribe to it.
We upload new easy craft tutorials there that are different from what we publish on the blog. Thank you!
What You’ll Need
- A paper plate
- Yellow paint (we took butter yellow color for the base)
- A paintbrush
- Brown construction paper
- Yellow construction paper
- Orange construction paper
- Pink paper
- Googly eyes
- Scissors
- Glue
- A pencil
- A black marker
How to Make a Paper Plate Scarecrow
Step 1: Paint the paper plate
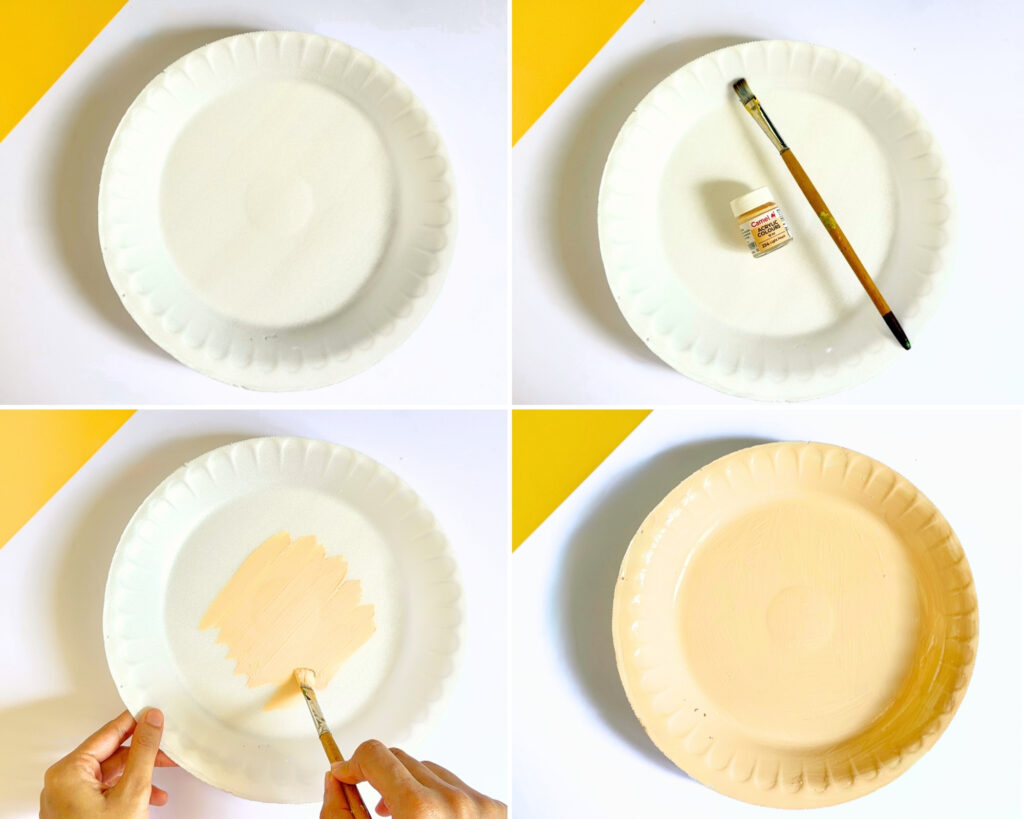
Start with a plain paper plate and paint the entire front of it butter yellow.
Use a paintbrush to spread the paint evenly across the plate, including the edges. This yellow color will become the scarecrow’s face.
Once you have finished painting, leave the plate aside and let it dry completely.
Step 2: Make the scarecrow’s hat
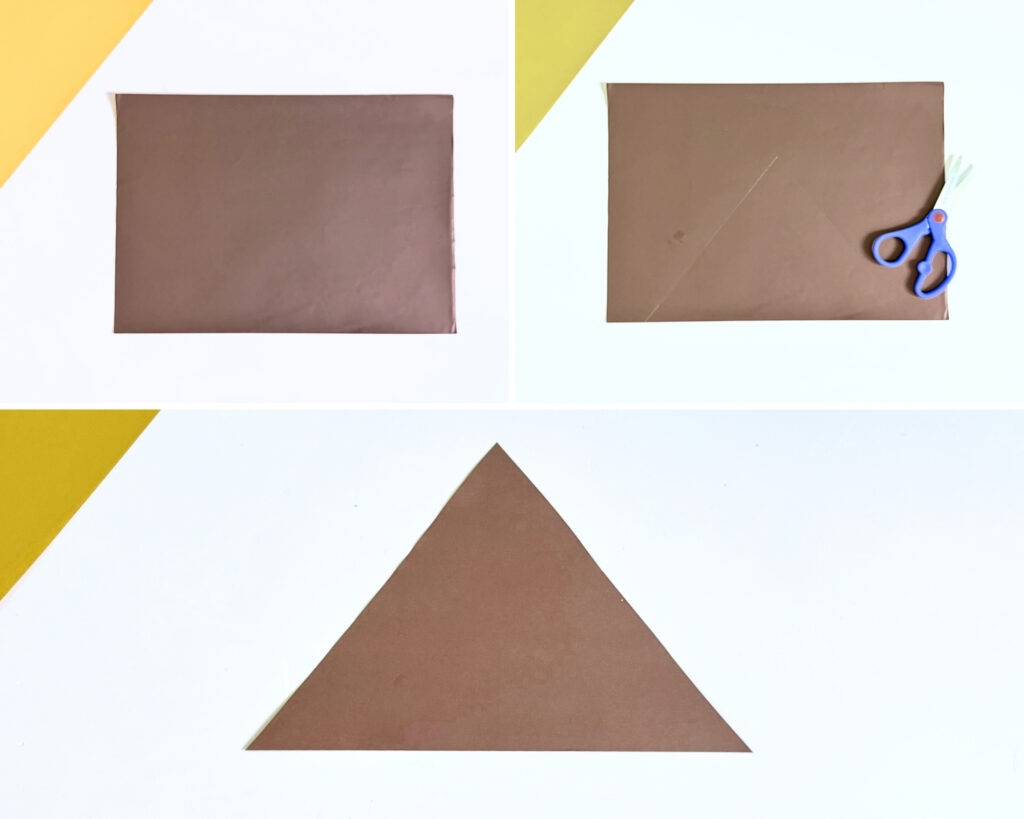
While the paper plate is drying, let’s make the scarecrow’s hat.
Take a piece of brown construction paper and cut out a large triangle for the hat.
You can make the triangle slightly uneven or tilted to give the hat a fun, homemade scarecrow look.
Step 3: Add the hat band
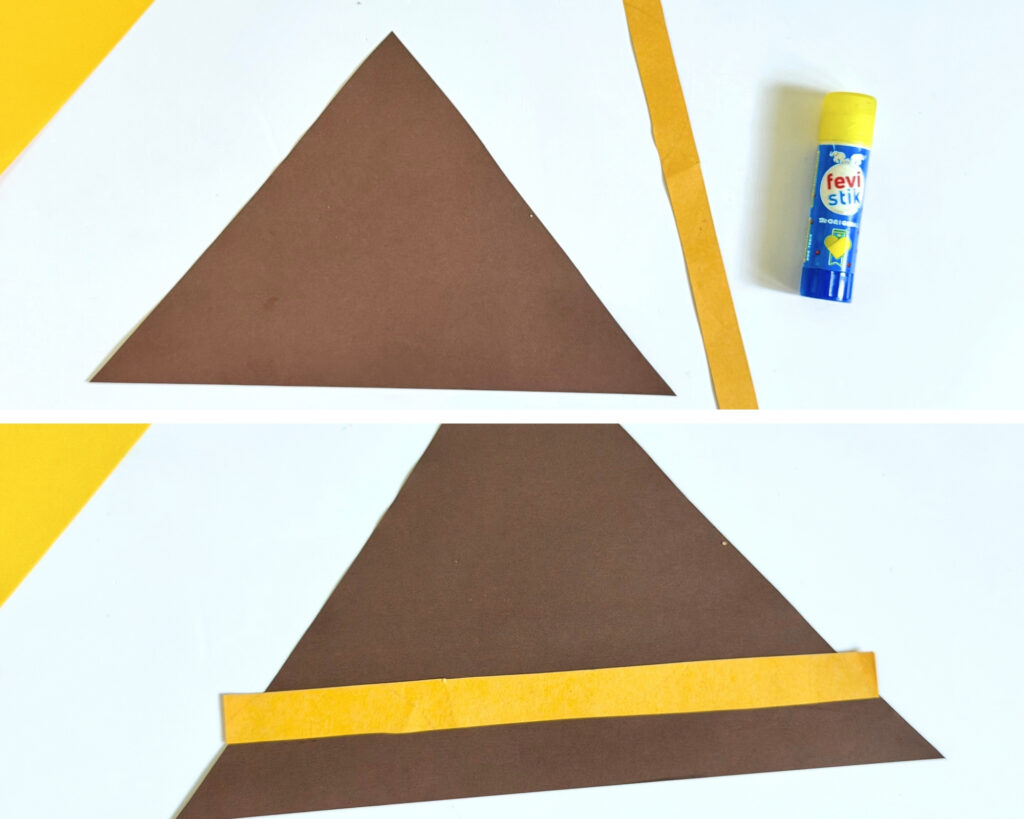
Cut a long strip from yellow construction paper and glue it across the bottom portion of the brown triangle.
This will create the bright band around the scarecrow’s hat.
Step 4: Draw some details on the hat
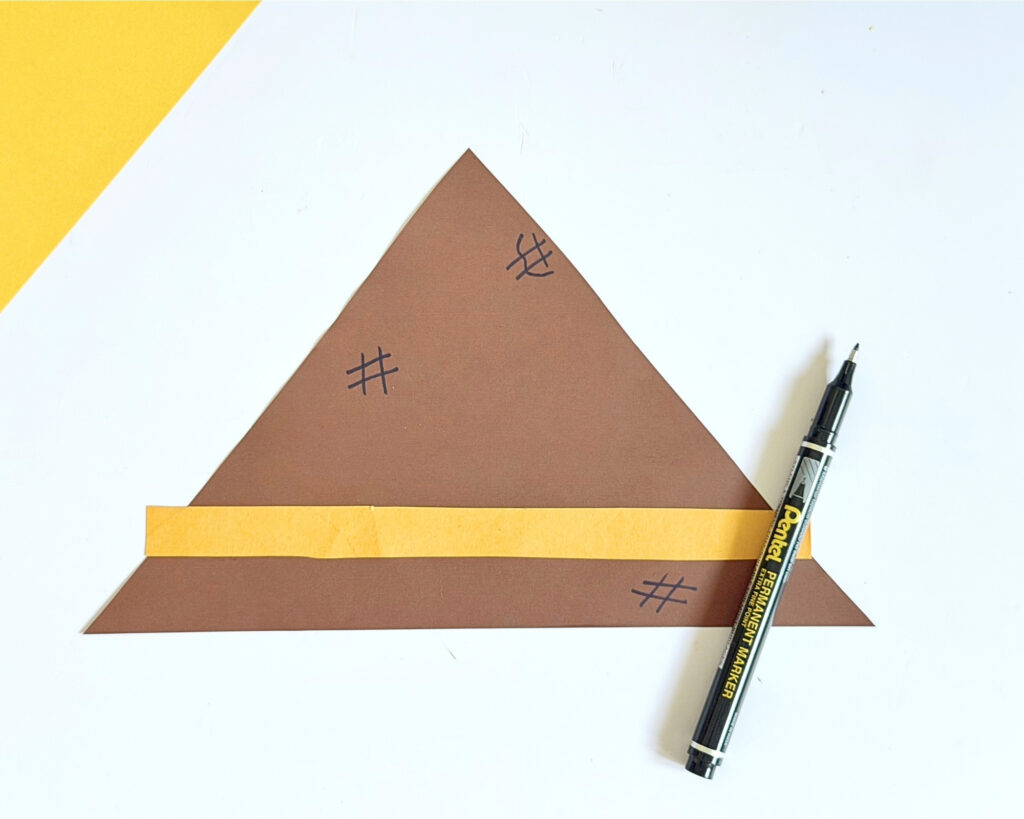
Give the hat a little more character by using a black marker to draw a few short lines that look like stitches.
You can place them in different areas of the hat to make it look like it has been patched together.
Step 5: Prepare the scarecrow’s straw
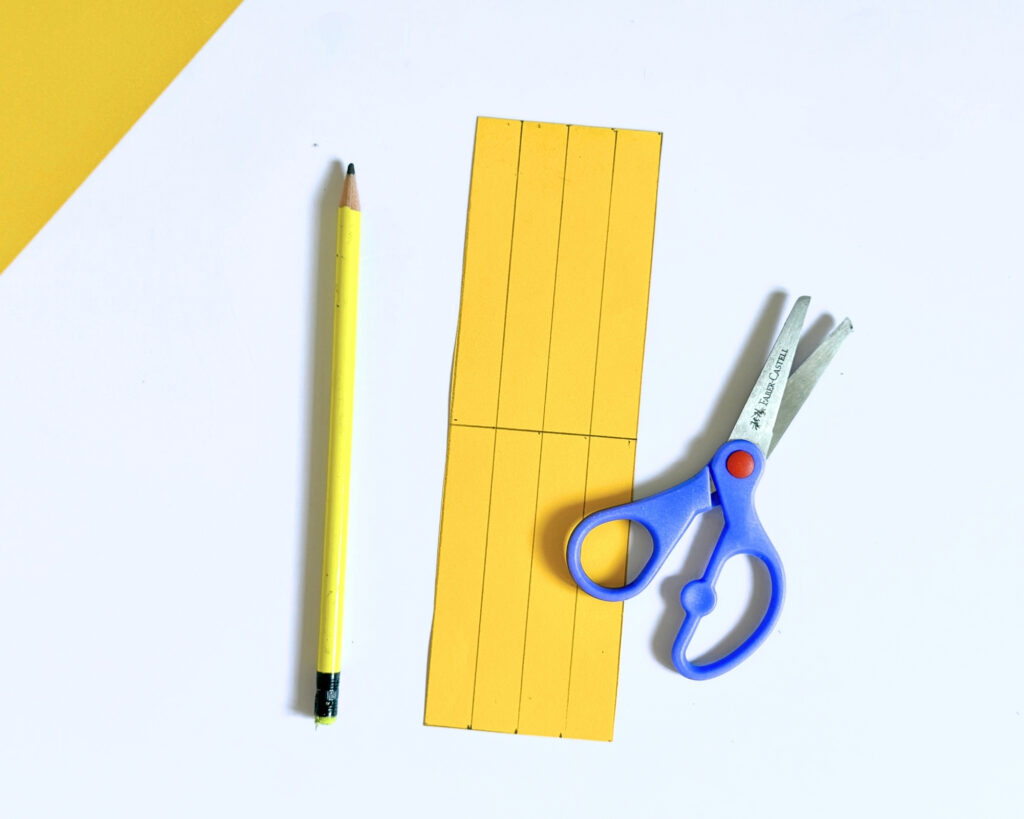
Now it’s time to make the straw sticking out from underneath the hat!
Take a sheet of yellow construction paper and cut it into several long, narrow strips. If you want, you can make some strips slightly different in length for a more natural, straw-like appearance.
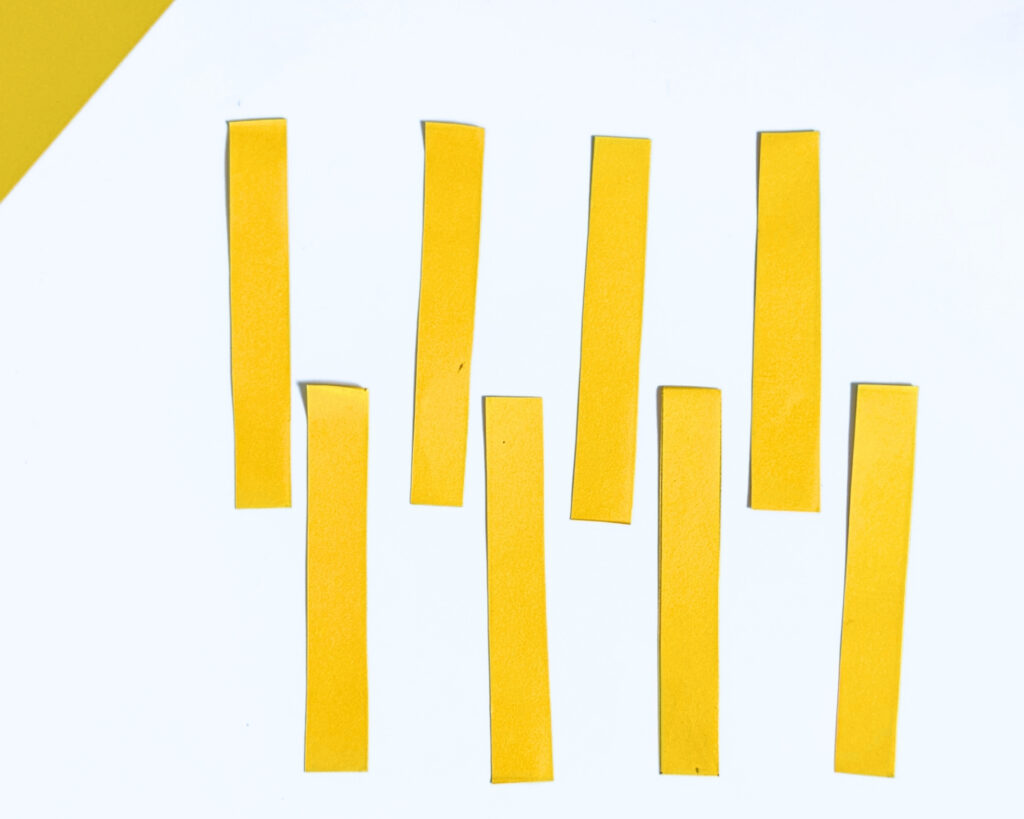
These pieces will be placed underneath the hat on both sides of the scarecrow’s face.
Step 6: Attach the straw to the hat
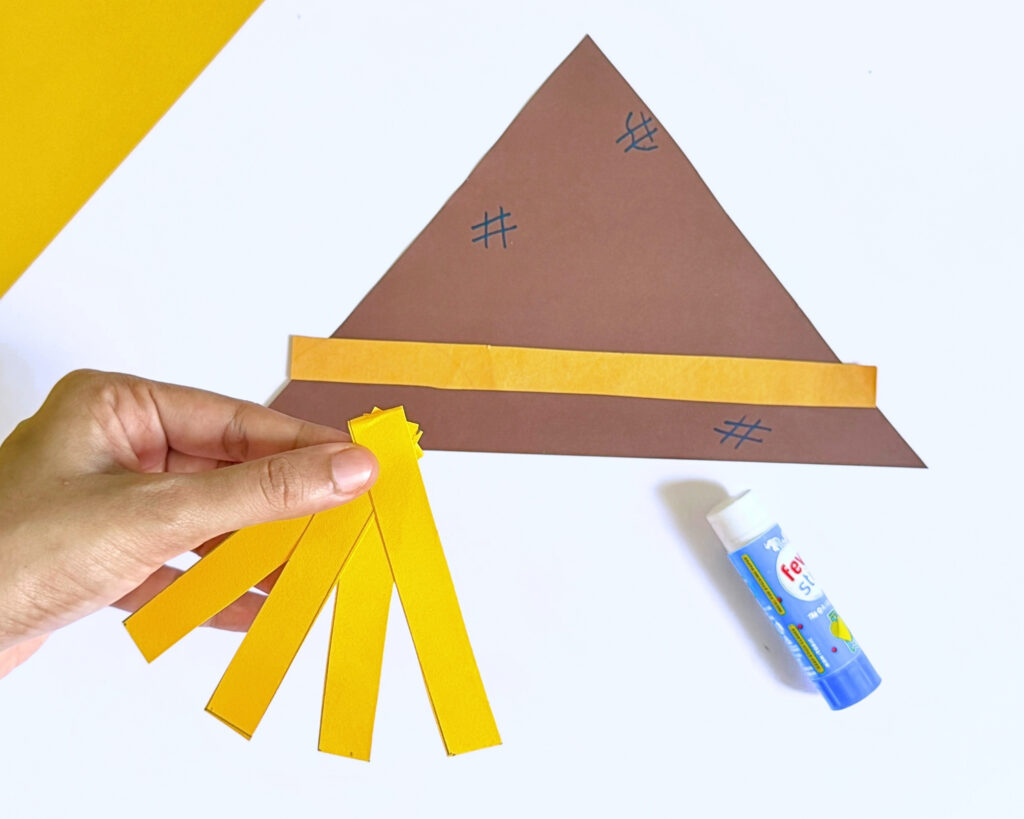
Start arranging the yellow paper strips underneath one side of the hat, spreading them out so they look like straw sticking out from underneath.
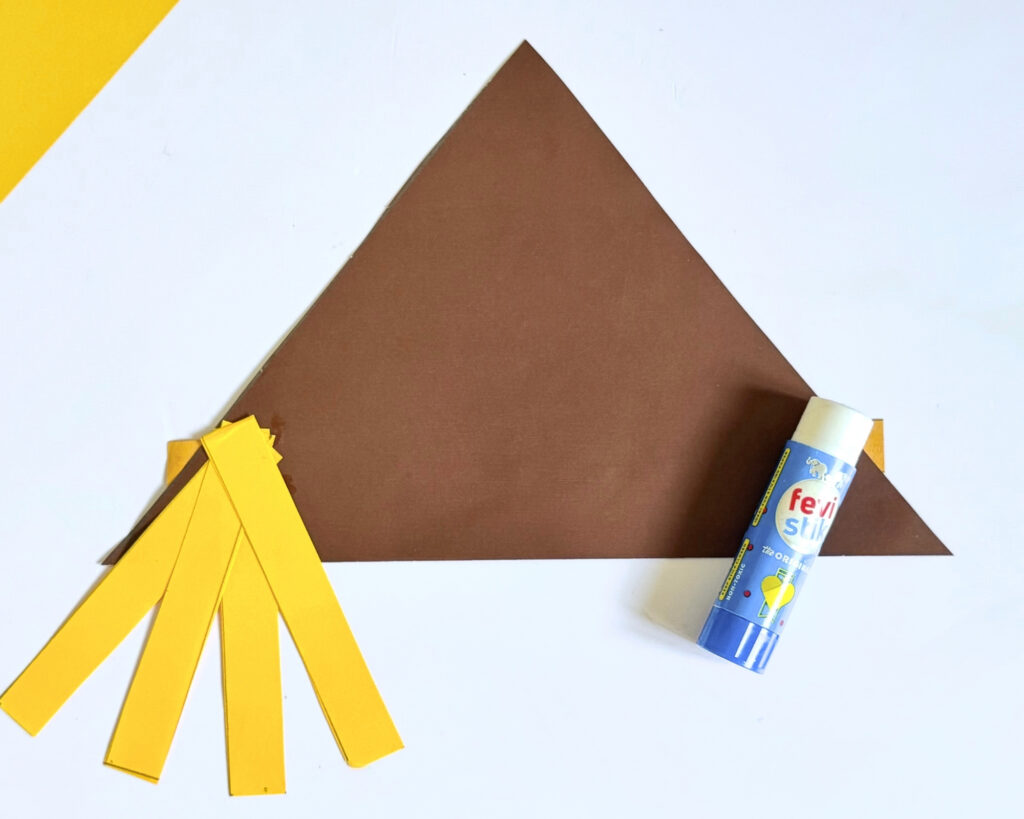
Apply glue to the top ends of the strips and secure them to the back of the hat. Repeat the same process on the other side.
Once all the strips are attached, make sure they are spread out nicely and leave the hat aside for a moment to let the glue set.
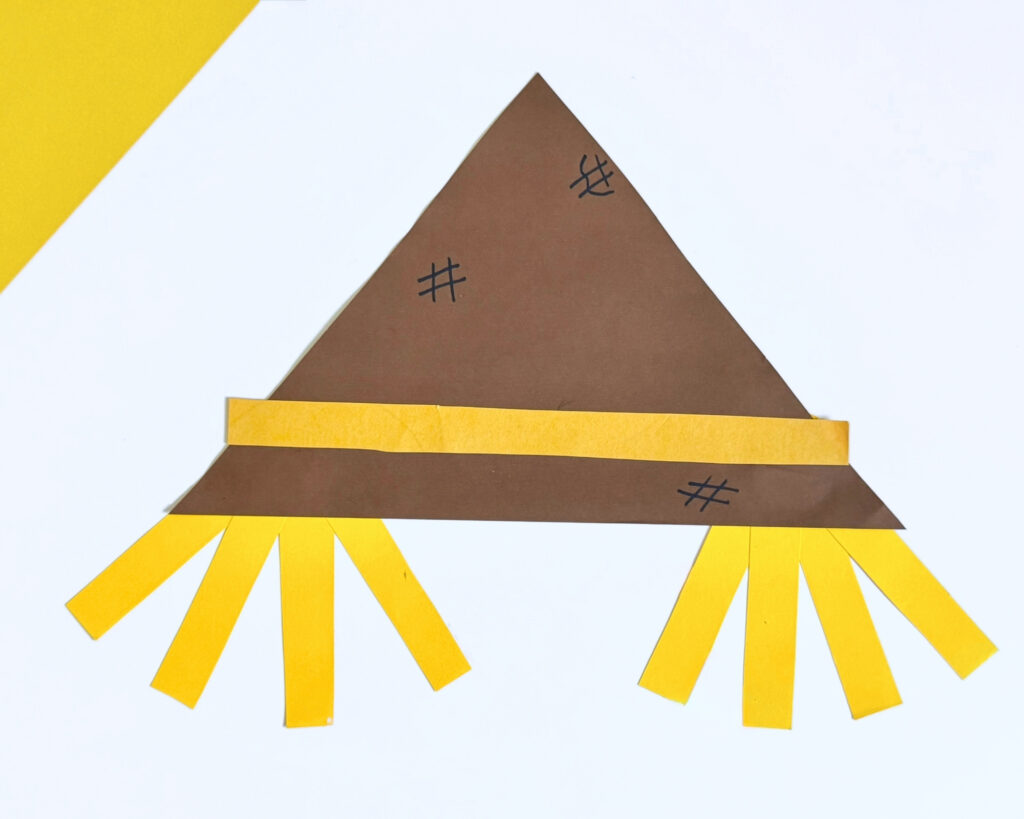
Step 7: Attach the hat to the paper plate
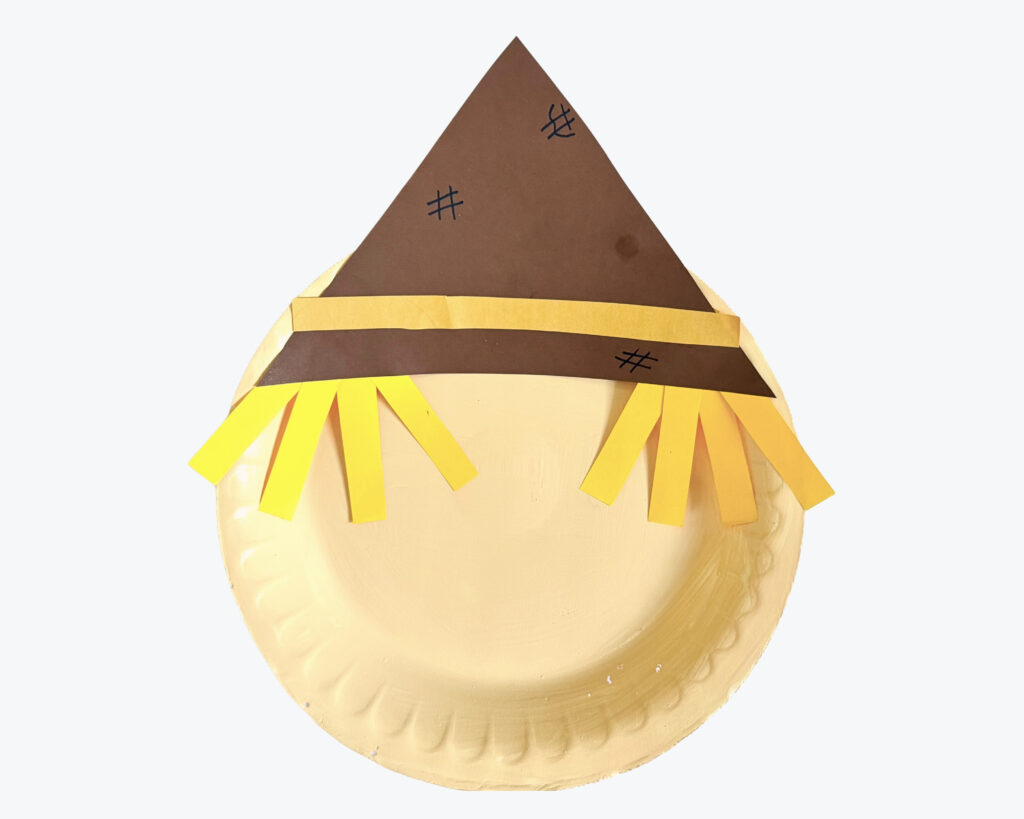
Once the straw is securely attached to the hat, it’s time to put the hat on your scarecrow.
Apply glue to the back of the completed hat and place it along the top portion of the yellow paper plate. Press it down gently so it sticks well.
Make sure the straw hangs down on both sides of the face.
Your scarecrow now has its signature hat and straw!
Step 8: Add the facial features
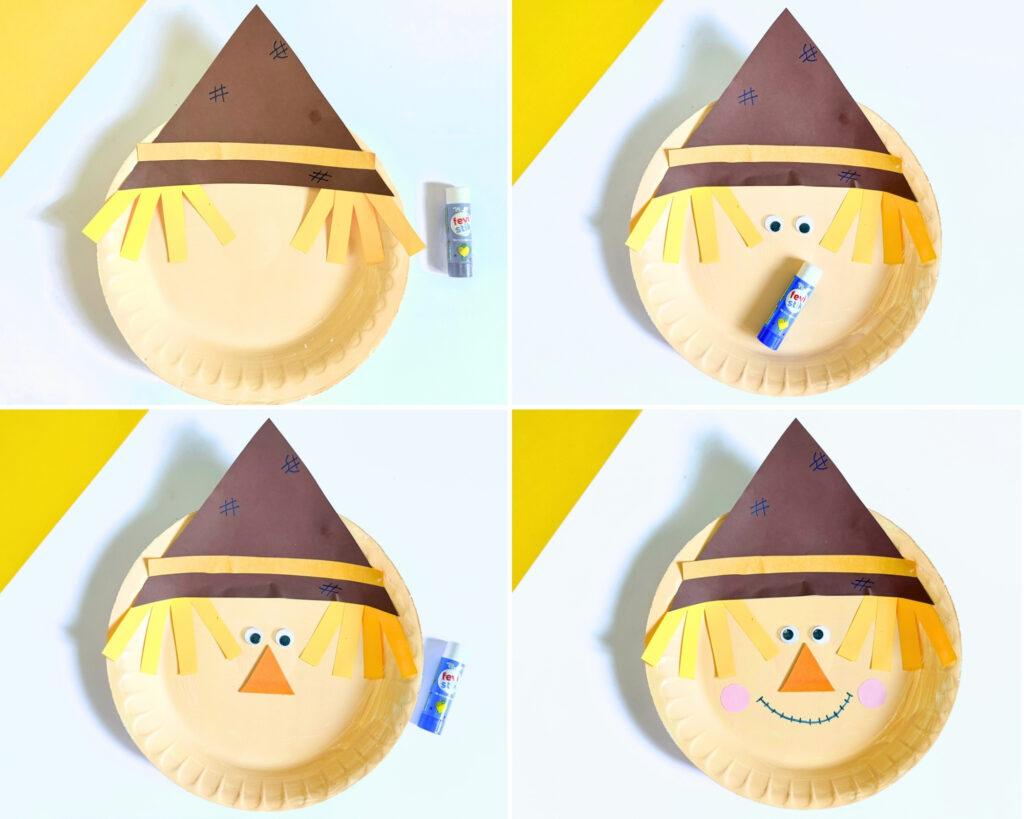
Now it’s time to give your scarecrow a cheerful little face!
Glue two googly eyes onto the paper plate underneath the hat.
Cut a small triangle from orange construction paper and glue it between the eyes for the nose. Add two small pink circles to the cheeks for a rosy touch.
Finally, use a black marker to draw a curved smile underneath the nose.
If you want, you can also add a few small details around the face to give your scarecrow some extra personality.
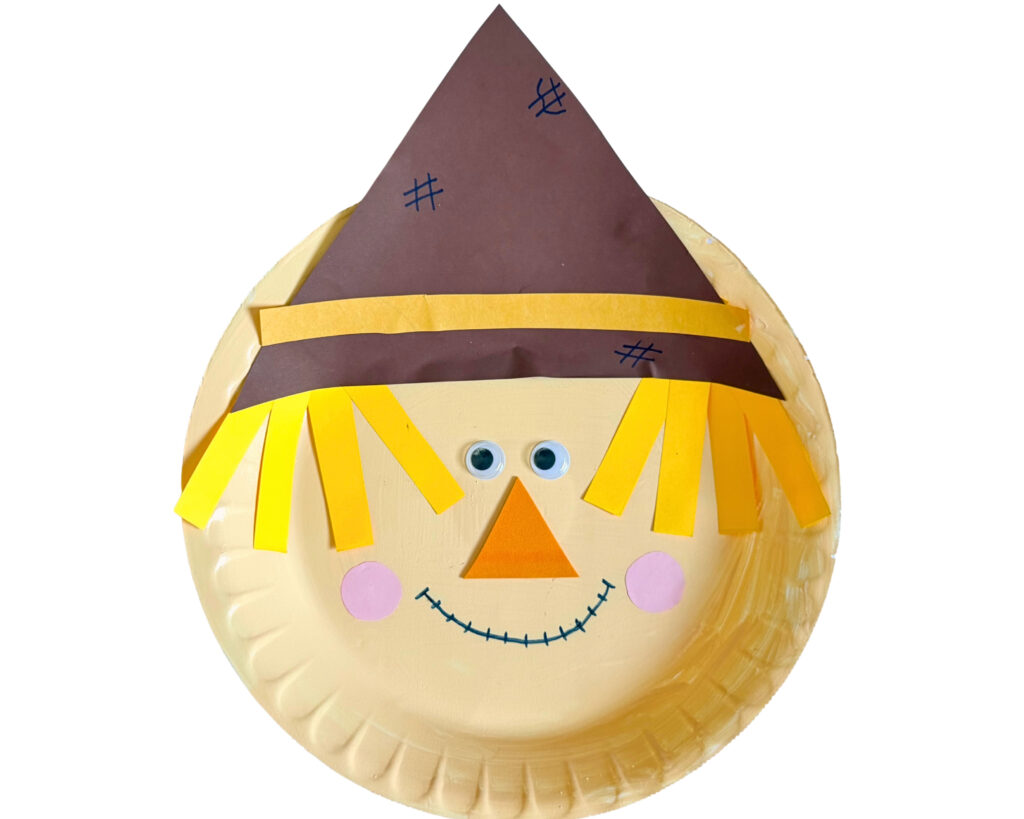
And your adorable paper plate scarecrow is complete!
Final Words
And there you have it – a cute and cheerful paper plate scarecrow made with just a few simple craft supplies!
This easy fall craft is a fun way for kids to get creative while making something they can proudly display at home or in the classroom.
You can also experiment with different colors and hat designs to make each scarecrow look a little different.
We hope you enjoy making this adorable scarecrow with your little ones.
Happy crafting!
More Fall Craft Ideas:
- Rocking Apple craft for Kids
- Easy fall leaf craft for kids (with free printable template)
- Fall paper plate hedgehog craft for kids (with free printable template)
- Fall apple picking craft for kids (with free printable template)
- Fall pumpkin puzzle craft idea for kids (with free template)
- 62 Fun Thanksgiving Crafts for Kids(DIY & Printables)
- Paper plate monster craft for kids
- Popsicle stick turkey craft for kids
- Turkey paper plate mask kids can make
- Easy paper cup turkey craft for kids
- Candy corn garland craft idea for kids (with free template)