How to make a paper corner bookmark (5 cute kawaii bookmark tutorials)
When you are creative-brained and love making things from scratch, seeing your creations all around the house makes you feel happy and accomplished.
Same with your kids – it helps to improve their self-esteem and belief in their abilities.
If you or your family is into reading, the following corner bookmark ideas will be useful.
Corner bookmarks are easy to make. Once you know the basic design, you can customize it to your wish by making it in different themes or by drawing your kids’ favorite characters and sticking on it.
Here we show you how to make an origami corner bookmark and how to draw various kawaii figures on it to make it cute.
So let’s get started.
Before moving onto the post, I would like to let you know that there are video tutorials available for all craft projects. I add the videos usually at the end of the post.
If you find the videos helpful, please do subscribe to our channel and help us grow:)
Materials required
- Color paper or Origami paper (You can experiment with different sizes. Here we used a square paper of size 10cm*10cm).
- Crayons/Oil pastels or any coloring tool of your choice
- Scissors and glue
How to fold a corner bookmark step-by-step

1. Start by taking a square sheet of paper. Here we cut a square paper of size 10cm * 10cm.
2. Fold the paper diagonally so that opposite corners meet each other to form a triangle.
3. Fold the lower right corner upwards so as to meet the top corner.
4. Do the same with the lower-left corner.

5. Now unfold the folds we made in steps 3 and 4. And fold the top corner (fold only one paper sheet) downwards to meet the horizontal edge and make a crease.
6. Fold the left corner and insert into the crease we just made. Here the crease acts like a pocket.
7. This is what you get after inserting the left corner into the pocket.
8. Repeat the same with the right corner.

Thus the basic Origami corner bookmark is ready!
Now let’s move onto making it pretty.
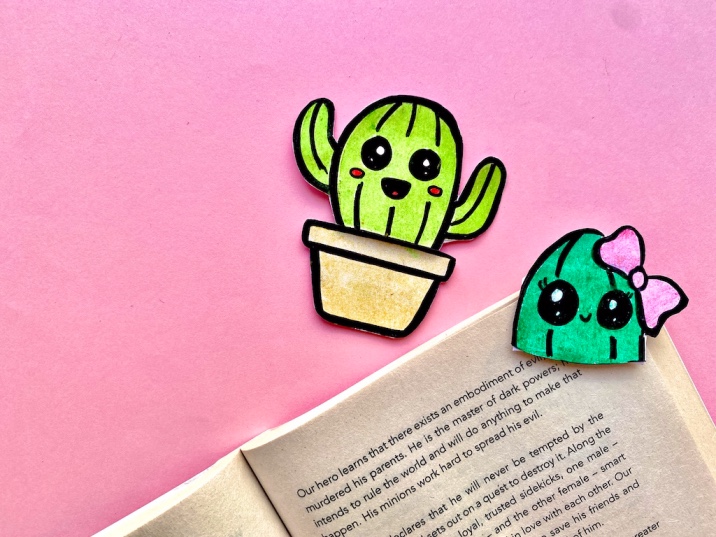
Kawaii Corner Bookmark Ideas
Here, we show you 5 ideas to make kawaii corner bookmarks. I will show the step-by-step photo tutorial to make the first bookmark. Once you get the idea, it’s easy to make the rest of the four bookmarks.
1. Kawaii Ice Cream Corner Bookmark step-by-step instructions

1. Draw an ice cream on a piece of paper. Color it and cut the figure out. Make sure the figure you draw is about the width of the bookmark you made.
In the end, you will cut the protruding parts from the bookmark, but we shouldn’t cut too much. So make sure the figure you draw is wide enough.
2. Cut the ice cream cutout in half as shown in the picture.
3. Now, stick the upper portion of the ice cream on the top half of the corner bookmark.
4. And stick the other half of the ice cream on the bottom half of the bookmark. Make sure you open the bookmark and stick it inside.
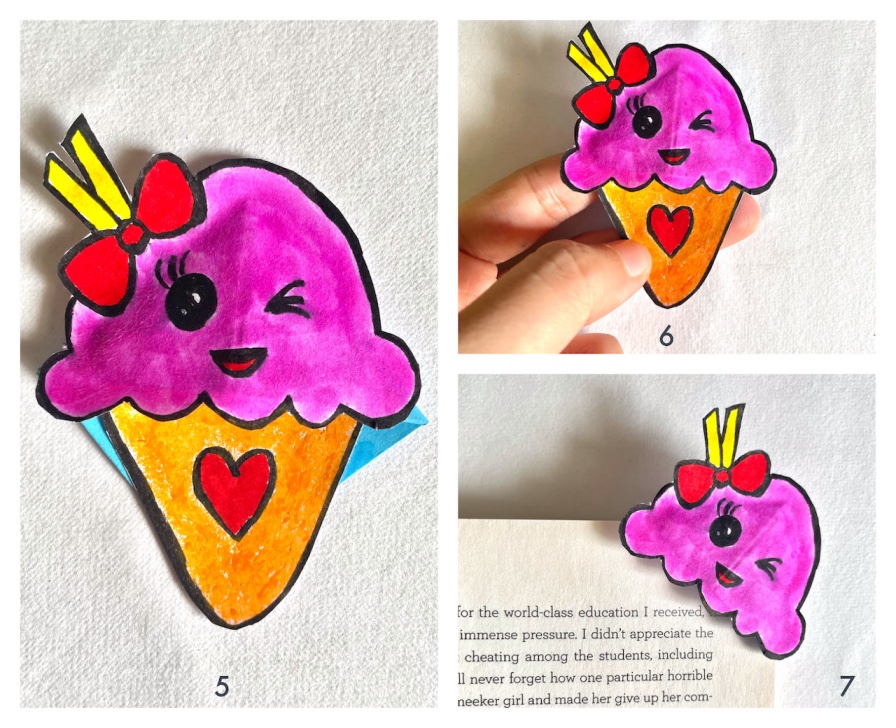
5. This is the figure you get after sticking the top and bottom portions of ice cream.
6. Cut out the protruding portions from top and sides and make it look neat. Be careful not to cut too much.
7. Your cute kawaii bookmark is ready!
Video tutorial to make kawaii corner bookmark
Here is the video tutorial to make an ice cream corner bookmark. Please do subscribe to our channel for more useful craft tutorials.
Now, let’s move onto the next 4 ideas. The idea behind making each of these bookmarks is the same. Therefore, I am not going into a step-by-step photo tutorial here. Instead, I am providing you with video tutorials for each.
To recap, the following are the steps to make a kawaii corner bookmark:
1.Make the basic corner bookmark.
2. Draw the kawaii figure of your choice.
3. Cut the figure into two.
4. Paste them on the corner bookmark you first made.