Paper Plate Winter Hat Craft
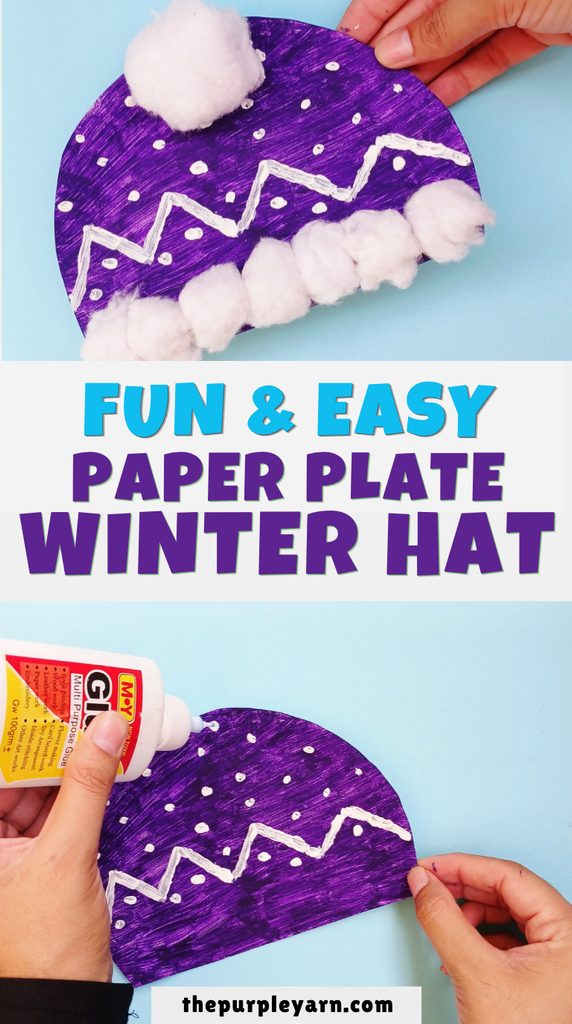
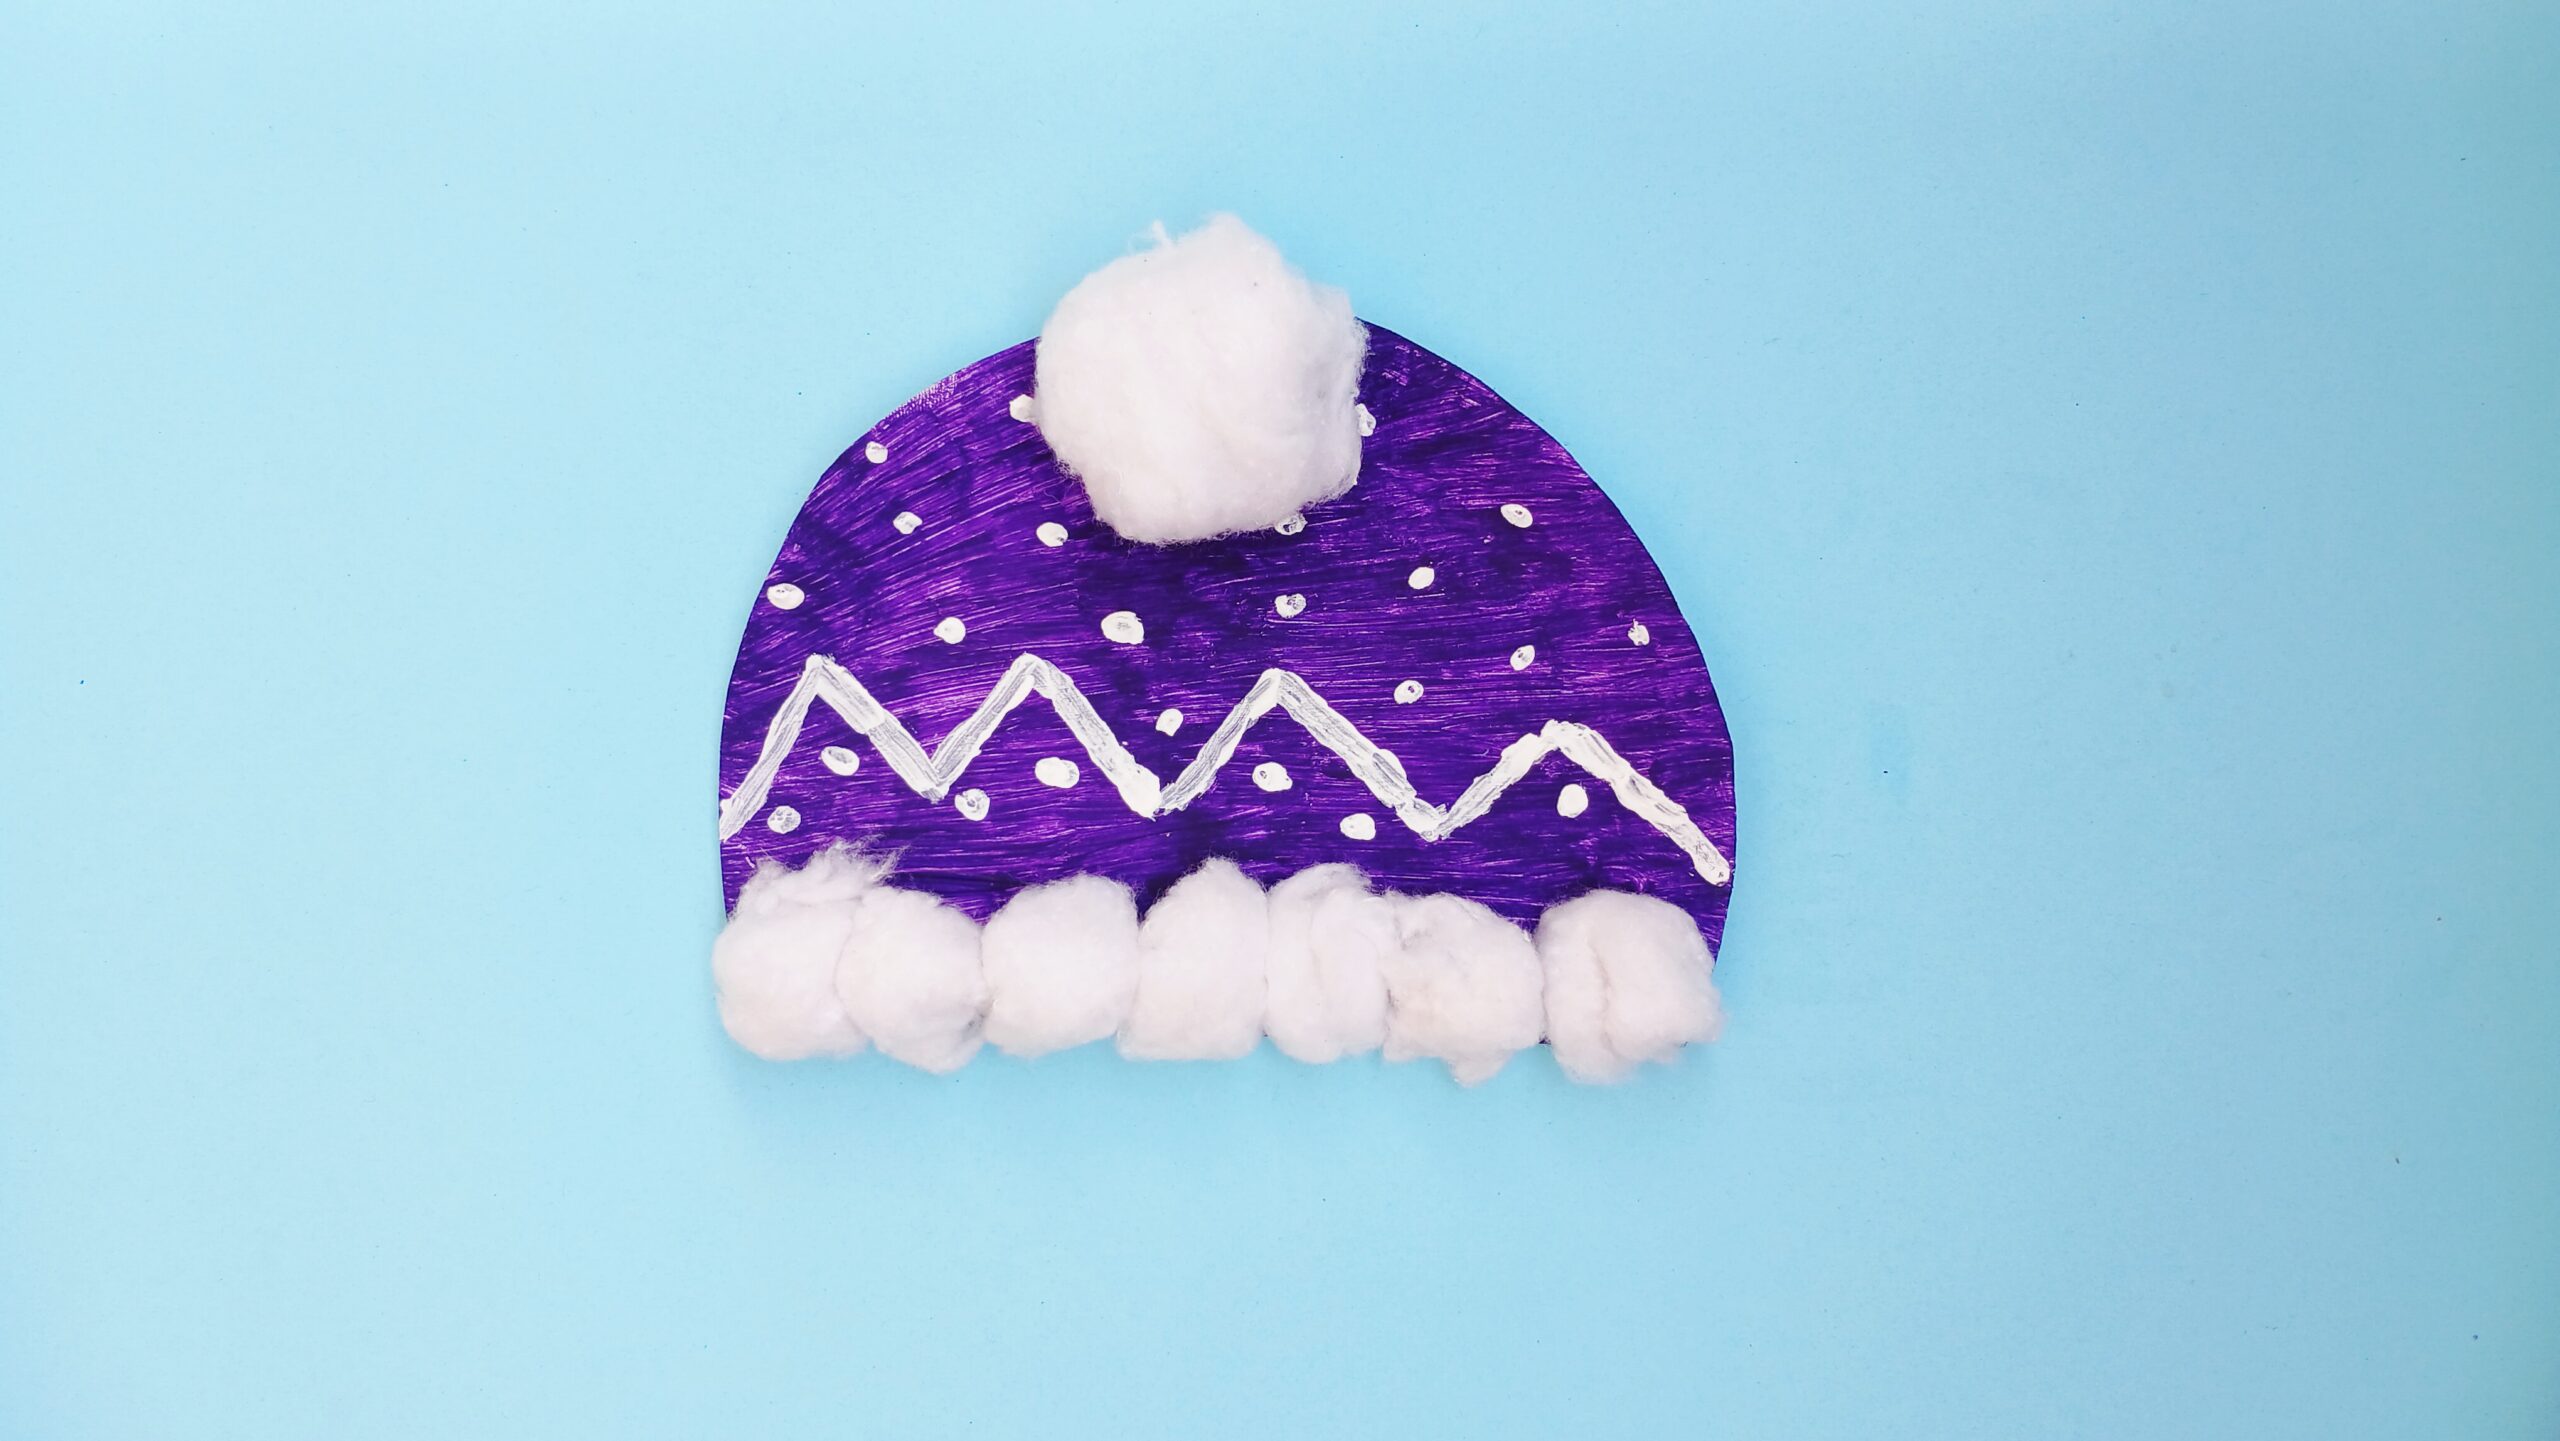
Bring a little winter magic to your craft table with this adorable paper plate winter hat craft!
I love how a simple paper plate can turn into such a cute winter decoration.
With a little purple paint, fluffy cotton, and a few simple supplies, kids can create their very own cozy-looking winter hat.
This is a fun craft for little hands, with plenty of opportunities to paint, cut, glue, and get creative. Kids can follow the steps or add their own decorations to make each hat unique.
It’s an easy winter craft that doesn’t require too many supplies, making it perfect for a cozy afternoon at home, a classroom activity, or a fun winter craft session.
So, let’s grab our supplies and make this cute and fluffy winter hat!
Before moving on to the craft, we would appreciate it very much if you would check out our YouTube channel and subscribe to it.
We upload new easy craft tutorials there that are different from what we publish on the blog. Thank you!
What you’ll need
- Paper plate
- Purple paint (or any color of your choice)
- Paintbrush
- Pencil
- Scissors
- Glue
- Cotton balls
- White paper
How to make a paper plate winter hat
Step 1: Draw and cut the paper plate
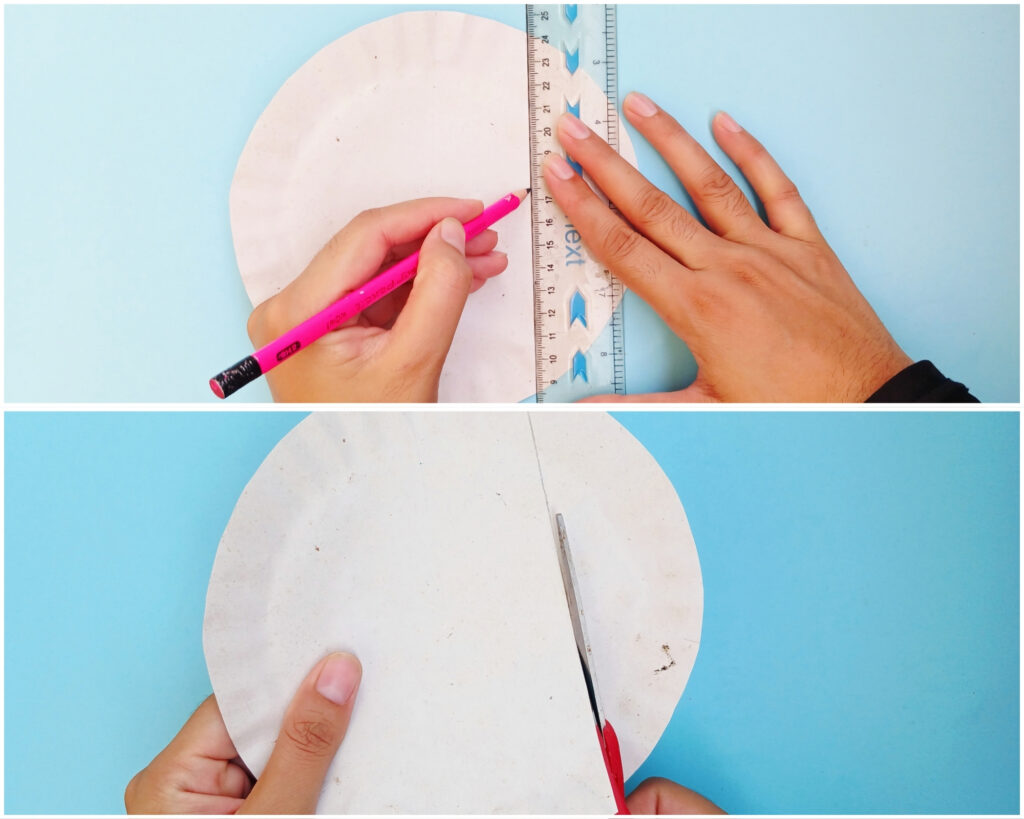
Place the paper plate flat on your work surface.
Using a pencil, draw a line across the plate (around 3/4th portion of the paper plate) as shown in the picture.
Carefully cut along the drawn line, without cutting the paper plate completely in half. The larger section will become the main part of the winter hat.
Step 2: Paint the hat
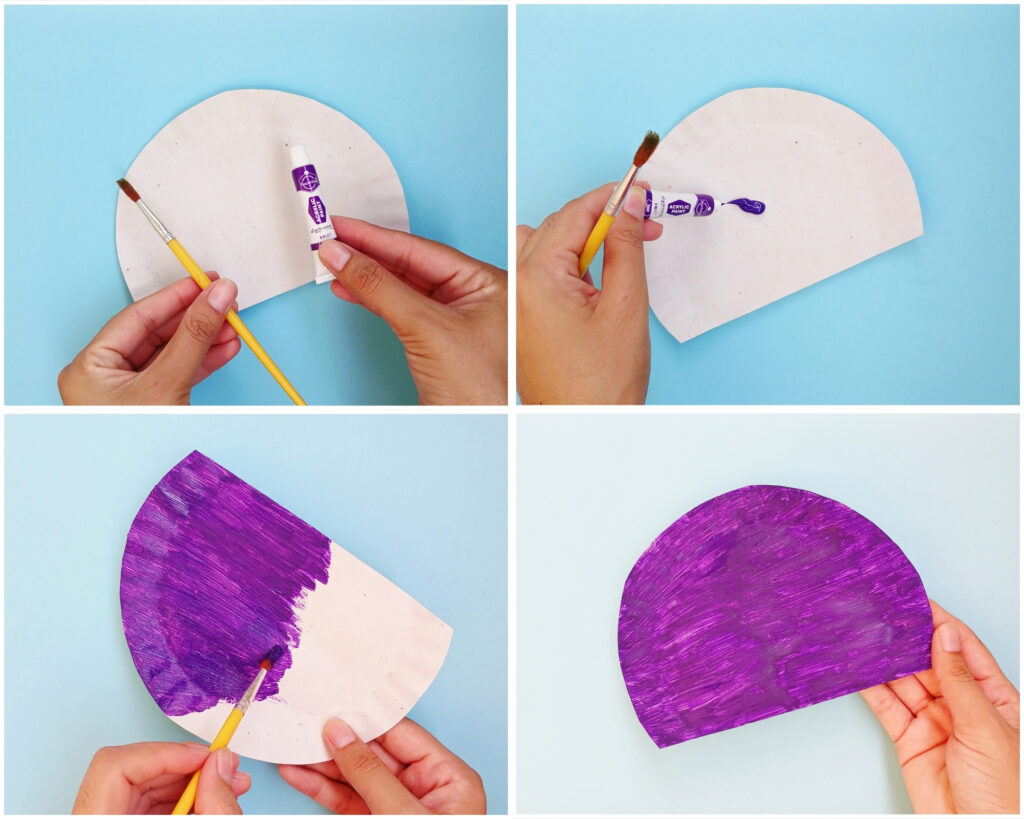
Paint the larger section of the paper plate with purple paint (or any color of your choice).
Cover the surface evenly and let the paint dry completely before moving on to the next step.
Step 3: Prepare the cotton balls
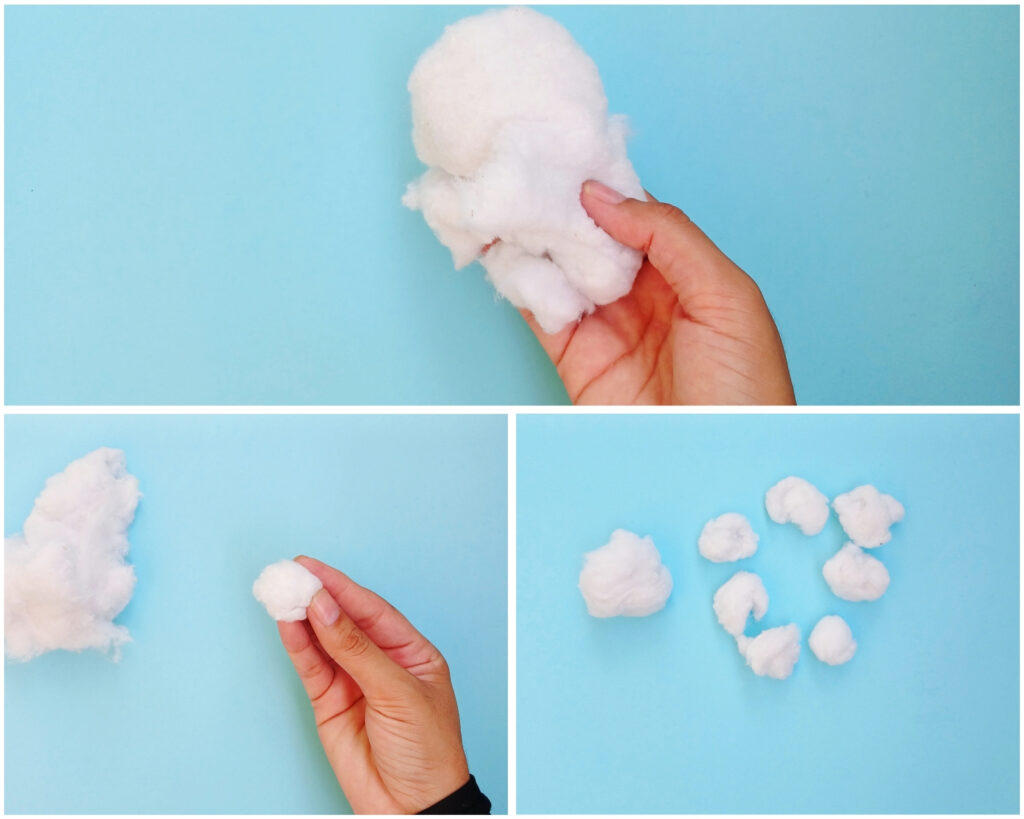
Take a few cotton balls and gently pull them apart into smaller, fluffy pieces.
These will be used to create the soft, snowy trim and pom-pom on the winter hat.
Step 4: Add the winter design
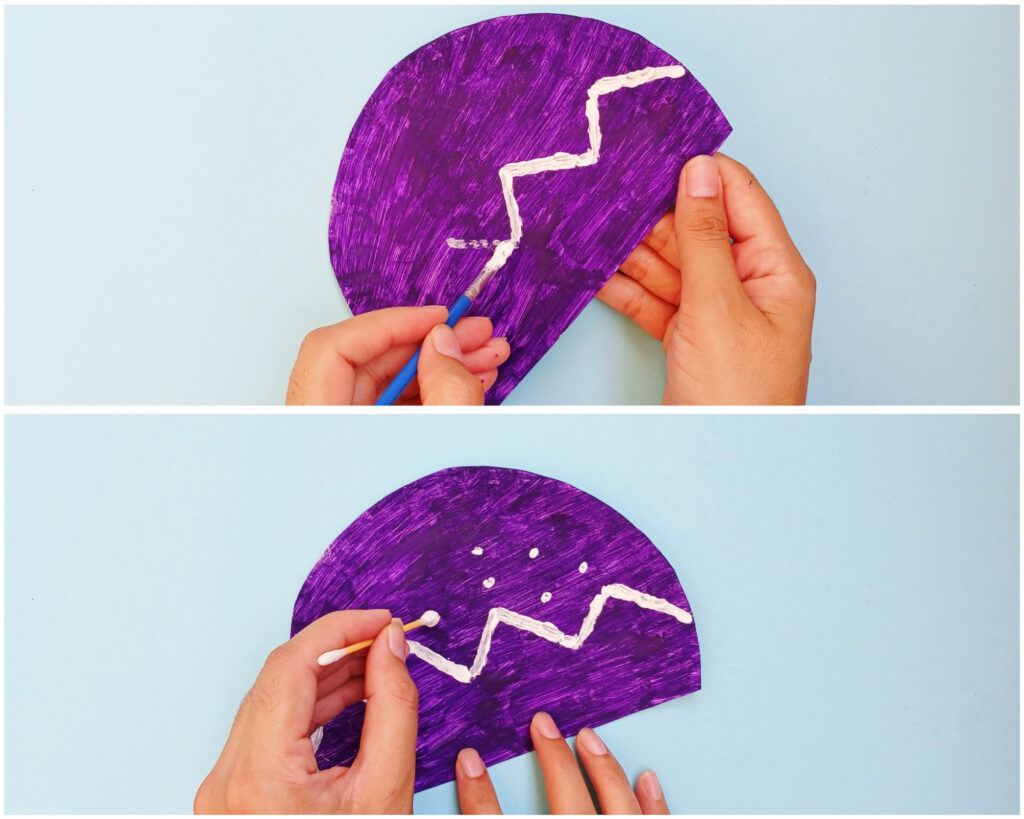
Use white paint or a white marker to draw simple zigzag or decorative lines across the purple hat. You can follow the pattern shown or create your own winter-inspired design.
Step 5: Add the cotton trim and pom-pom
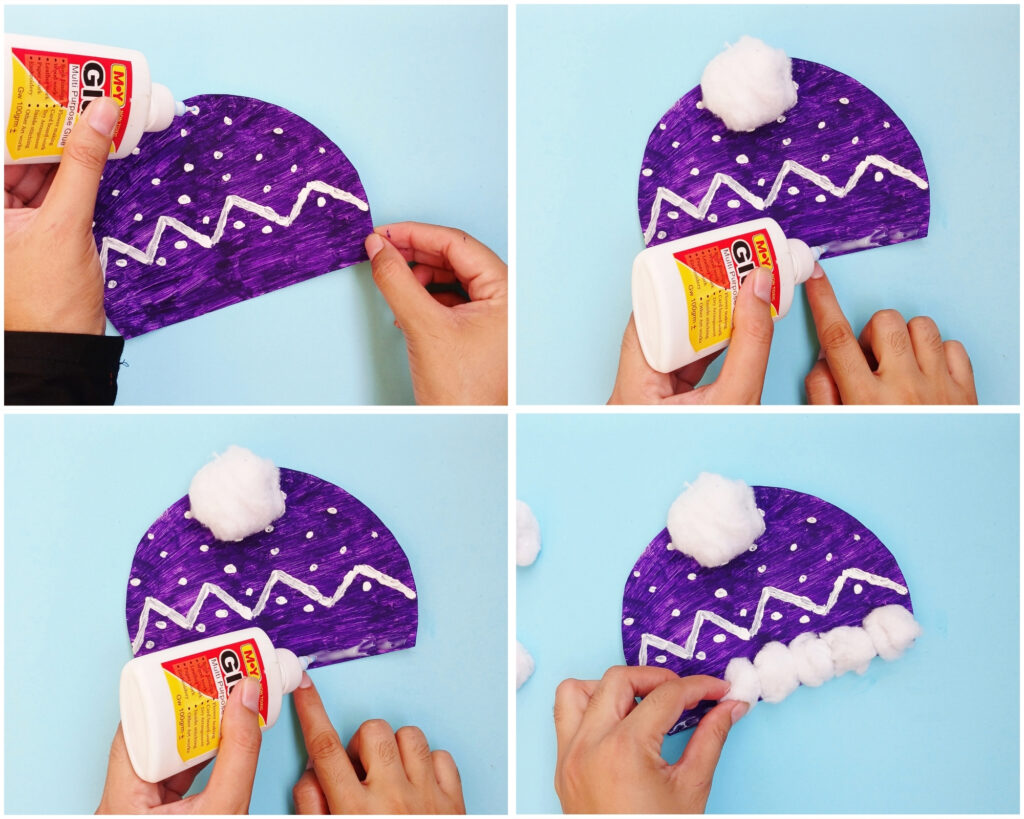
Apply a little glue to the top of the hat and attach a fluffy cotton ball. Press it gently into place and allow the glue to dry completely.
Apply glue along the bottom edge of the hat and carefully stick the fluffy cotton pieces along the edge.
Press them gently so they stay in place and create a soft, snowy trim.
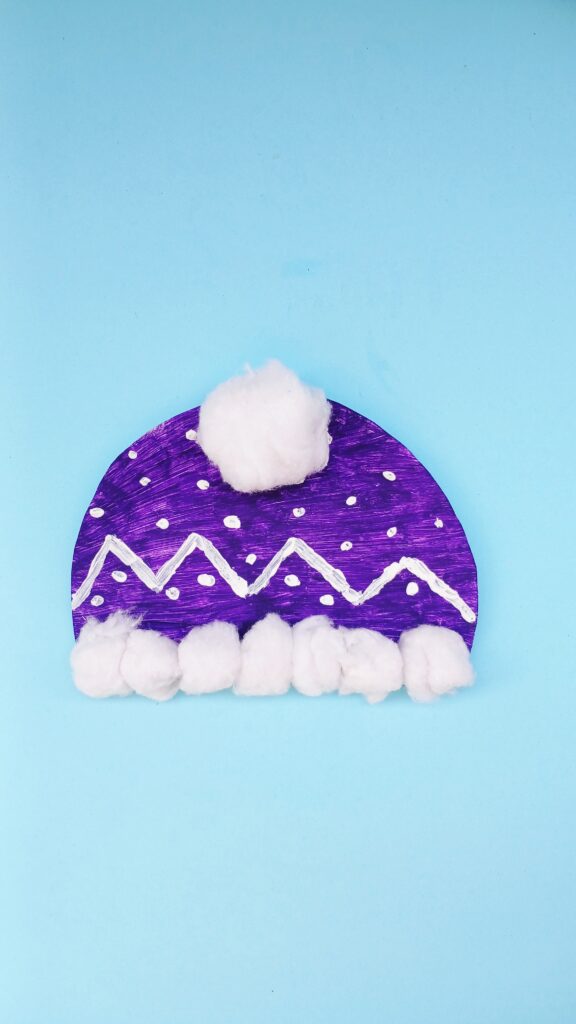
Your paper plate winter hat is all finished!
Final Words
The fluffy cotton trim and pom-pom give this little hat such a soft, snowy look. I love how the purple paint and simple white pattern make it look bright and cheerful!
Kids can have fun experimenting with different paint colors, patterns, and decorations to make each hat their own. You could even make a few different designs and display them together at home or in the classroom.
Who knew a simple paper plate could turn into such a cute little winter creation, right?
Let us know how your winter hat turned out in the comments below!
More Winter Crafts:
- Polar Bear Headband Craft (With free template)
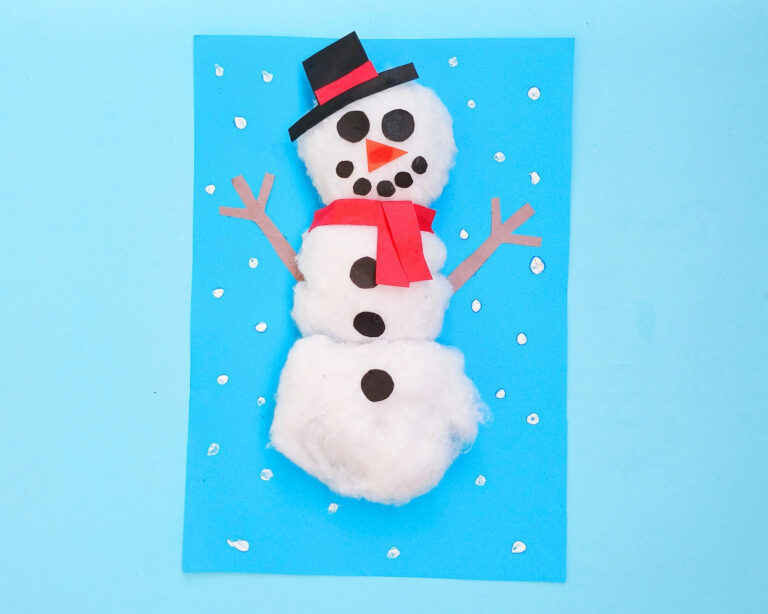
- Cotton Ball Snowman Craft
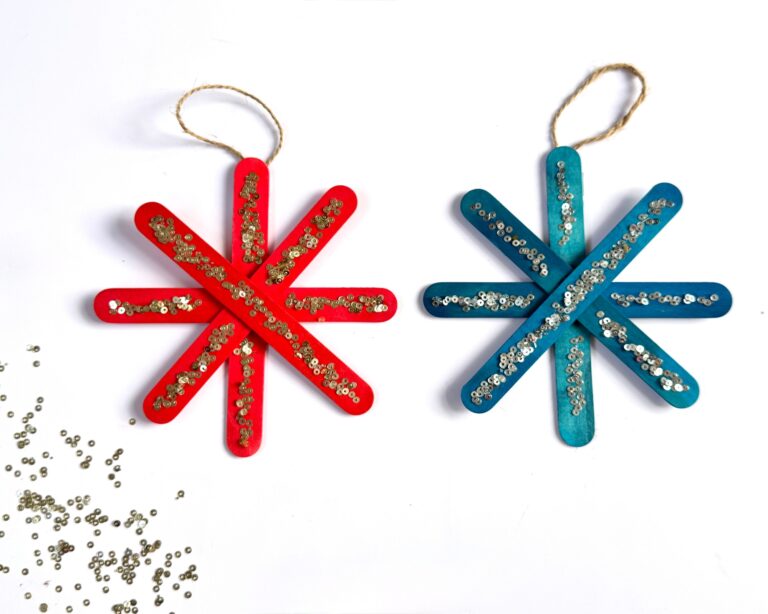
- Popsicle Stick Snowflake Ornament Craft
- Paper Plate Reindeer Handprint Craft for Kids
- Reindeer Headband Craft for Kids (with free template)
- Puffy Paint Polar Bear Craft (Winter Craft for Kids)
- Paper Plate Penguin Craft (Easy Winter Craft for Kids)
- Snowman with a felt hat
- Hot chocolate with marshmallow craft idea for kids
- Easy snowman craft with paper and cotton (with free snowman template)
Browse our Christmas Crafts collection here!