Cotton Ball Snowman Craft
Who says you need real snow to build a snowman?
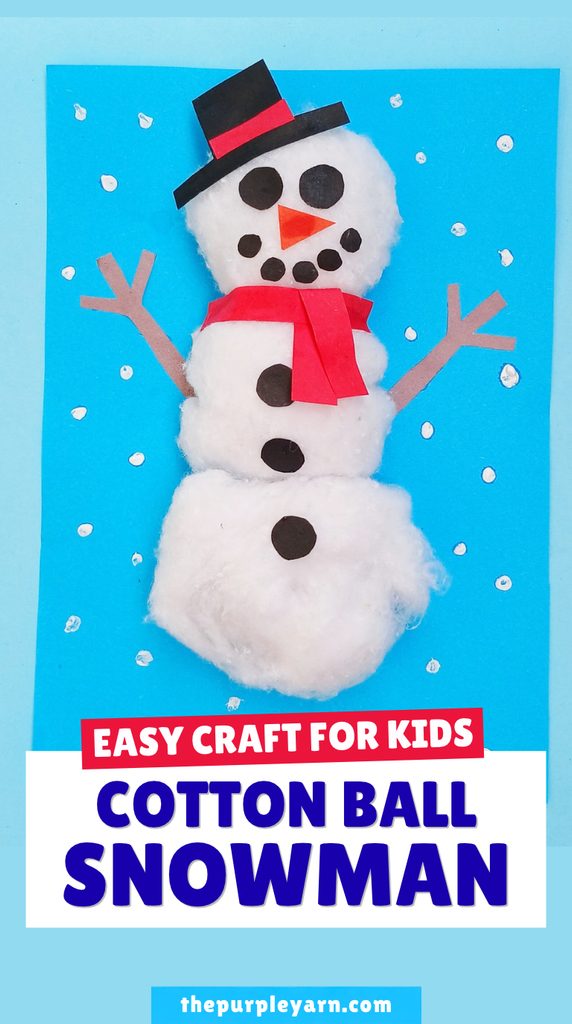
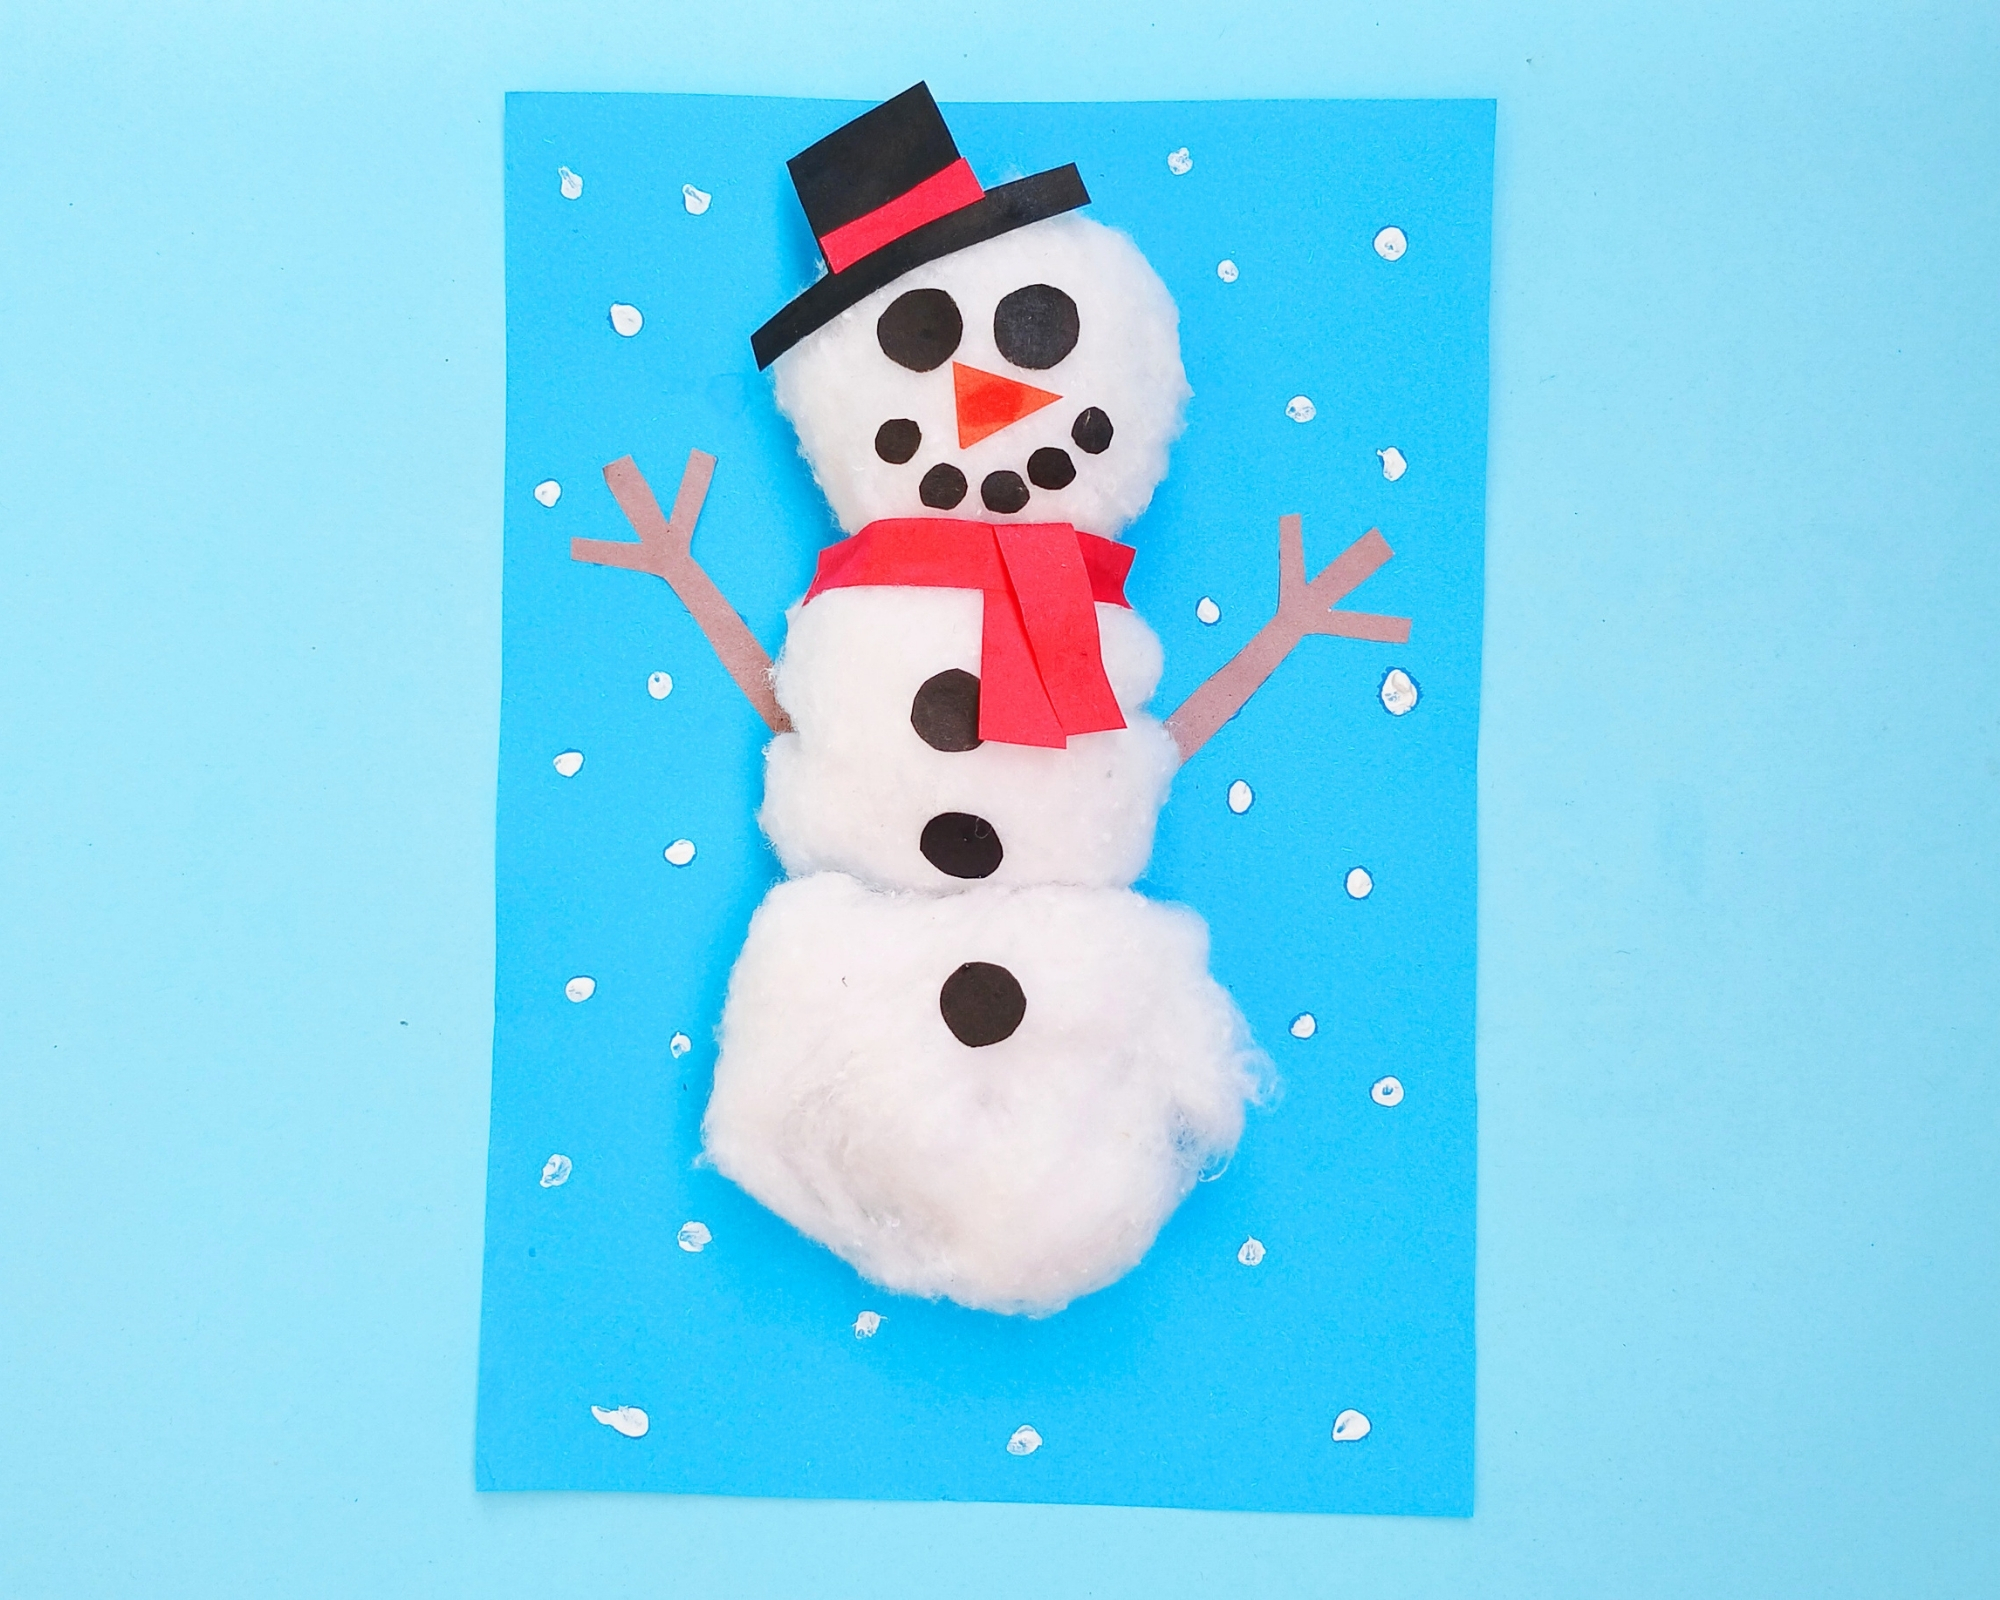
Turn a few soft cotton balls into a cute little winter friend with this easy cotton ball snowman craft!
Kids will have fun building the snowman piece by piece, from his fluffy body and tiny top hat to his carrot nose, scarf, and twig-like arms.
This snowman craft for kids is a great activity for winter, Christmas, or a cozy afternoon indoors. It uses simple craft supplies and leaves plenty of room for kids to add their own little touches and personality.
So, grab some cotton balls and let’s get crafting!
Before moving on to the craft, we would appreciate it very much if you would check out our YouTube channel and subscribe to it.
We upload new easy craft tutorials there that are different from what we publish on the blog. Thank you!
What you’ll need
- Blue construction paper
- Cotton balls
- Black construction paper
- Red construction paper
- Brown construction paper
- Orange construction paper
- Scissors
- Glue
- White paint or a white marker
How to make a cotton ball snowman
Step 1: Prepare the background
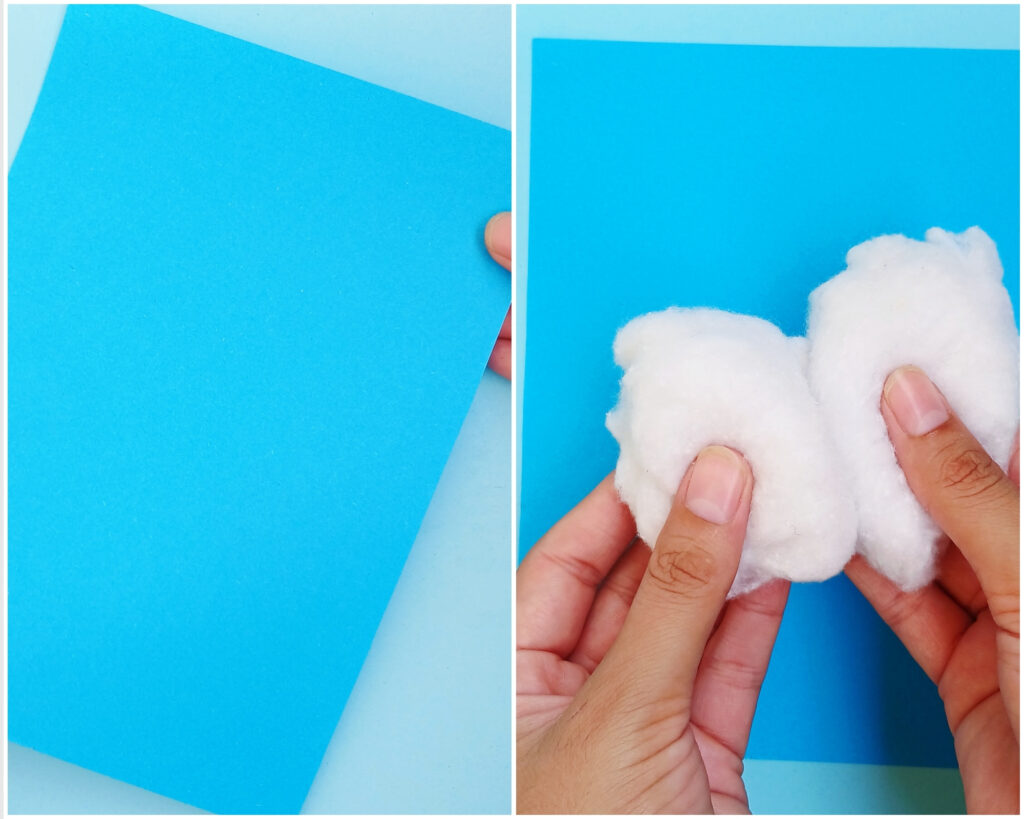
Take a sheet of blue construction paper and place it on your work surface. This will be the snowy background for your snowman.
Step 2: Make the snowman
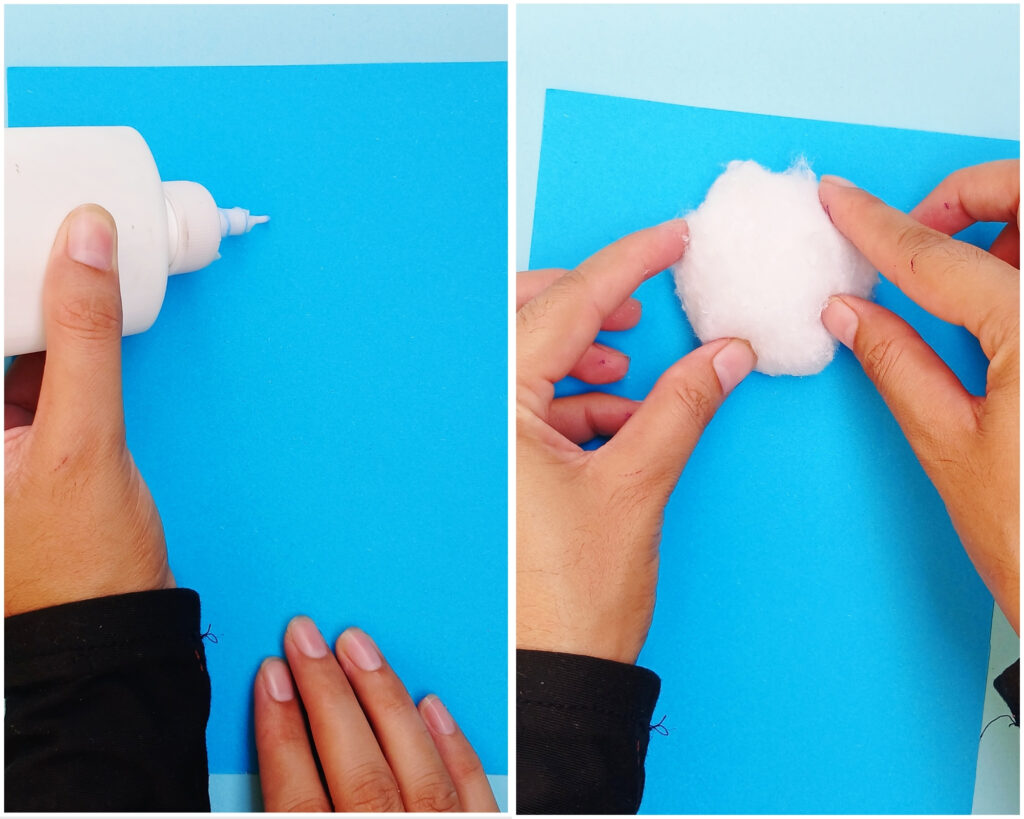
Take a few cotton balls and arrange them into three sections to form the snowman’s body.
Use the largest group for the bottom, a medium-sized group for the middle, and a smaller group for the head. Glue the cotton balls onto the blue paper.
Step 3: Make the hat
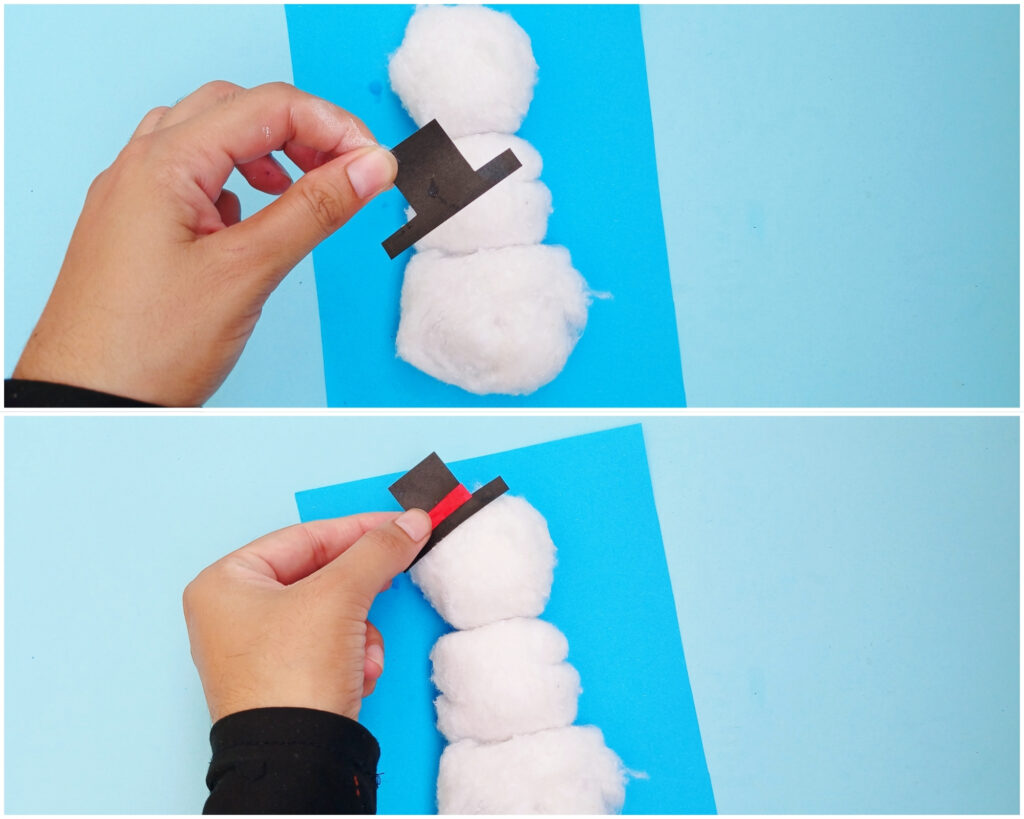
Cut a small top hat from black construction paper. Add a thin red strip across the hat to make a colorful hatband.
Glue the finished hat onto the snowman’s head.
Step 4: Add the eyes
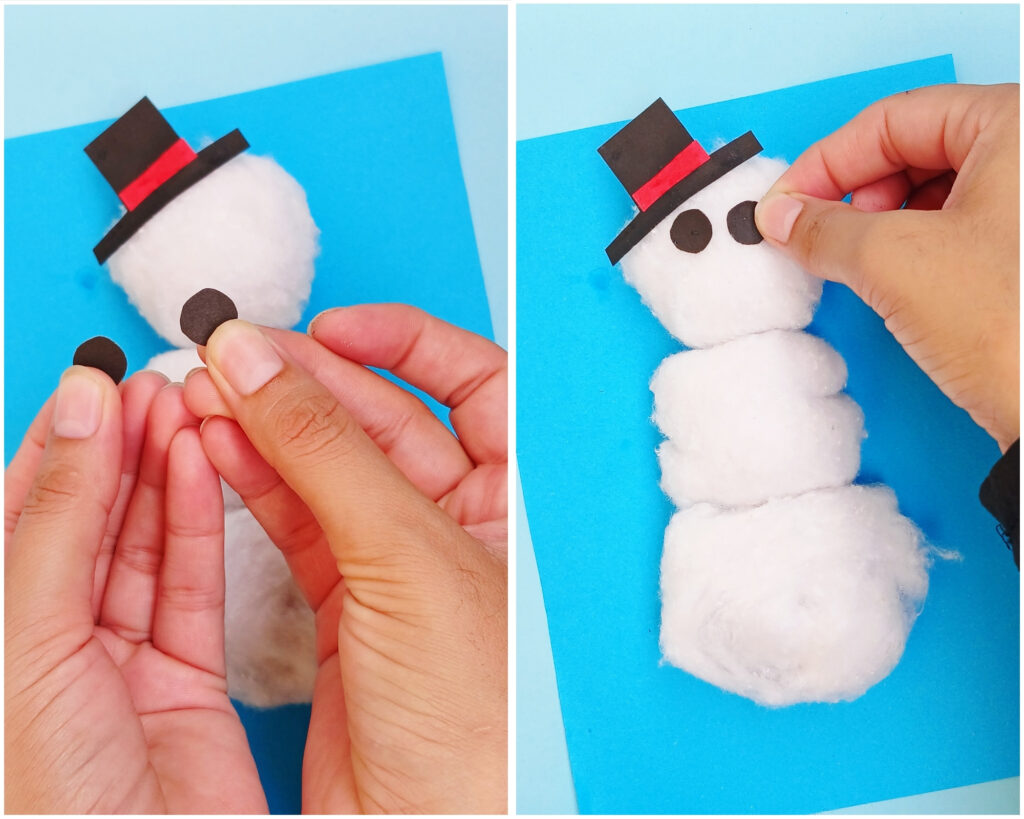
Cut two small black circles from black construction paper and glue them onto the snowman’s face for his eyes.
Step 5: Add the nose and smile
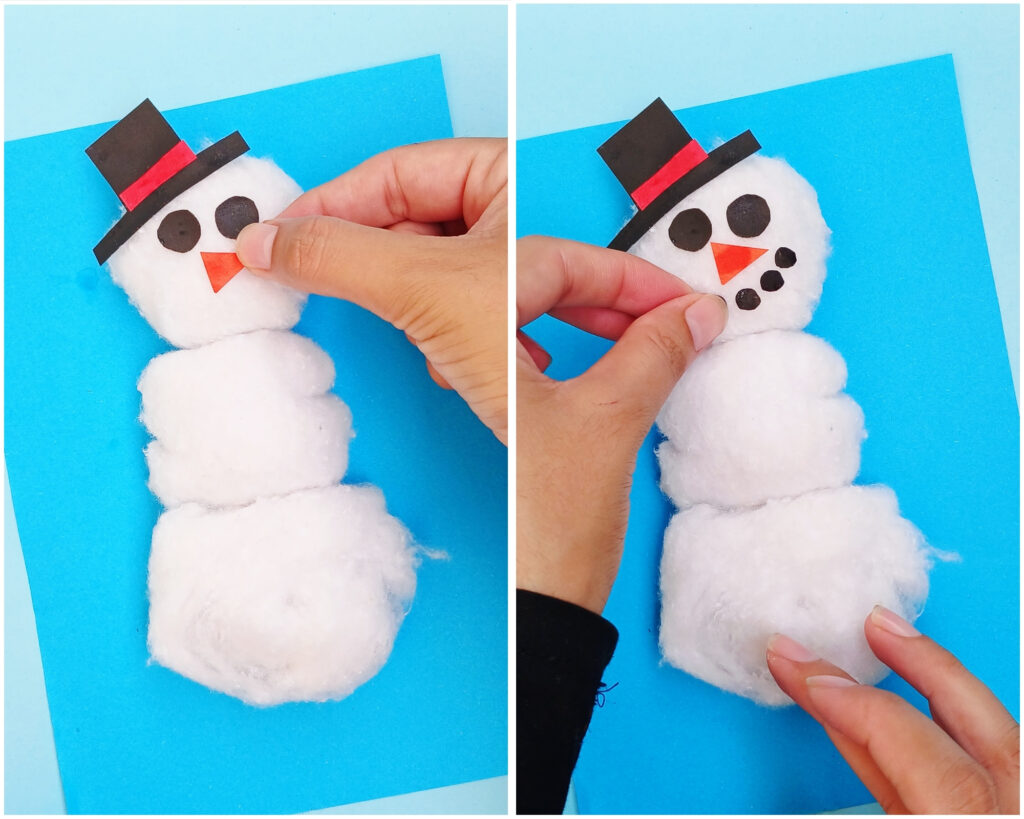
Cut a small triangle from orange construction paper for the snowman’s carrot nose.
Then, cut a few tiny black circles from black construction paper and arrange them underneath the nose to create a cheerful smile.
Step 6: Make the scarf
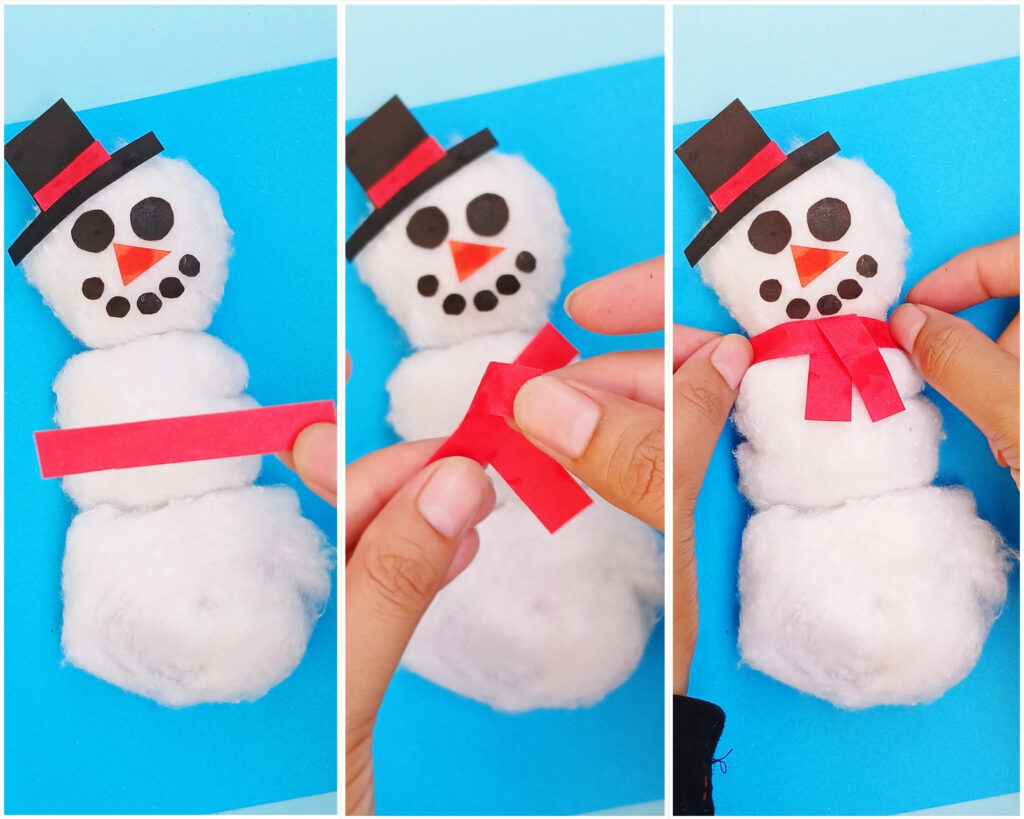
Cut a long strip of red construction paper for the scarf.
Wrap it around the snowman’s neck and glue it in place.
Add a shorter strip hanging down from the scarf to complete the look.
Step 7: Add the buttons
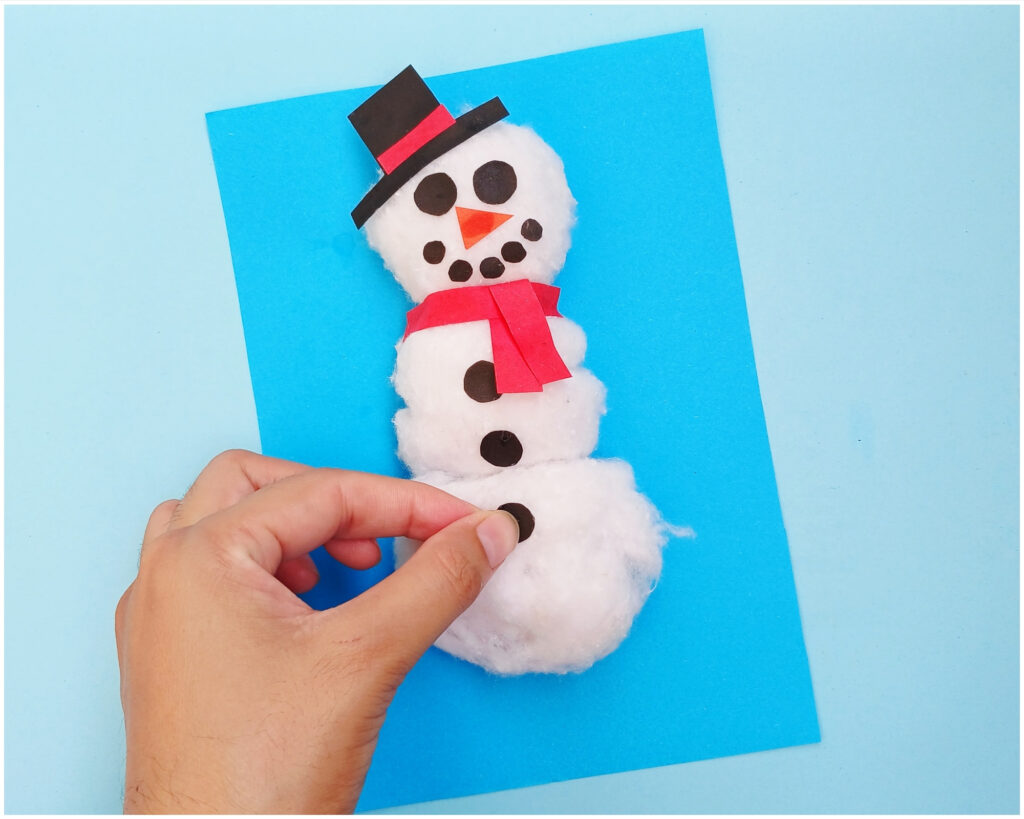
Cut small black circles from black construction paper and glue them down the center of the snowman’s body. These will be his buttons.
Step 8: Make the arms
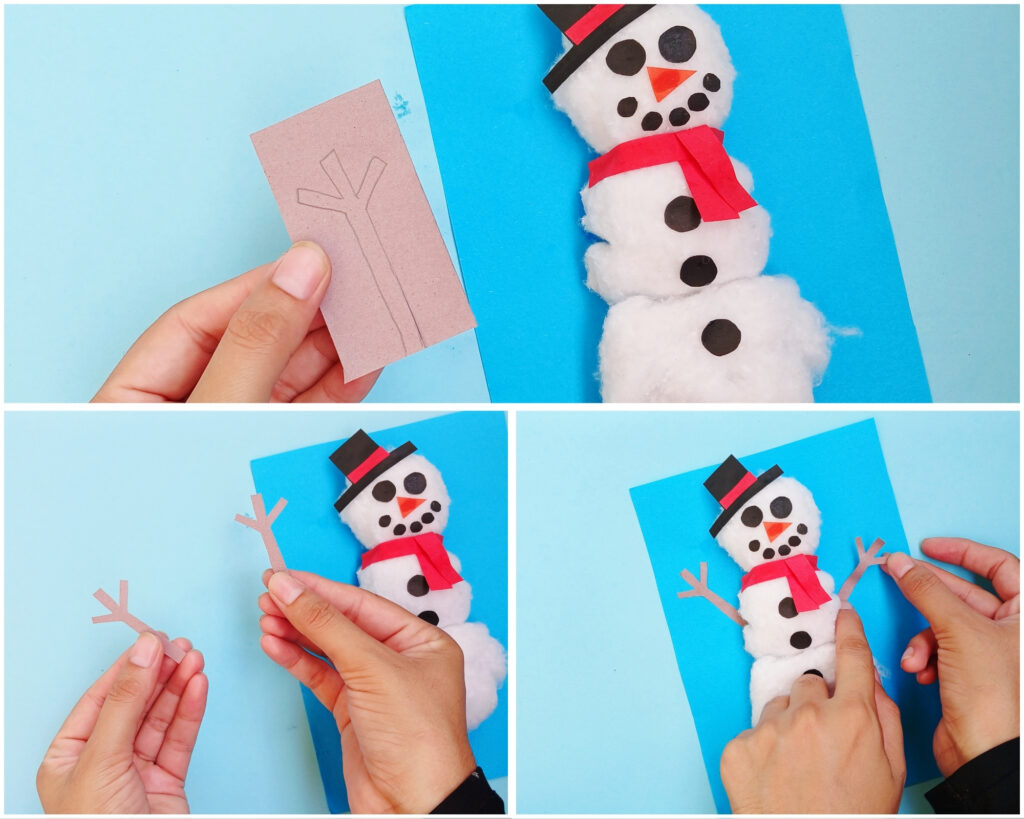
Draw simple branch-shaped arms on brown construction paper and cut them out. Glue one arm onto each side of the snowman.
Step 9: Add the snow
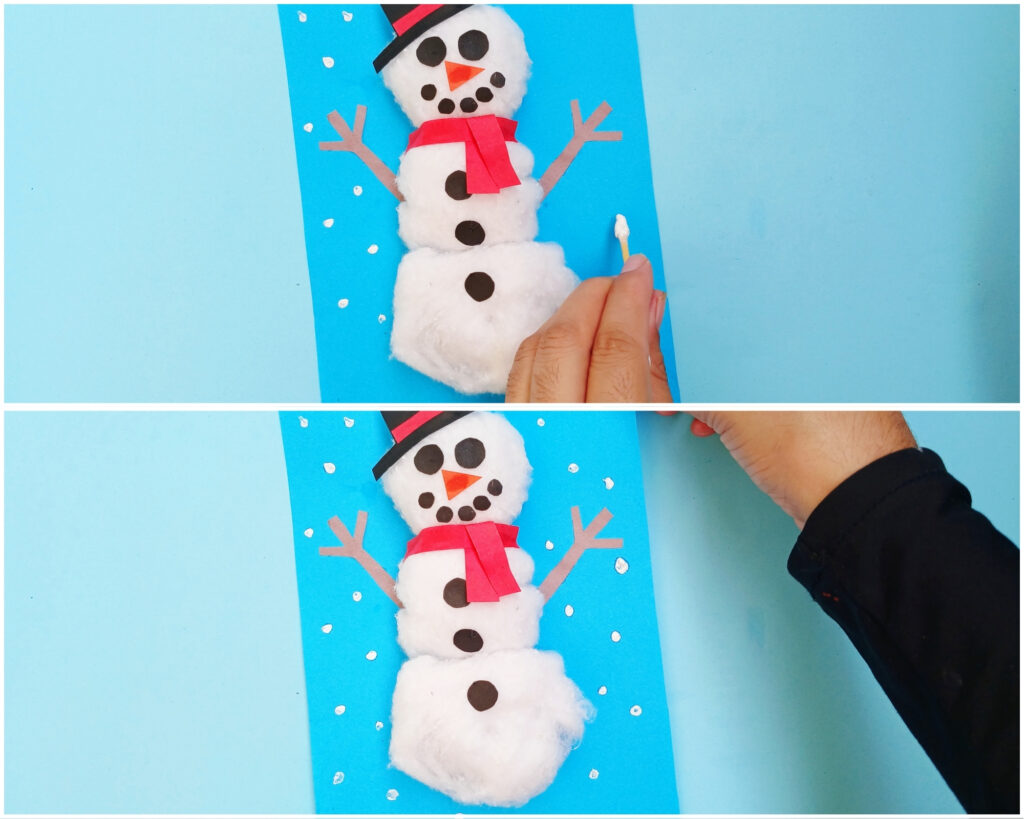
Give your snowman a snowy winter setting by adding small white dots around him. You can use white paint or a white marker to create falling snow on the blue background.
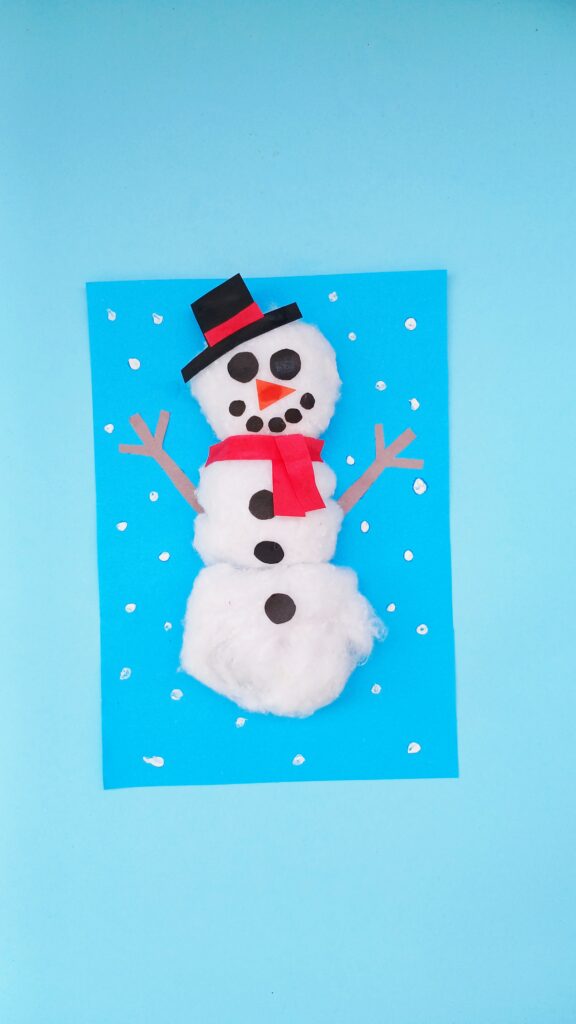
Once everything is set, your fluffy snowman is ready!
Final Words
And there you have it – a cute little cotton ball snowman ready to bring some winter cheer to your craft corner!
Kids can experiment with different scarf and hat colors or add extra snowflakes and decorations to make each snowman their own.
This easy winter craft for kids is a fun way to spend a chilly afternoon getting creative, with no snow boots required!
More Winter Crafts:
- Polar Bear Headband Craft (With free template)
- Paper Plate Winter Hat Craft
- Popsicle Stick Snowflake Ornament Craft
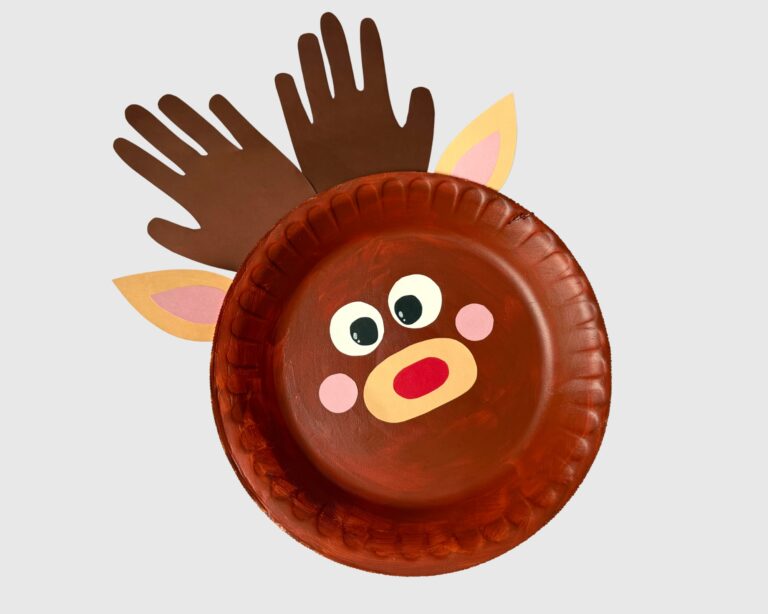
- Paper Plate Reindeer Handprint Craft for Kids
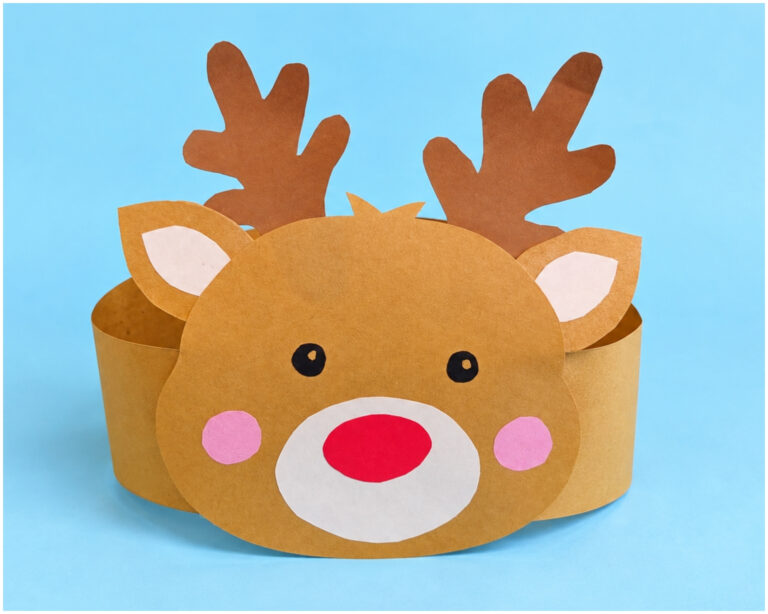
- Reindeer Headband Craft for Kids (with free template)
- Puffy Paint Polar Bear Craft (Winter Craft for Kids)
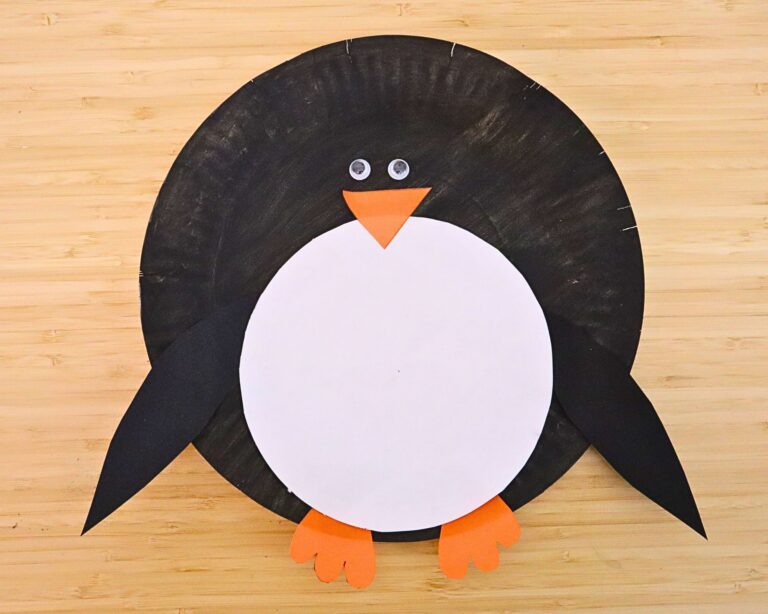
- Paper Plate Penguin Craft (Easy Winter Craft for Kids)
- Snowman with a felt hat
- Hot chocolate with marshmallow craft idea for kids
- Easy snowman craft with paper and cotton (with free snowman template)
Browse our Christmas Crafts collection here!