Puffy Paint Polar Bear Craft (Winter Craft for Kids)
Shaving cream polar bear craft
Winter crafts are some of our favorites to set up, because even the simplest ideas suddenly feel magical when you add a bit of snow, coziness, and texture.
This Puffy Paint Polar Bear or Shaving Cream Polar Bear Craft brings all of that winter charm into one easy project.
It’s soft, fluffy, sensory-friendly, and wonderfully hands-on. It is the perfect craft for preschoolers, kindergartners, and early elementary kids.
If you’ve never tried puffy paint before, this is a great place to start.
The mixture of shaving cream and white glue dries with a raised, squishy texture that children absolutely love.
And because the polar bear shape is made by painting freehand, kids get plenty of freedom to create a bear that looks exactly like their imagination.
You can pair this activity with a winter animals lesson, an arctic unit study, a book about polar bears, or simply add it to your list of cozy snow-day crafts.
It also makes a sweet keepsake – the dried puffy paint stays raised for years!
In this post, we’ll walk you through everything you need and show you (step by step with photos) how to make your own adorable puffy polar bear.
Before moving on to the craft, we would appreciate it very much if you would check out our YouTube channel and subscribe to it.
We upload new easy craft tutorials every week that are different from what we publish on the blog. Thank you!
So, let’s get started.
Materials Needed
- Light blue paper (for the winter sky background)
- Thick cardstock or cardboard (for backing the craft)
- Shaving foam (not gel — foam gives the best fluff)
- White liquid glue
- Mixing bowl and spoon
- ¼ cup measuring cup
- Paintbrush
- Black marker or paint pen (for the face)
- Hole punch or craft paper (for tiny pink cheeks — optional)
- Glue stick
- Hot glue
Shaving Cream Polar Bear Craft (Step-by-Step Instructions)
Step 1: Prepare the background
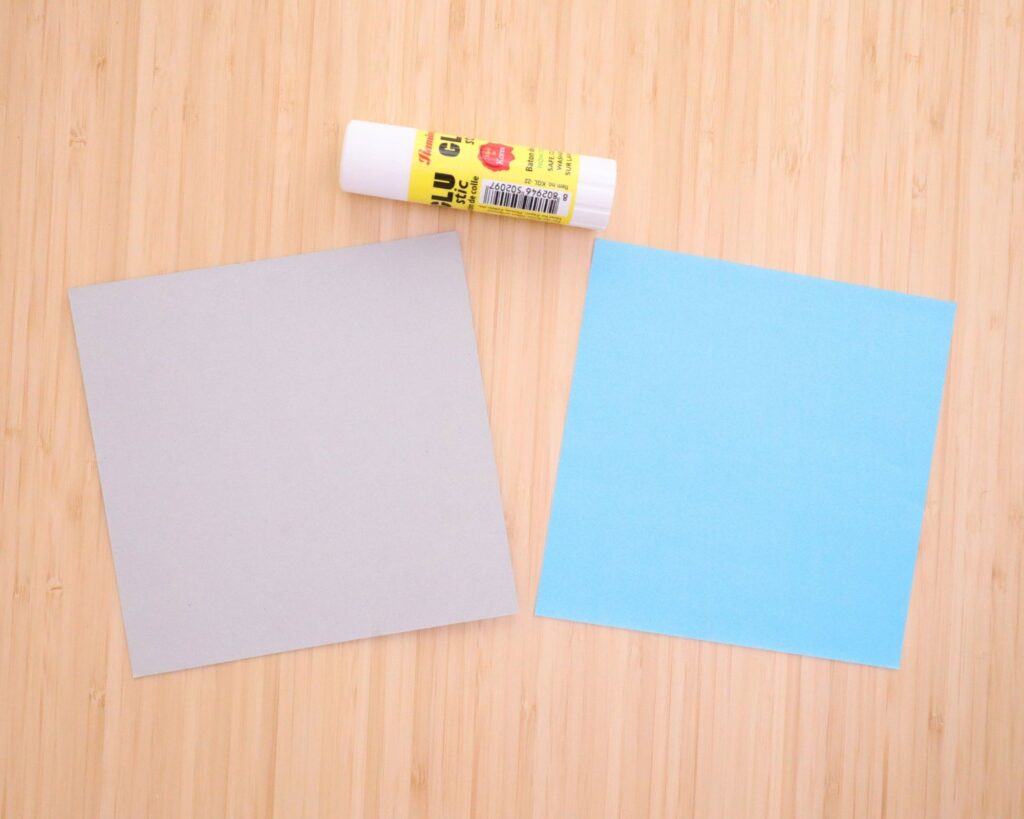
Get a square piece of cardstock or cardboard. And cut a light blue piece of construction paper of the same size.
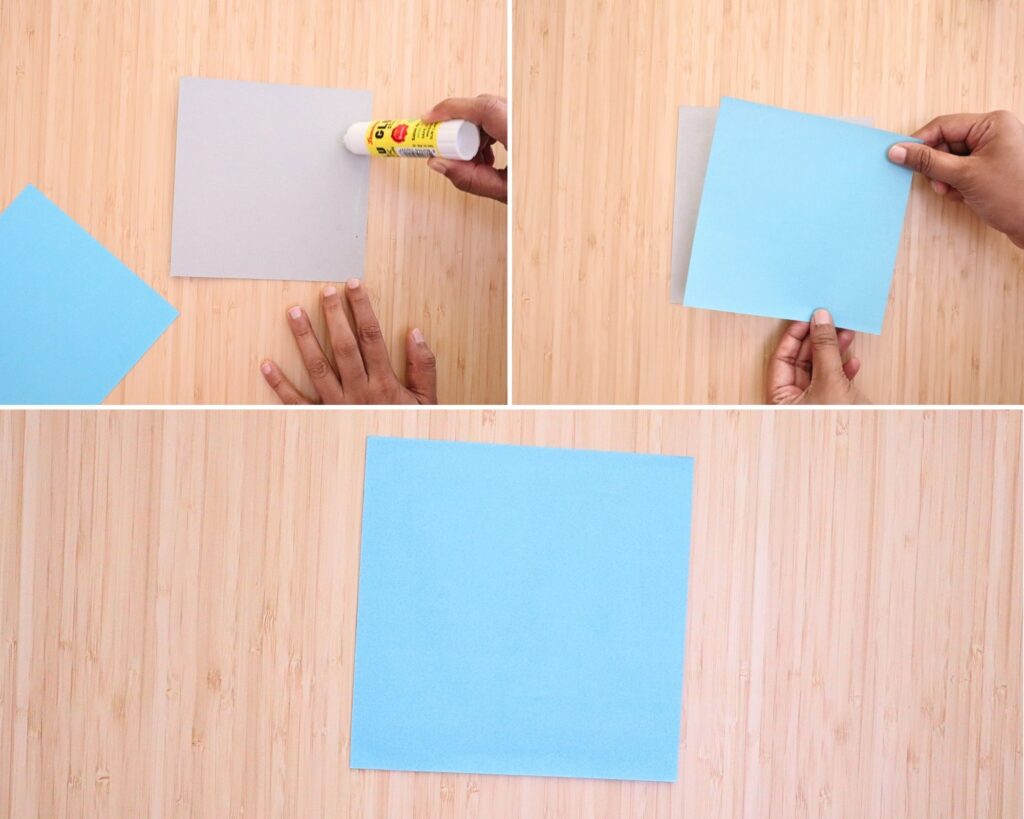
Apply glue to the cardstock and stick the blue sheet neatly on top.
This gives the craft a sturdier base, especially helpful since puffy paint adds weight and moisture. When pressed together, you get a smooth blue background that looks like a simple winter sky.
Step 2: Make the puffy paint
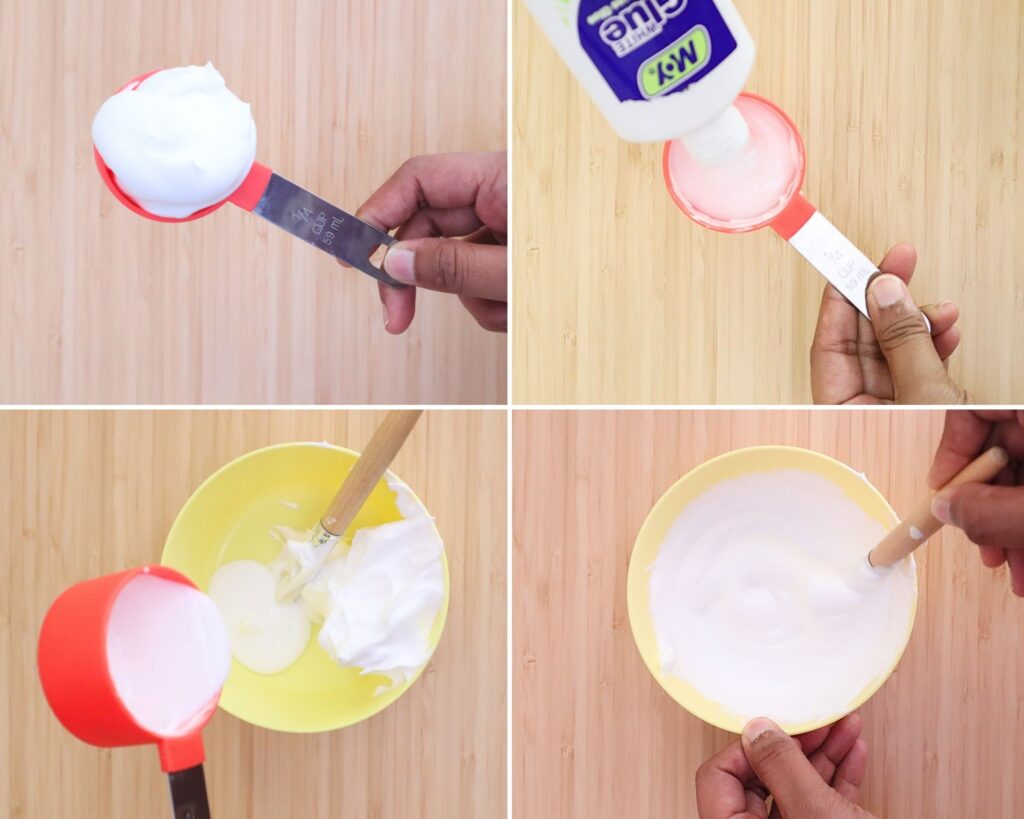
The next step is to make the puffy paint. To make homemade puffy paint, mix equal parts shaving foam and white glue until the texture looks thick, fluffy, and smooth.
You don’t want to stir it too much, because heavy mixing will deflate the foam, and the paint won’t stay puffy. The goal is to fold the glue and shaving foam together until they look evenly combined, but still thick, airy, and whipped.
For this craft, we measured out shaving foam using a ¼ cup scoop.
Then measured the same amount of white glue and added both to a small mixing bowl. And gently folded the glue into the foam.
The mixture should stay airy, thick, and white – almost like whipped cream. This is your homemade puffy paint.
Step 3: Start painting the polar bear
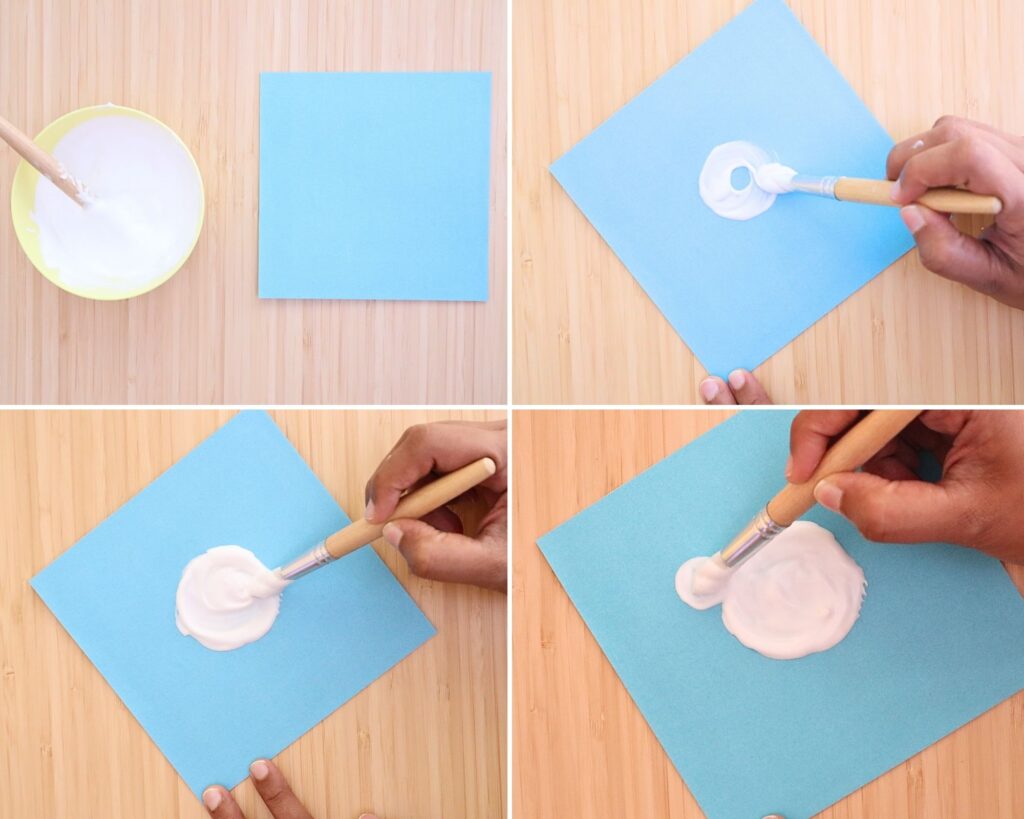
Dip the paintbrush into the puffy paint and begin painting a circular shape in the center of the blue background. This becomes the bear’s head. The thick texture spreads beautifully and dries puffed up, giving the bear its fluffy look.
Continue adding puffy paint around the top of the head to create two rounded ears.
Don’t worry about making it perfect; the charm of puffy paint is its natural softness and uneven texture.
Step 4: Add the bear’s body
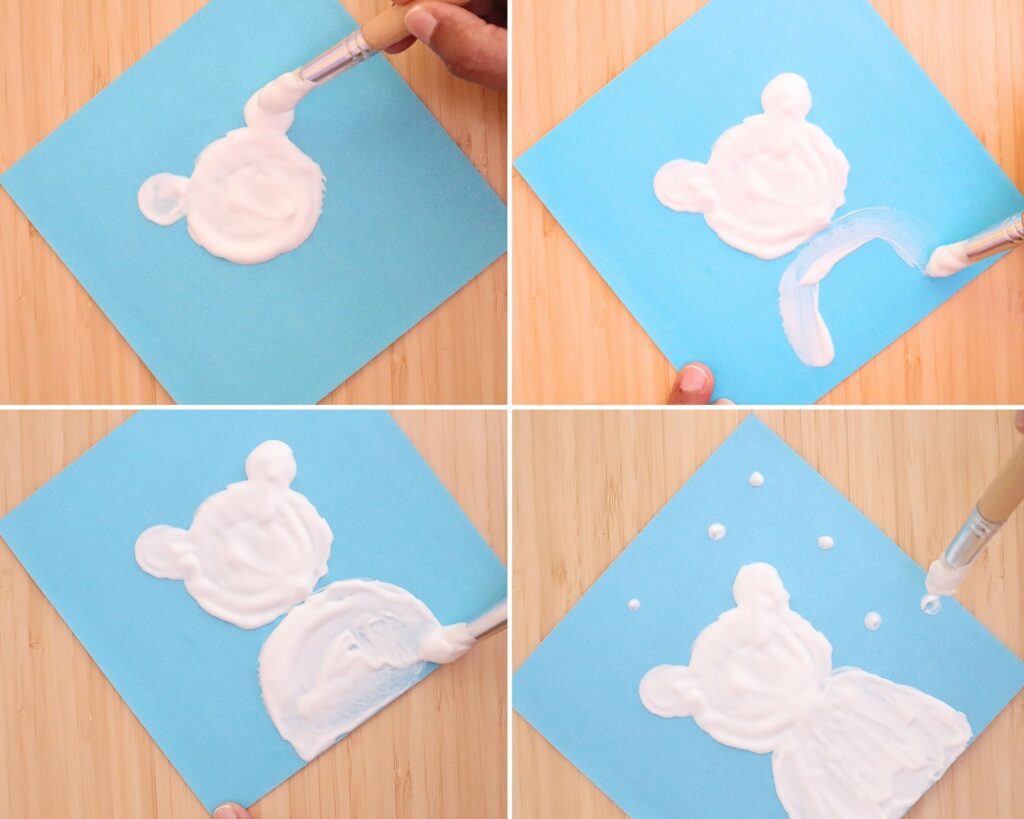
Below the head, paint a large curved shape using more puffy paint.
This forms the bear’s body. Fill in the area fully so it dries with that thick, snowy look.
Kids love this part because the mixture feels so fun to spread.
Now, add falling snow.
Use the end of the paintbrush to dab small dots of puffy paint all around the background. Each little dot dries like a raised snowball, creating a pretty winter snowfall effect across the page.
Step 5: Let it dry
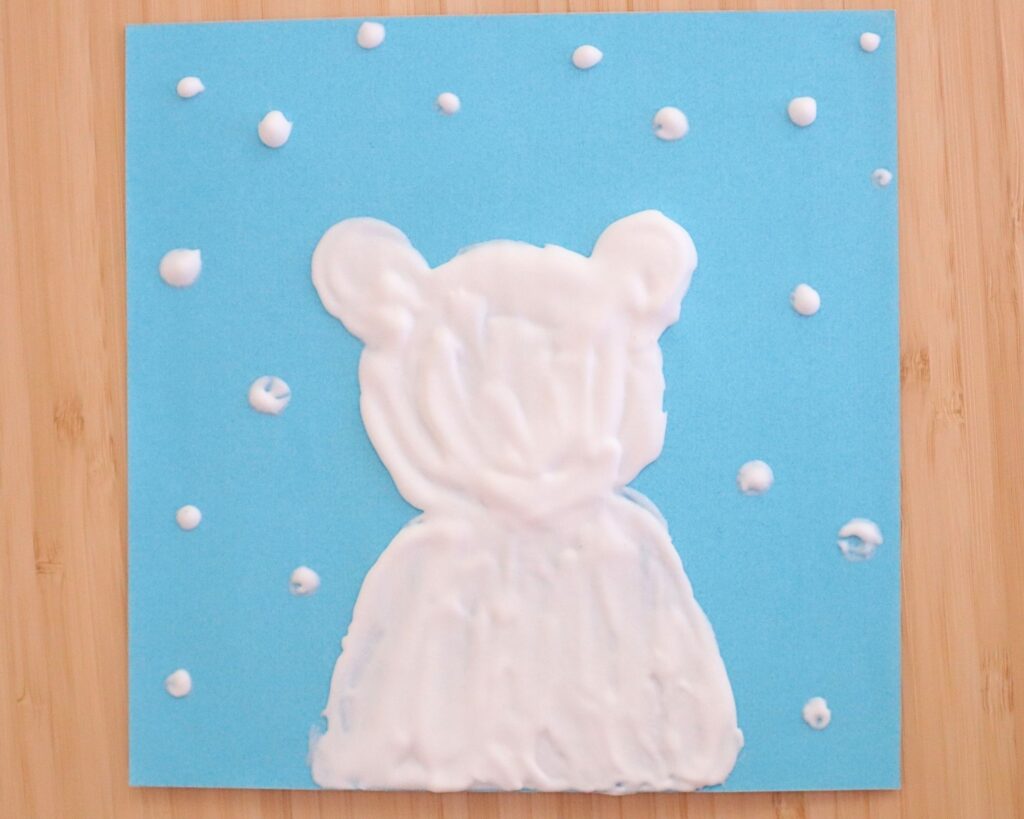
Once your polar bear and snowflakes are painted, set the artwork aside to dry completely.
We left ours for overnight to dry.
If kids applied a generous layer (which they usually do!), it may need the full drying time. You’ll know it’s ready when the surface feels light, soft, and spongy instead of wet.
Step 6: Add the bear’s face
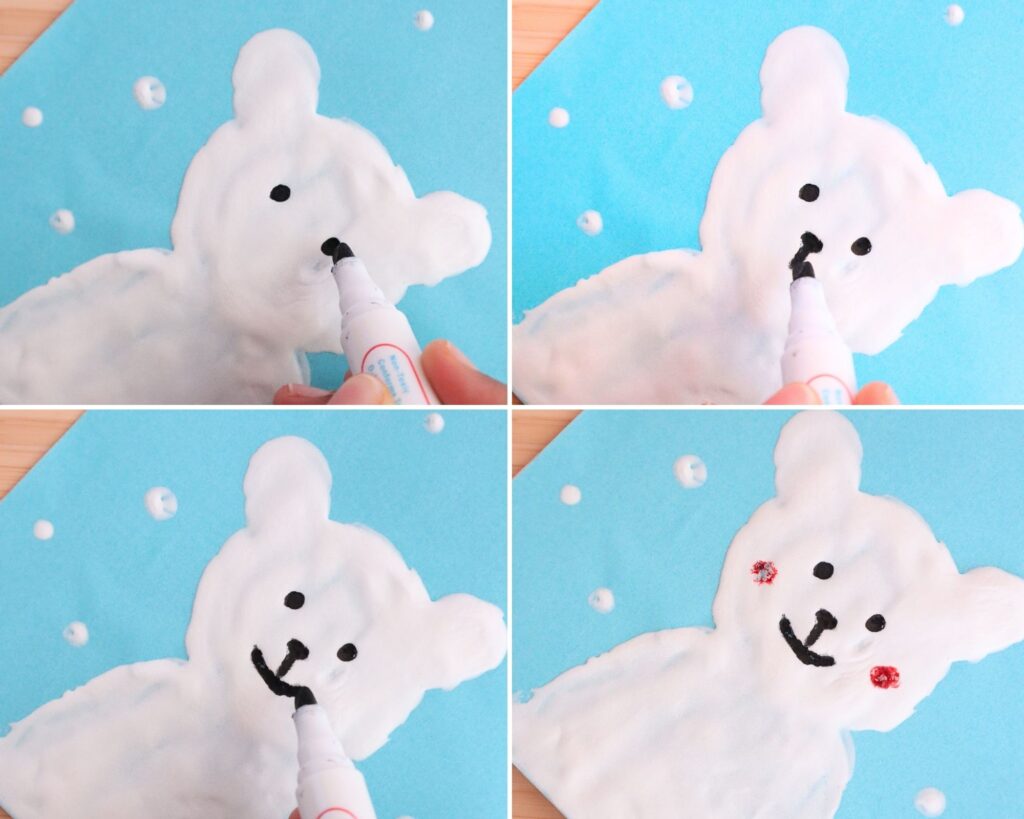
After the puffy paint is fully dry, use a black marker or paint pen to gently draw the bear’s eyes. Just draw two simple black dots for eyes.
Add a little oval for the nose and a curved line for the mouth. Go slowly so the marker glides over the textured surface without tearing it.
Step 7: Add the cheeks (optional)
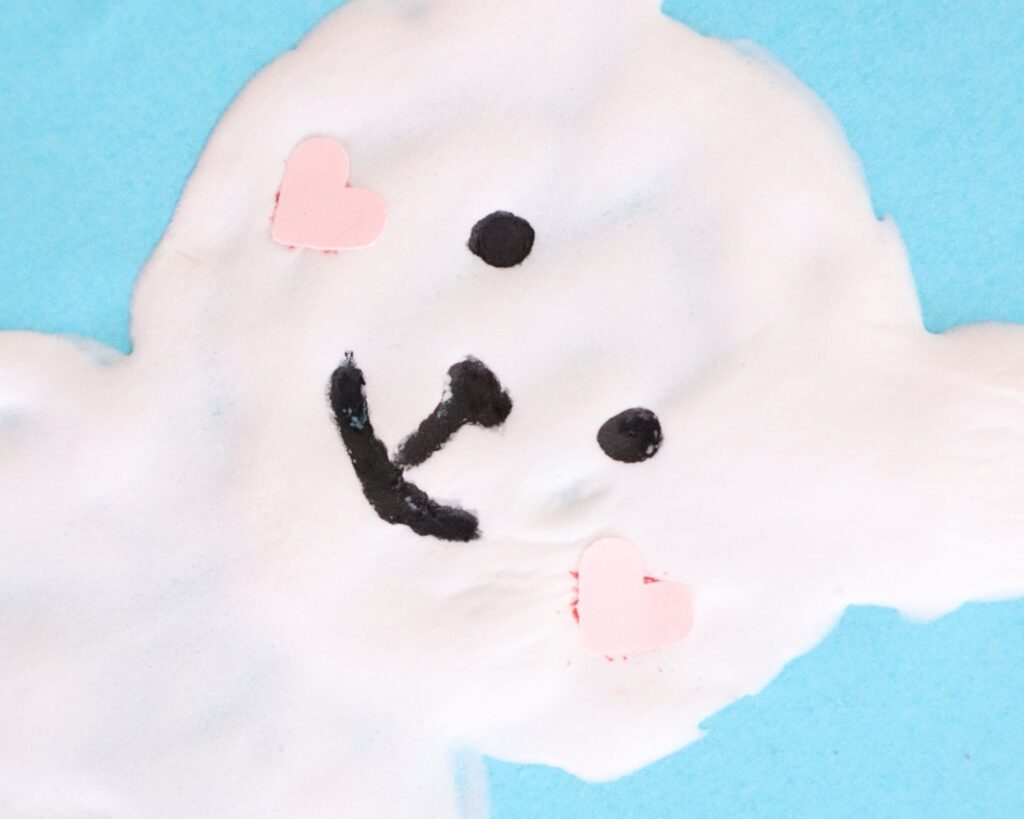
For a cute finishing touch, add pink cheeks on either side of the bear’s face.
You can:
- Draw them with a pink marker
- Use tiny paper circles
- Or add small heart-shaped cutouts for a sweet, whimsical look, like we did
These little details instantly bring the bear to life and give the craft its warm personality.
Step 8: Add a cozy felt scarf

A simple accessory makes the polar bear even more adorable.
Cut a strip of pink felt (or any color you like) to make a little winter scarf.
Place it right under the bear’s head and use a small dab of hot glue to secure it in place. Hot glue works best here because it sticks quickly to the dried puffy paint. You can also try with a normal glue, if you have a good quality one.
Next, cut a shorter felt piece and snip little fringes at the bottom to create the scarf’s loose ends.
Add a little hot glue to the top of this piece and layer it over the first strip at a slight angle so it looks like the scarf is draped naturally.
Press it gently so it sits neatly across the bear’s body, giving the polar bear that cute, bundled-up winter look.
The bright felt adds a pop of color and brings a fun, tactile element to the craft. It also contrasts beautifully with the soft, snowy texture of the puffy paint.
Step 9: Final touches
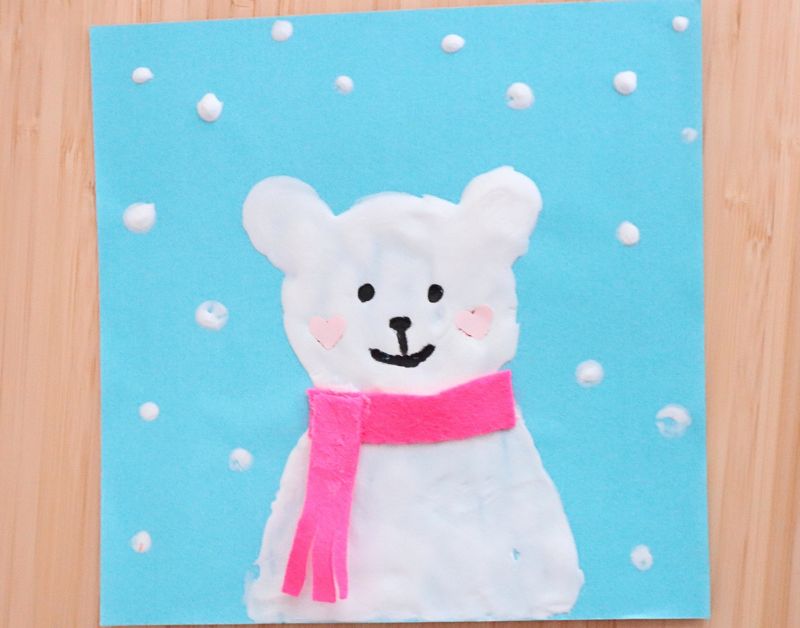
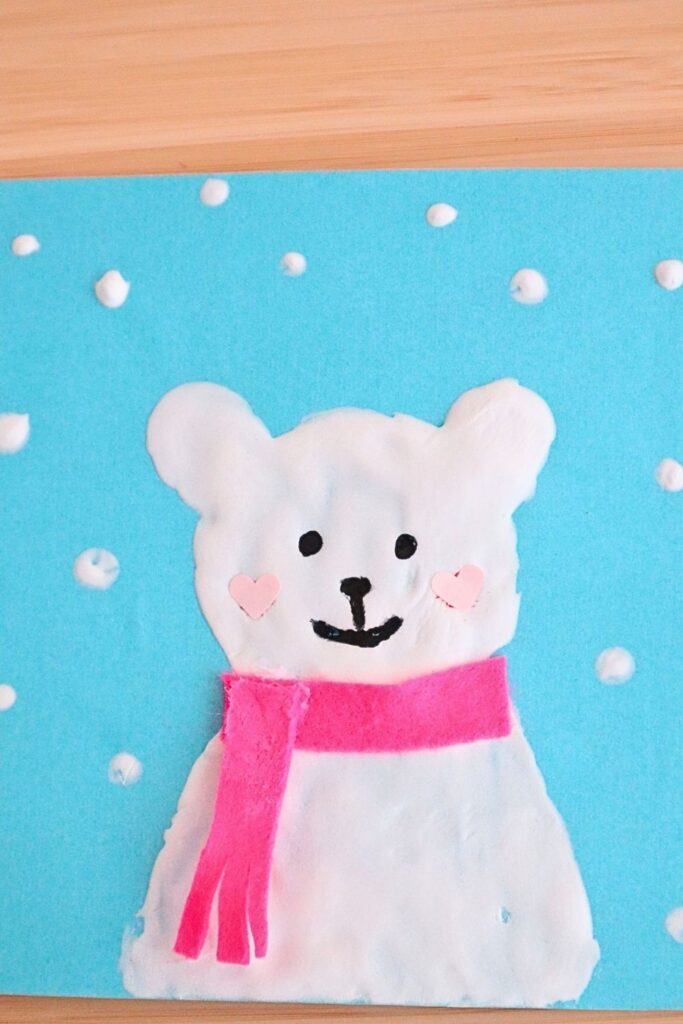
With the scarf in place, your puffy paint polar bear is complete!
The raised paint, snowflakes, cute little heart cheeks, and felt scarf all come together to create a sweet winter scene.
Kids will love touching the finished artwork because the paint dries soft, squishy, and textured.
Craft Tips and Variations
- Use cotton instead of puffy paint: If you’re crafting with very young toddlers, you can glue small pieces of cotton to create the polar bear instead of using puffy paint.
- Add googly eyes: For extra cuteness, swap the drawn eyes with tiny googly eyes.
- Make a whole arctic scene: Take a bigger canvas, and add icebergs, mountains, or a blue watercolor wash behind the bear. Kids love building a full story on the page.
- Try different scarf materials: Felt looks lovely, but yarn, patterned paper, or fabric scraps also make great scarves.
- Change the background: Use dark blue cardstock and add white dots for a night sky with stars.
- Add glitter to the snow: A little sprinkle of iridescent glitter on the wet puffy paint makes the scene sparkle like real snow.
How to Use This Puffy Paint Polar Bear Craft
This is the kind of craft that works beautifully for:
- Winter classroom displays: A board full of fluffy polar bears looks adorable in a preschool or kindergarten hallway.
- Arctic animal lessons: Pair the craft with books about polar bears, hibernation, or winter habitats.
- Snow-day activities: Kids love the sensory feel of puffy paint, and it keeps them busy for a good stretch of time.
- Holiday craft stations: Perfect for Christmas, winter camps, and December craft tables.
- Keepsakes: Once the paint dries, the bear stays slightly raised and soft – it’s a fun, tactile memory to keep.
You can also turn this artwork into a winter greeting card by folding the cardstock in half and making a small version of the bear on the front.
Final Thoughts
This Puffy Paint Polar Bear Craft is such a fun way to bring a little winter magic indoors.
Kids love the soft, fluffy texture of the puffy paint, and the felt scarf adds that extra cozy touch that makes each bear feel special.
It’s an easy project to set up, gentle enough for preschoolers, and creative enough for older kids to enjoy too.
Once the bears are dry, display them on a wall or bulletin board; they always brighten up a room. We hope you and your little ones enjoy making these adorable puffy friends as much as we did!