
Paper Plate Penguin Craft (Easy Winter Craft for Kids)
If you’re putting together a winter-themed craft lineup for your kids, this little paper plate penguin is such a fun addition.
It’s one of those projects that looks impressive when it’s done but is actually very simple for kids to make.
All you need is a paper plate, a bit of paint, and some colored paper, and the whole craft can be done in the sweetest way.
This is a great winter afternoon activity, perfect for classrooms, preschoolers, or a cozy craft session at home when everyone wants something quick and hands-on.
I am sure kids will love painting the plate and watching the penguin take shape piece by piece, and since the steps are so easy, they can do most of it on their own with just a little guidance.
By the end, you’ll have an adorable waddly penguin that they will proudly show off or hang on the wall as part of your winter decorations.
It’s such a simple and cute winter craft!
Before moving on to the craft, we would appreciate it very much if you would check out our YouTube channel and subscribe to it.
We upload new easy craft tutorials every week that are different from what we publish on the blog. Thank you!
So, let’s move in with the penguin craft.
Materials You’ll Need
- Paper plate
- Black paint
- Paintbrush
- White paper
- Orange paper
- Black paper
- Googly eyes
- Scissors
- Glue stick
- A pencil or pen for drawing
- A small bowl of water (for thinning paint if needed)
Step-by-Step Instructions for the Paper Plate Penguin
Step 1: Prepare your supplies

In this image, you can see the materials spread out – three shades of paper, a paper plate, scissors, glue, and paint. Once these are ready, you can get started quickly.
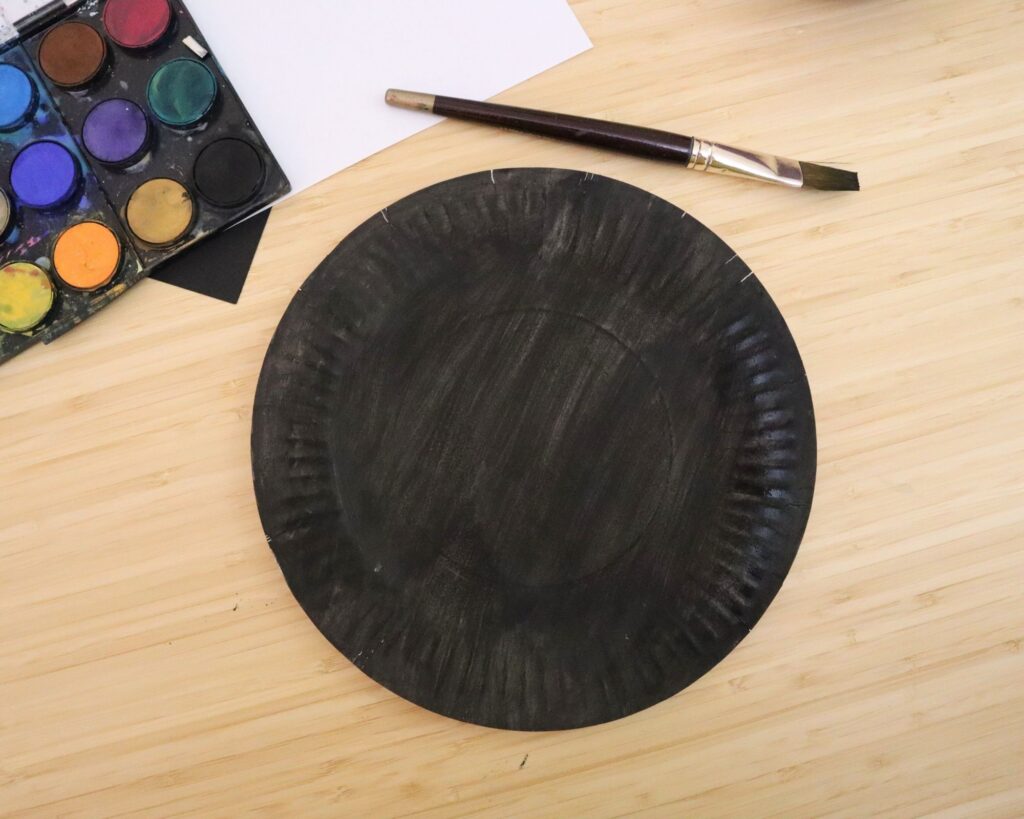
Step 2: Paint the paper plate black
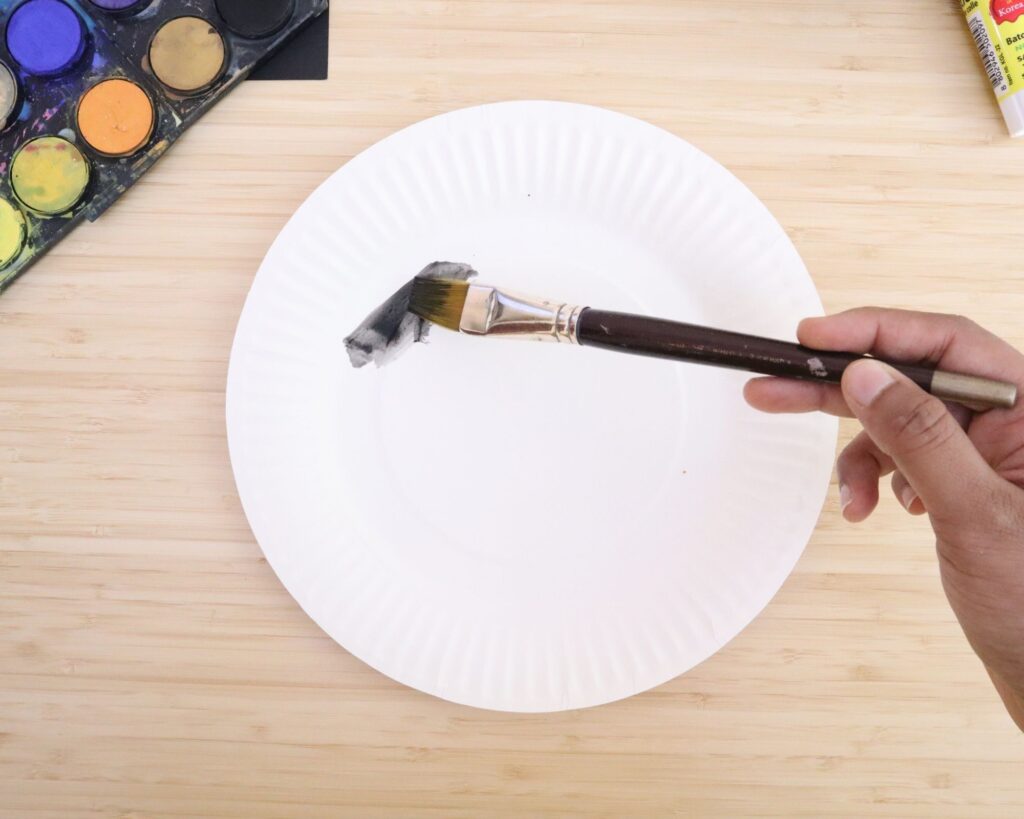
Start by painting the entire paper plate black. Cover as much of the surface as you can. Once the plate is fully painted, set it aside to dry.
Step 2: Prepare the white belly
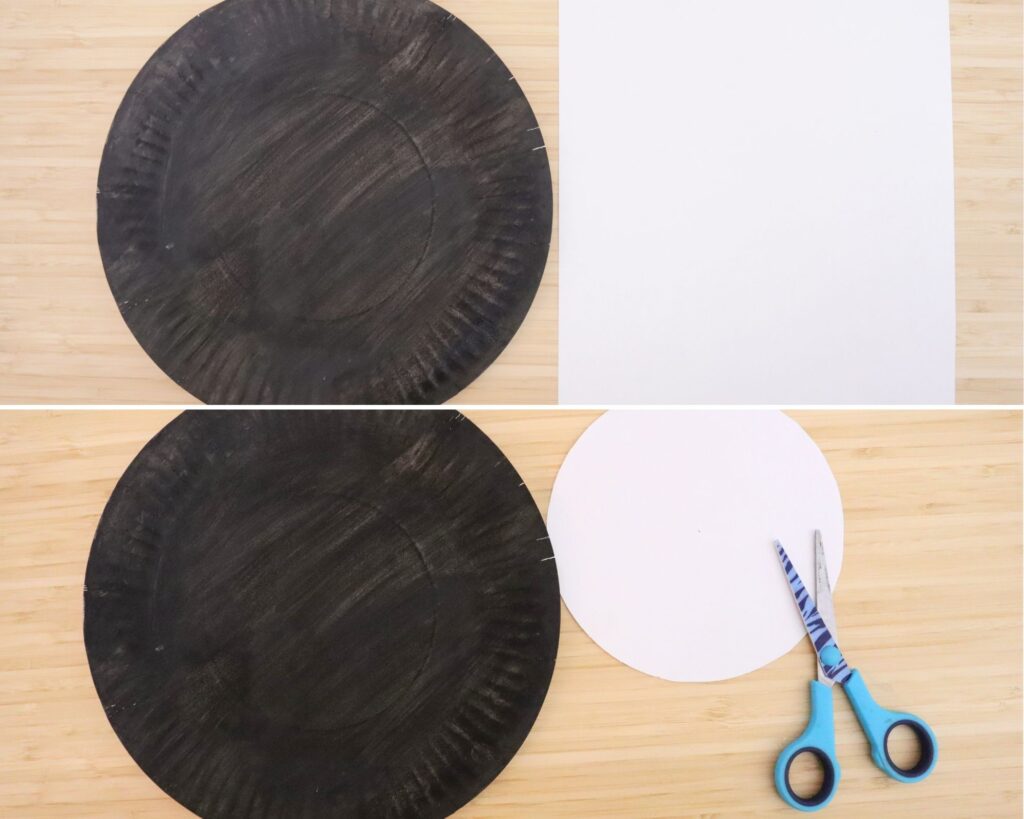
Cut a large circle out of white paper, as this will be the penguin’s belly.
You can trace around a bowl or simply cut freehand. For a size reference, the circle we used has a diameter of approximately 14.5 cm.
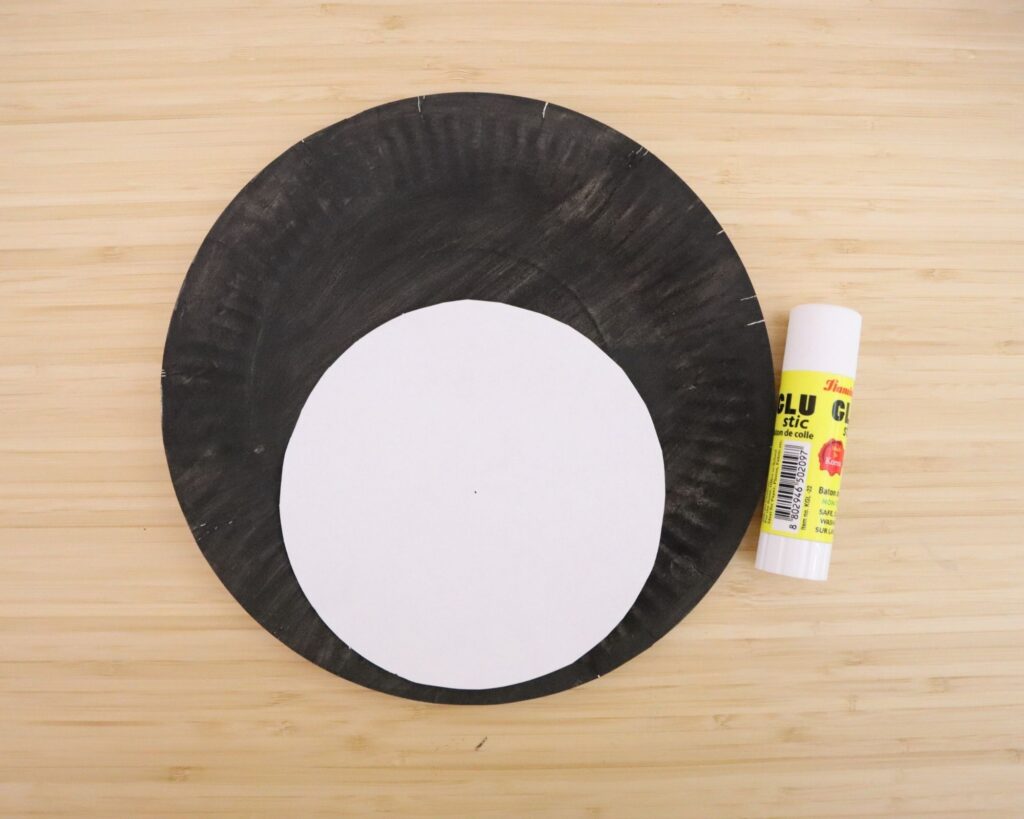
Once cut, glue the white circle to the bottom half of the black plate.
Step 3: Make the beak and feet
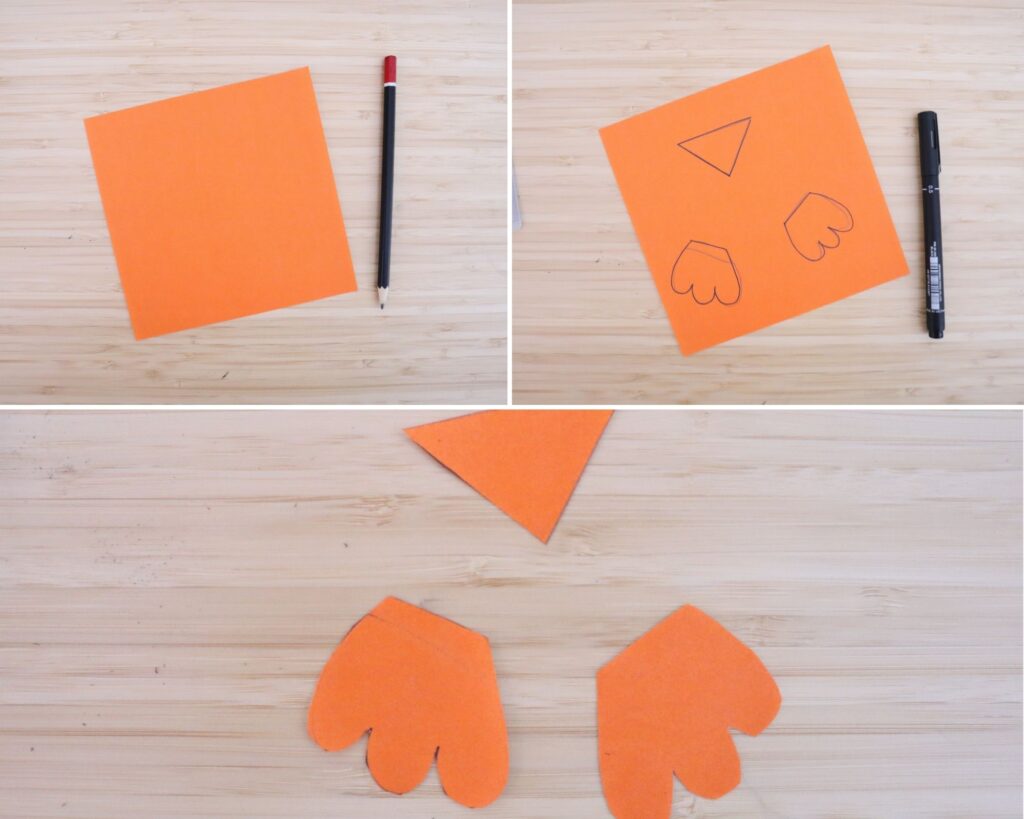
Take a piece of orange paper and draw a small triangle for the beak. Then draw two little penguin feet. Cut them out carefully.
Step 4: Cut out the wings
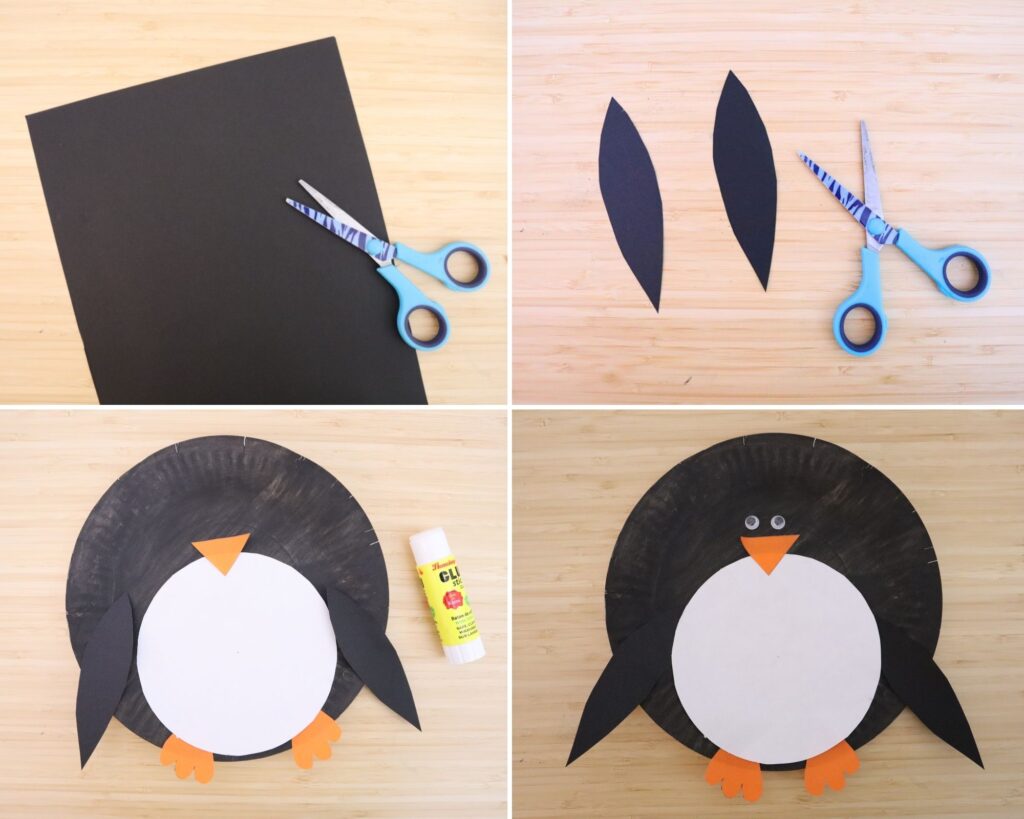
Use the black paper to cut out two long wing shapes. They should be slightly curved to resemble flippers.
Attach one wing on each side of the plate, angled slightly outward.
And then, also glue the beak near the top of the belly area and attach the feet at the bottom of the plate so they peek out.
Step 5: Add the face
Finish your penguin by adding two googly eyes above the beak. Adjust placement until it looks just the way you want.
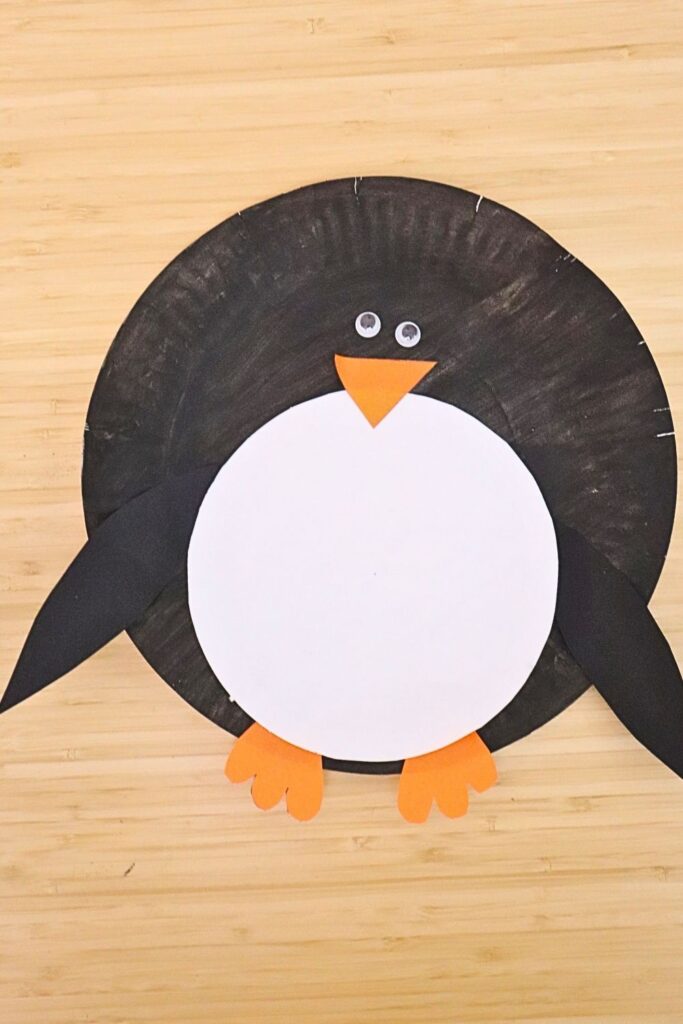
And there it is, our cute paper plate penguin is now ready!
Ways to Use This Paper Plate Penguin Craft
- A great winter-themed display for classrooms, nurseries, or kids’ rooms.
- Works perfectly for bulletin boards, winter corners, or art walls during the colder months.
- Can be combined with other winter crafts like snowmen, polar bears, and Arctic landscapes for a full themed setup.
- Ideal for early learning centers wanting simple winter crafts that still look impressive when finished.
- Can be used as part of a winter animals lesson or preschool theme week.
- A fun activity to pair with picture books about penguins, winter, snow, or the Arctic.
- Helps children stay engaged during story time when they get to “act out” the story with the penguin they made.
- Encourages pretend play – kids love moving the penguin around, giving it a name, or adding a little personality.
- Easy to turn into a puppet by taping a jumbo craft stick or straw to the back.
- Perfect for indoor craft time on cold days when families are looking for something to keep kids busy.
Why Teachers and Parents Love This Craft
- Uses simple materials, making it budget-friendly for large groups.
- Paper plate crafts are quick to prep and even quicker to clean up.
- Steps are very easy for young kids to follow with minimal help.
- Older kids can personalize their penguins with add-ons like scarves, bow ties, glitter, earmuffs, or tiny hats.
- Great for mixed-age groups. Everyone can work at their own level.
- Encourages fine motor skills through painting, cutting, and gluing.
- Provides a sense of accomplishment because the final penguin looks adorable every time.
Extension Ideas for More Learning & Fun
- Add a simple writing prompt for older kids:
- “What adventure does my penguin go on today?”
- “If my penguin could talk, what would he tell me?”
- Create a full penguin family by making smaller versions from paper circles.
- Encourage kids to draw or paint a snowy background for their penguin.
- Turn the craft into a winter-themed greeting card by attaching it to folded cardstock. You can do the craft on a smaller paper plate for this.
- Use the penguin as part of a classroom winter show-and-tell.
- Add magnets to the back and turn it into refrigerator décor.
I hope you have got enough ideas to use this craft in different ways. Let us know about your feedback in the comments below!