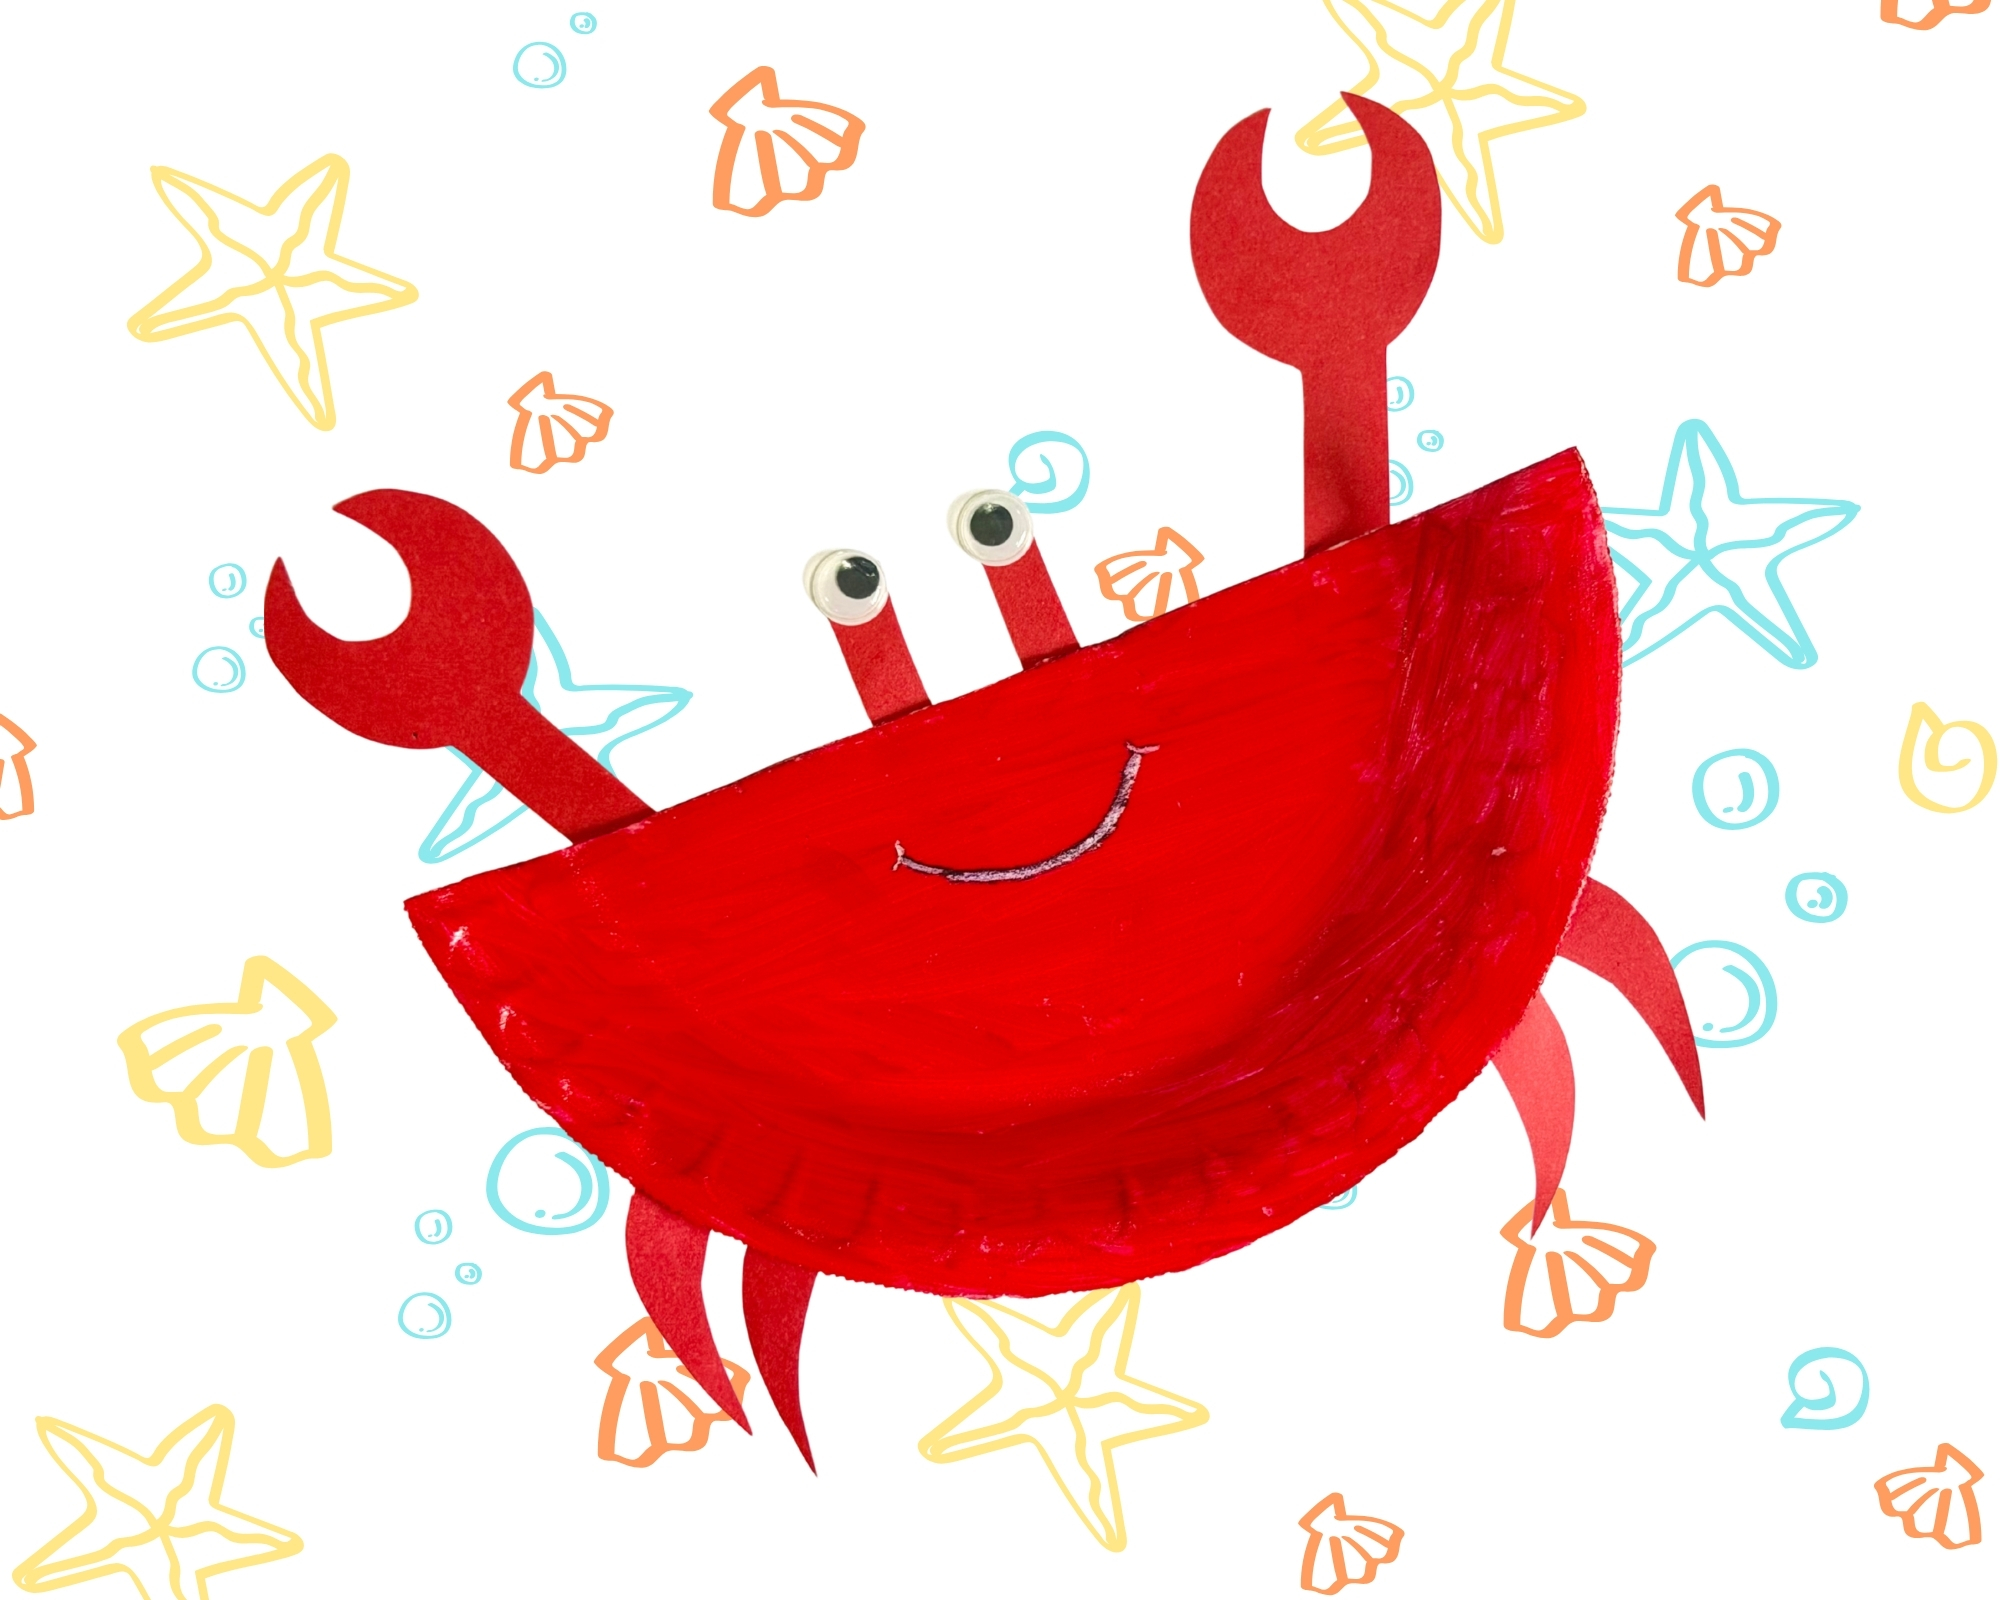
Paper Plate Crab Craft for Kids
Looking for a fun way to bring a little bit of the ocean into your craft time?
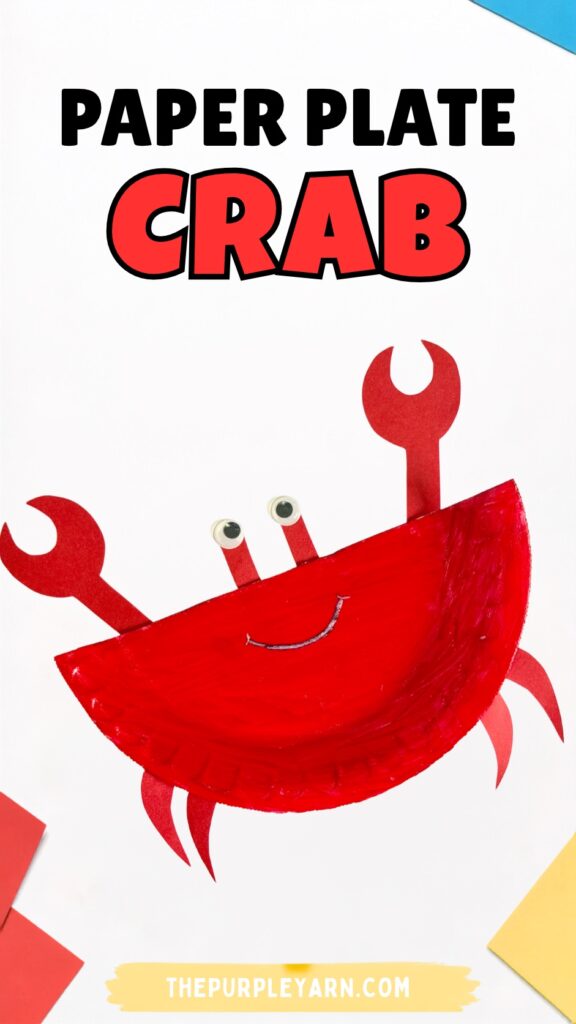
This adorable paper plate crab craft is a simple project that turns an ordinary paper plate into a bright red sea creature!
With its funny little eyes, big claws, and wiggly legs, this crab is sure to make kids smile. It’s also a great ocean animal craft for kids and can easily be included in a sea life or under-the-sea themed activity.
The craft uses just a few basic supplies, and kids can take part in several different parts of the process, from painting the plate to cutting and assembling the crab’s features.
So, let’s grab a paper plate and get started!
Before moving on to the craft, we would appreciate it very much if you would check out our YouTube channel and subscribe to it.
We upload new easy craft tutorials there that are different from what we publish on the blog. Thank you!
What You’ll Need
- A paper plate
- Red paint
- A paintbrush
- Red construction paper
- Googly eyes
- Scissors
- Glue
- A pencil
- A black marker
How to Make a Paper Plate Crab (Step-by-step tutorial)
Step 1: Cut the paper plate
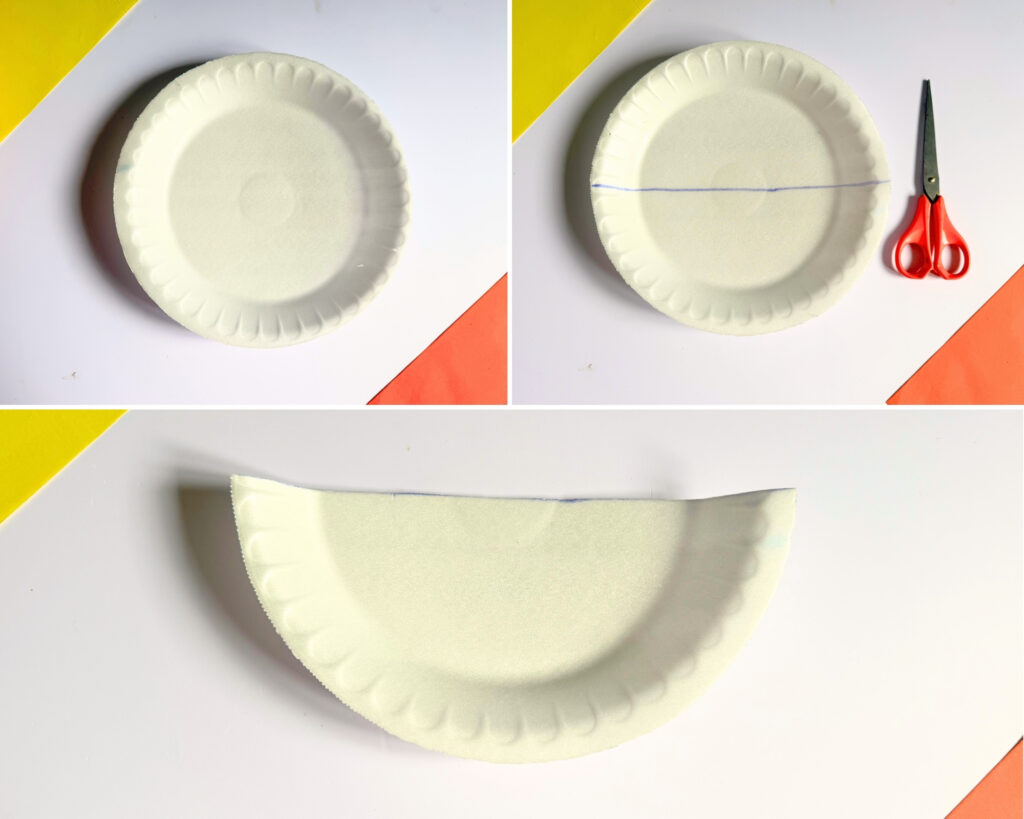
Take a paper plate and carefully cut it straight across the middle to make two equal halves.
For this craft, you will only need one half of the paper plate to make the crab’s body.
Step 2: Paint the paper plate
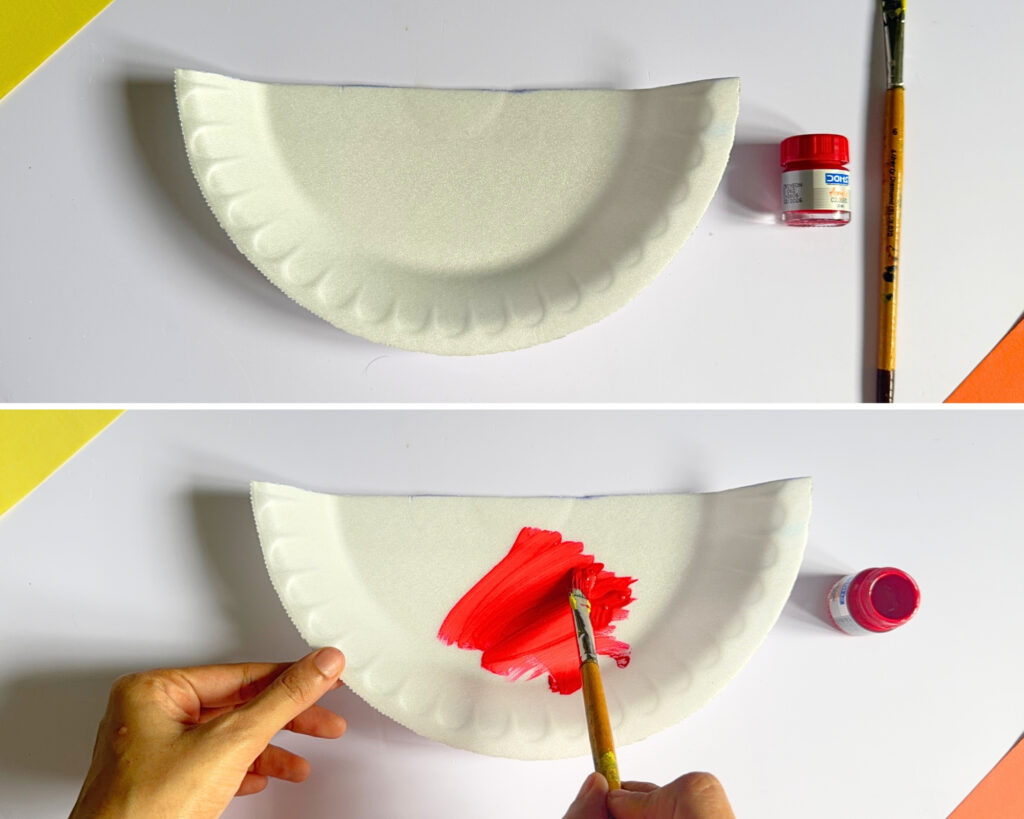
Place the half paper plate on your work surface with the curved edge facing up.
Using red paint and a paintbrush, cover the entire surface of the paper plate. Make sure to paint evenly around the edges as well.
Once you’ve finished painting, leave the plate aside and allow it to dry completely before continuing.
Step 3: Draw the crab’s parts
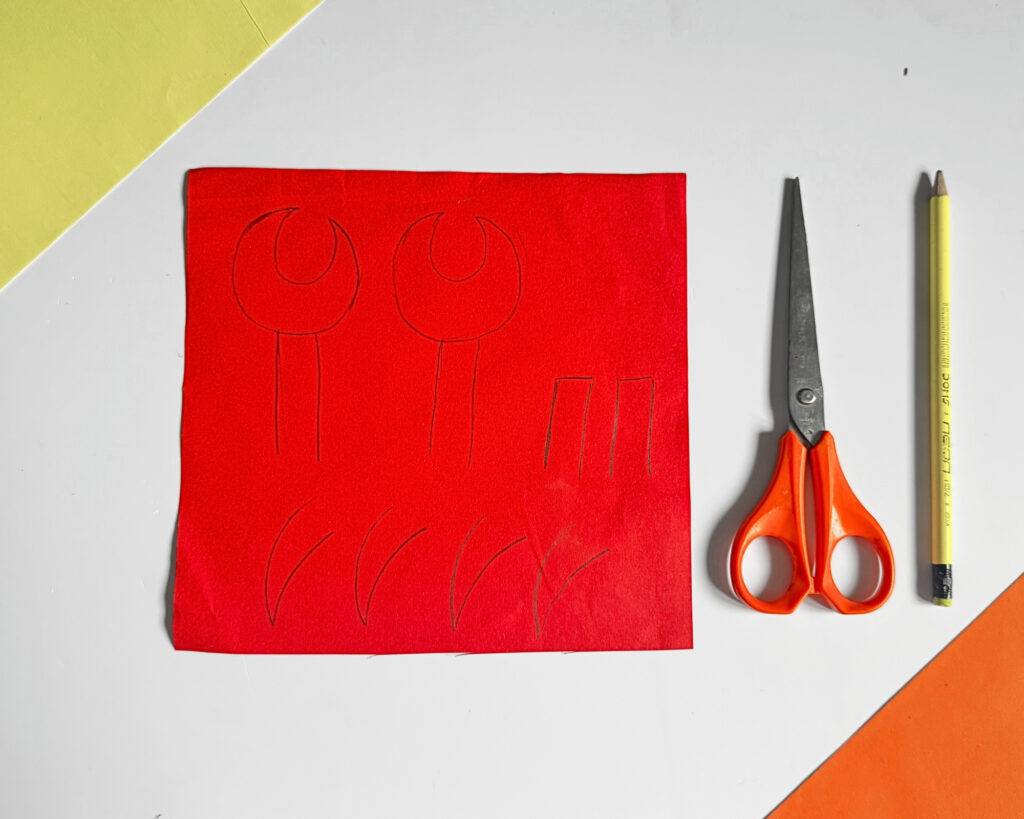
While the paint dries, prepare the pieces for your crab using red construction paper.
Use a pencil to draw two claws, two eye stalks, and four legs. The claws can be made slightly larger, while the legs can be thin and curved to give your crab a fun look.
Step 4: Cut out the pieces
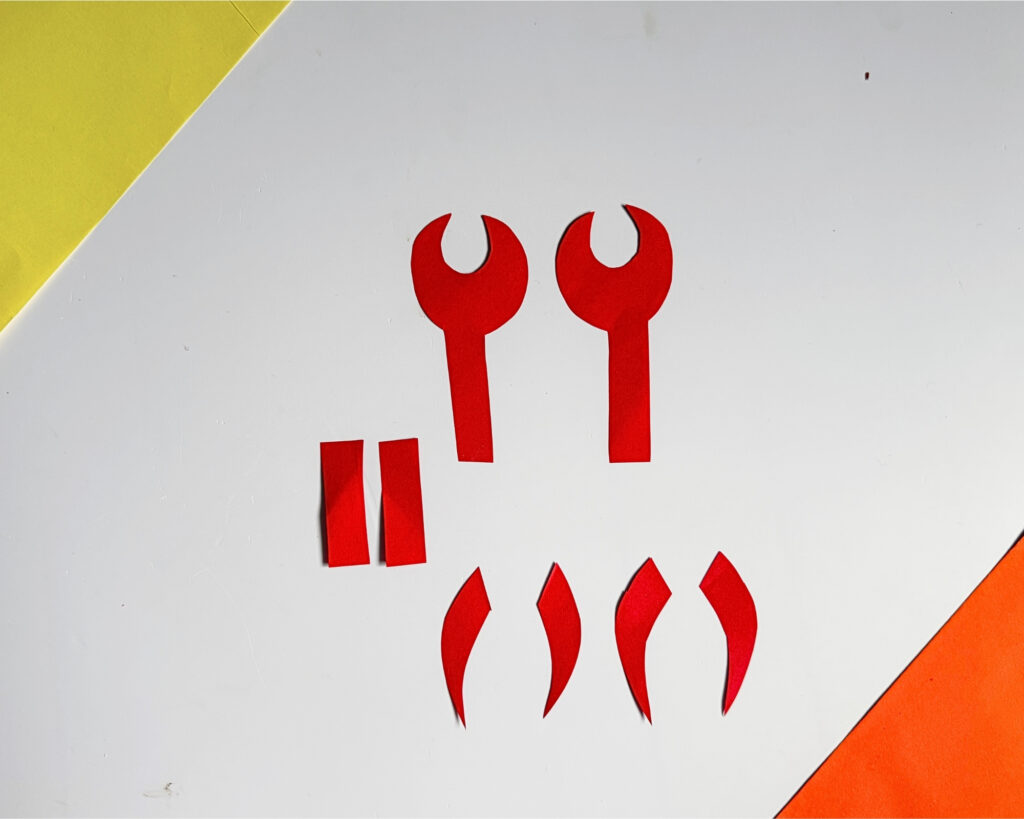
Carefully cut out all the shapes you have drawn on the red paper.
You should now have all the pieces needed to assemble your crab: the claws, eye stalks, and legs.
Step 5: Assemble the crab
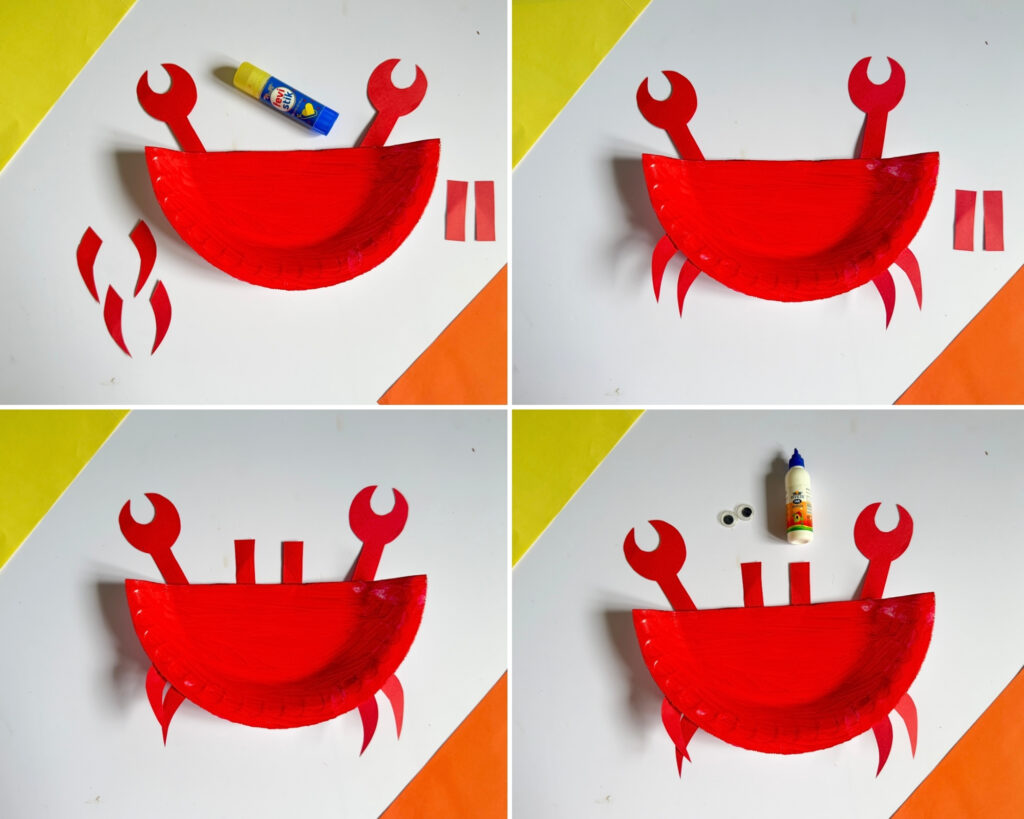
Once the painted plate is completely dry, start attaching the paper pieces.
Glue the two eye stalks along the top edge of the half paper plate and add a googly eye to the top of each one.
Next, attach the two claws to either side of the crab’s body. Finally, glue the legs along the bottom edge of the plate, spacing them out evenly.
Press each piece down gently after gluing to make sure everything stays in place.
Step 6: Draw the crab’s smile
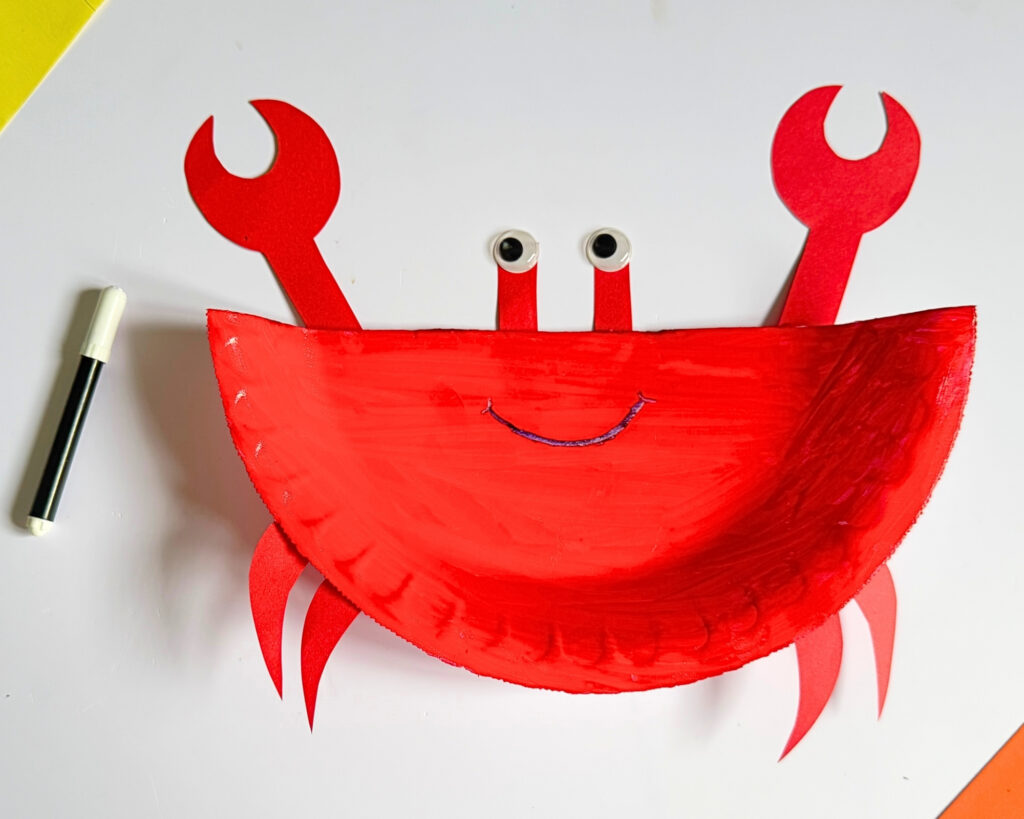
After all the glued pieces have dried, take a black marker and give your crab a cute little smile.
A simple curved line is all you need to bring its face to life!
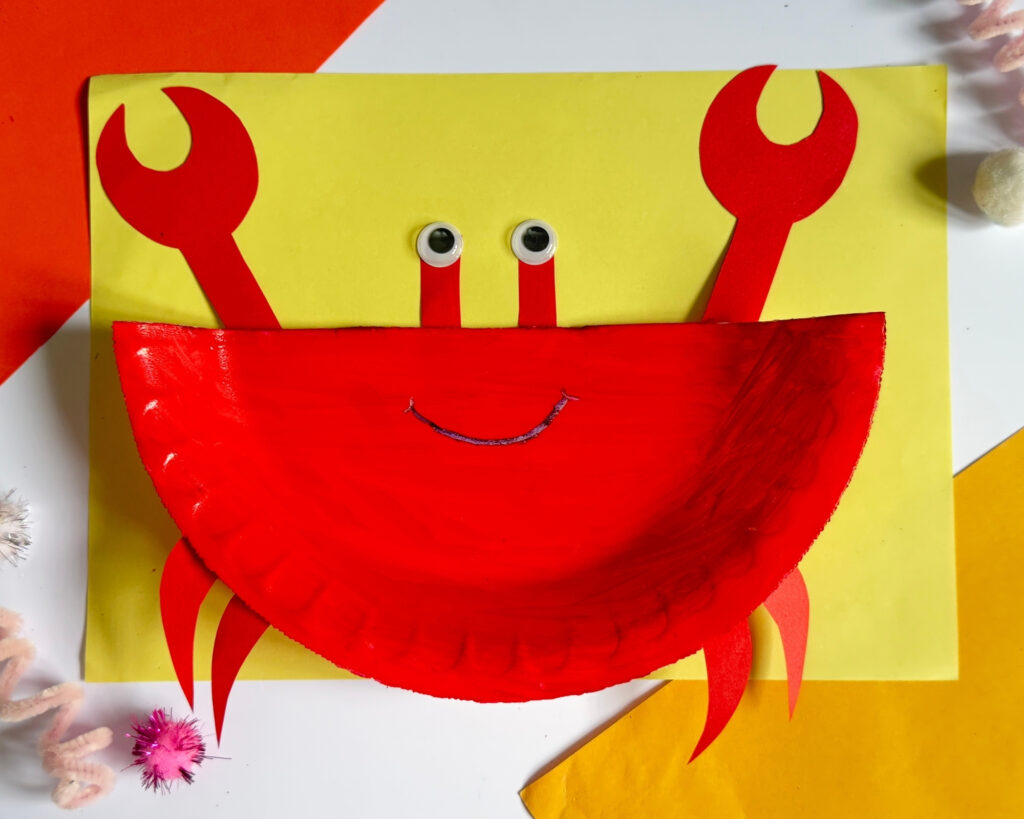
Your adorable paper plate crab is now ready!
Who knew a simple half paper plate could turn into such a fun little crab, right?
This easy paper plate ocean craft is a great activity for kids who love sea animals and enjoy making things with their hands.
You can also use it as part of an under-the-sea craft collection by making other ocean creatures to go along with your crab.
We hope you have lots of fun making your very own paper plate crab.
Happy crafting!
More crafts:
- Easy ocean craft for kids (with free ocean template)
- Paper Plate Lion Craft for Kids
- Popsicle Stick Dragonfly Craft for Preschoolers
- Easy Horse Puppet Craft for Kids
- Paper Plate Penguin Craft (Easy Winter Craft for Kids)
- Paper plate cow craft for Preschoolers and kindergarteners
- Paper plate giraffe craft for kids (with free giraffe template)