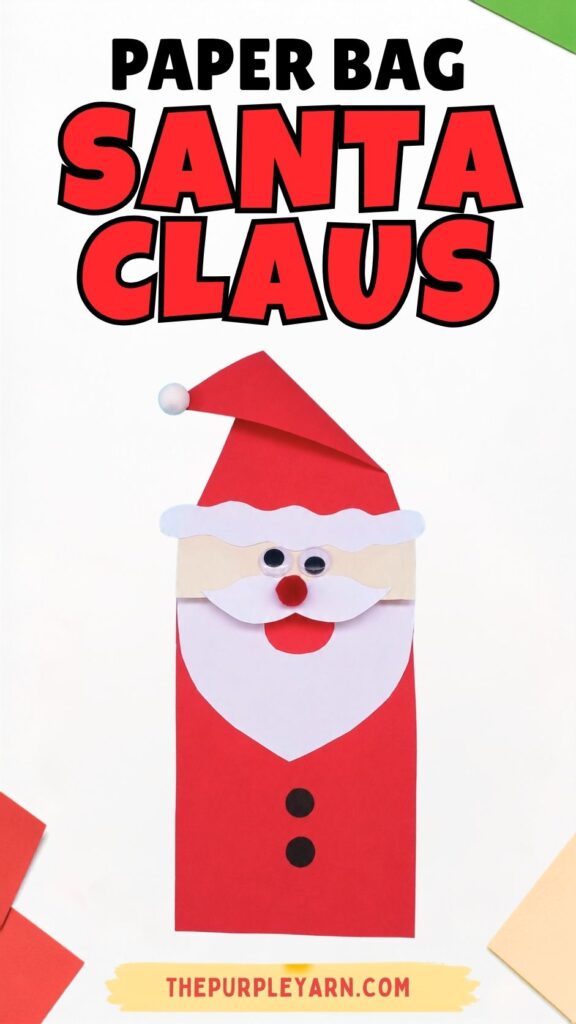
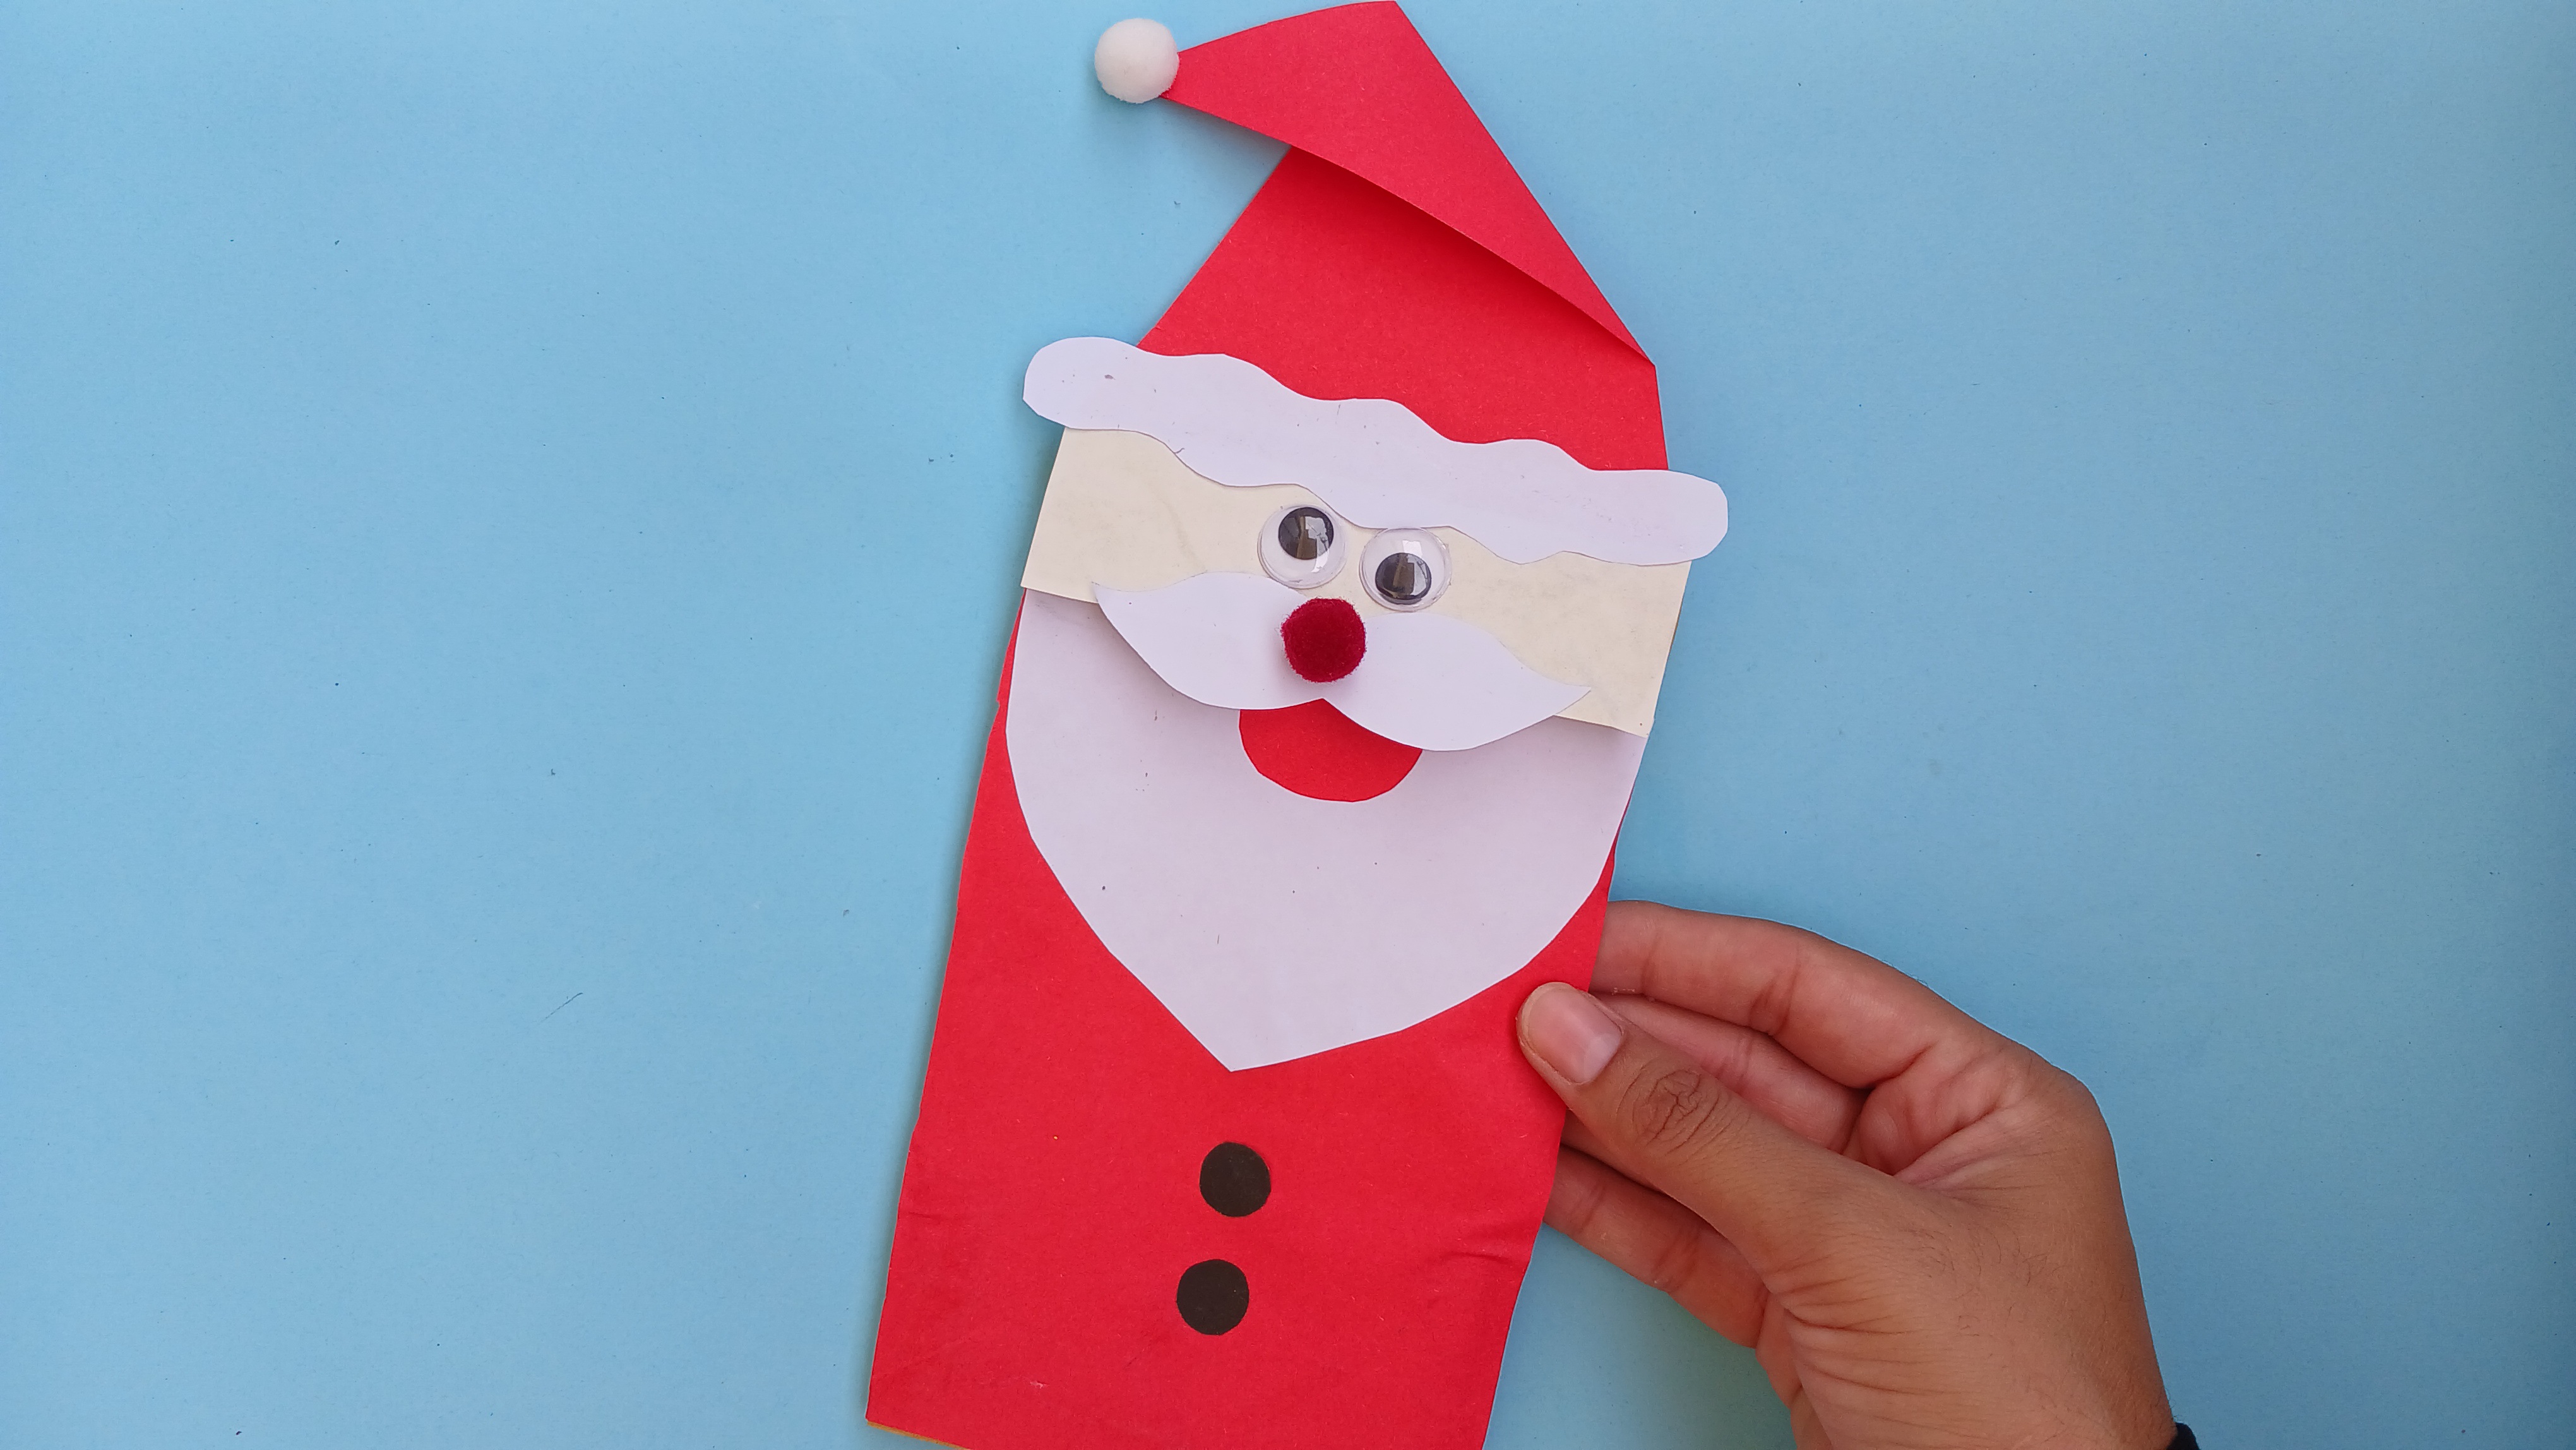
Paper Bag Santa Claus Craft for Kids
If you have a paper bag lying around, let us show you how to turn it into the cutest little Santa Claus!
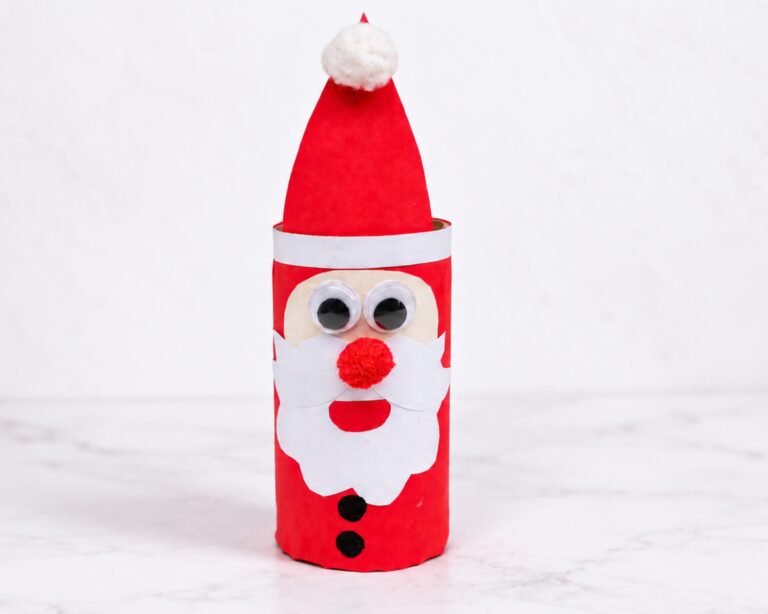
This Paper Bag Santa Claus craft is a fun and easy Christmas craft for kids that uses simple craft supplies like a paper bag, construction paper, googly eyes, and glue.
Kids can fold, cut, draw, and stick the pieces together to create their very own jolly Santa.
The best part?
The face, beard, mustache, and hat pieces are easy to make using simple shapes, making this a great Christmas craft for preschoolers, classrooms, holiday parties, or a fun Christmas activity at home.
So grab a paper bag and some colorful paper, and let’s make Santa!
Before moving on to the craft, we would appreciate it very much if you would check out our YouTube channel and subscribe to it.
We upload new easy craft tutorials there that are different from what we publish on the blog. Thank you!
What You’ll Need
- Brown paper bag
- Red construction paper
- White construction paper
- Peach-colored construction paper
- Black construction paper
- Pom poms (black and red)
- Googly eyes
- Pencil
- Scissors
- Glue
- Black marker
How to Make a Paper Bag Santa Claus
Step 1: Fold the paper bag
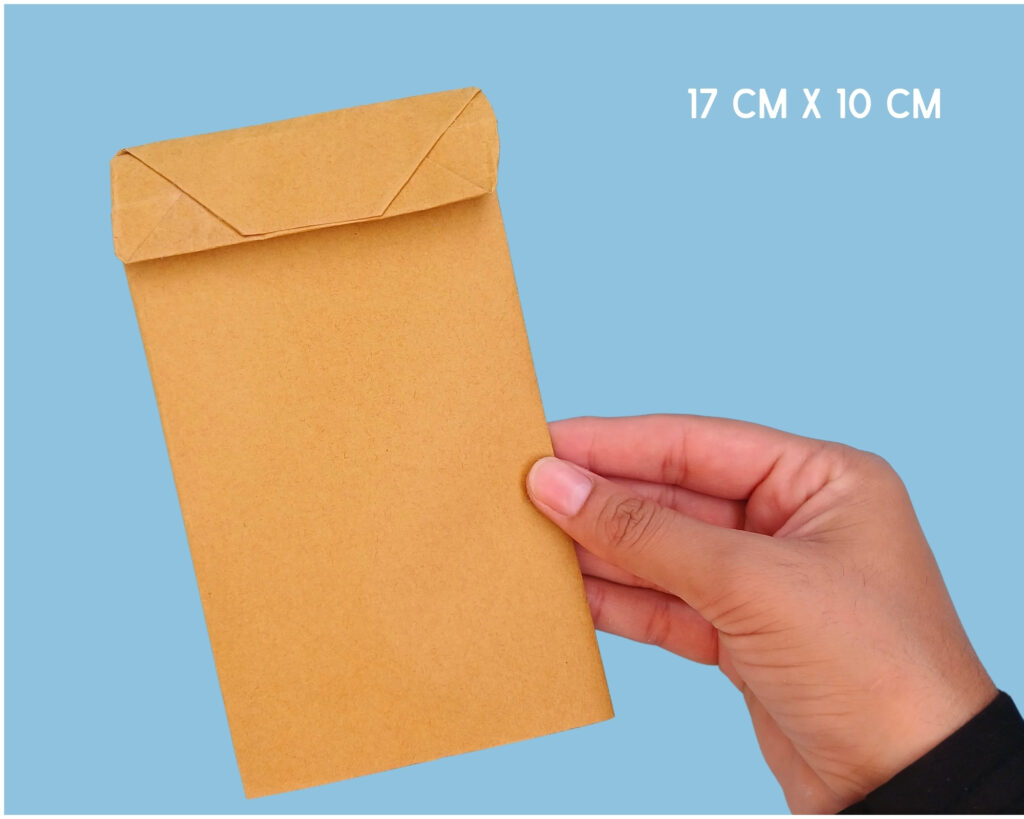
Start with a brown paper bag.
Fold the bottom part of the paper bag upward to create Santa’s face area. This folded section will form the base of Santa’s face.
For reference, the paper bag used in this craft is approximately 17 cm × 10 cm.
Make sure the folded section is neat and sits securely before moving on to the next step.
Step 2: Add Santa’s face
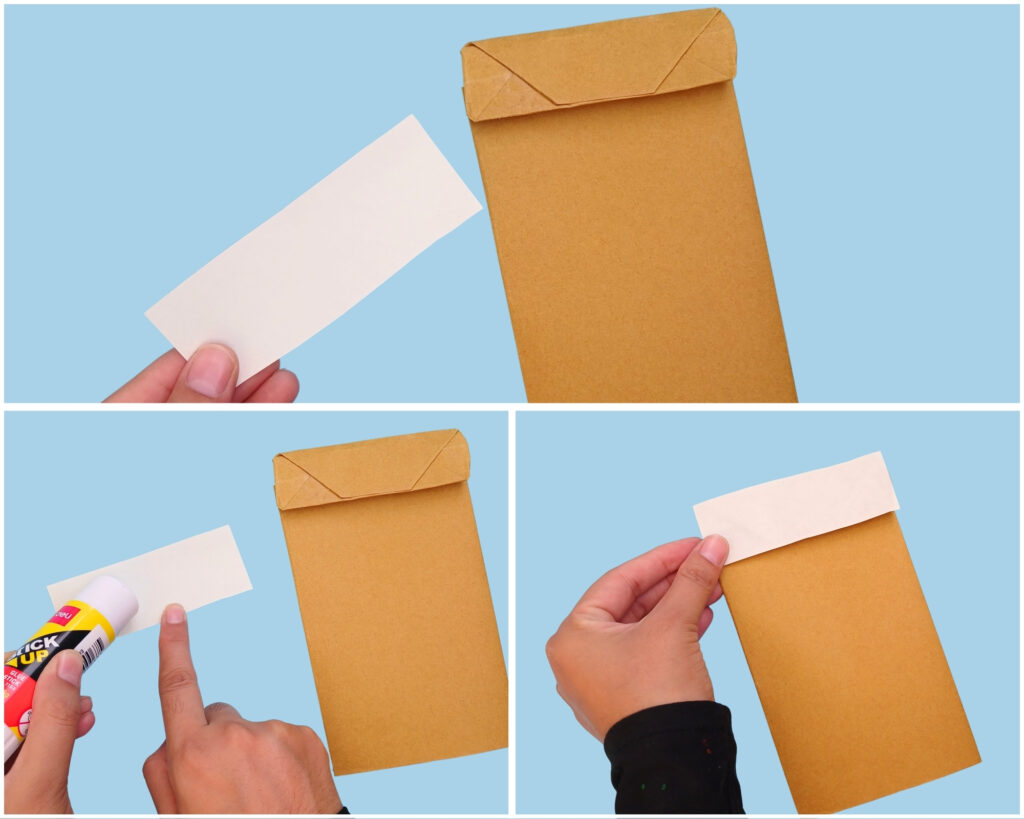
Take a piece of peach-colored construction paper and cut it to fit the folded section of the paper bag.
Apply glue to the back of the peach-colored paper and stick it onto the folded part of the bag.
This will become Santa’s face.
Step 3: Add the googly eyes
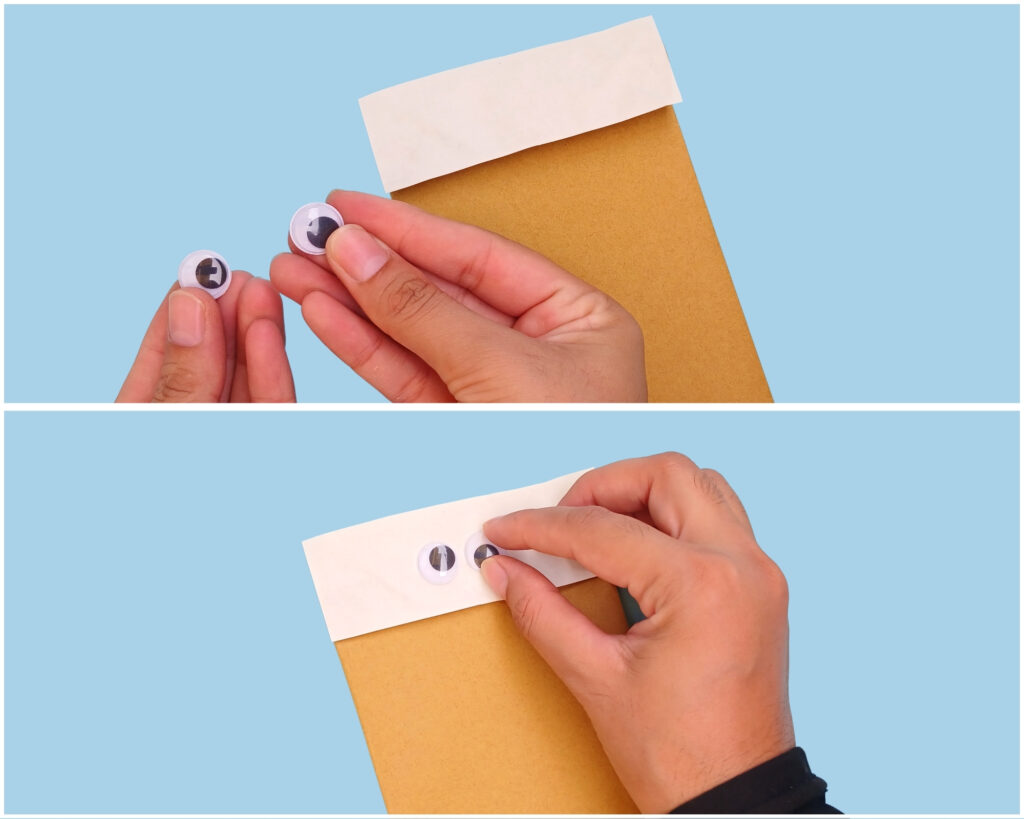
Now it’s time to give Santa some eyes!
Take two googly eyes and glue them onto Santa’s face.
Place them side by side, leaving enough space underneath for Santa’s mustache and nose.
Step 4: Add Santa’s red body and beard
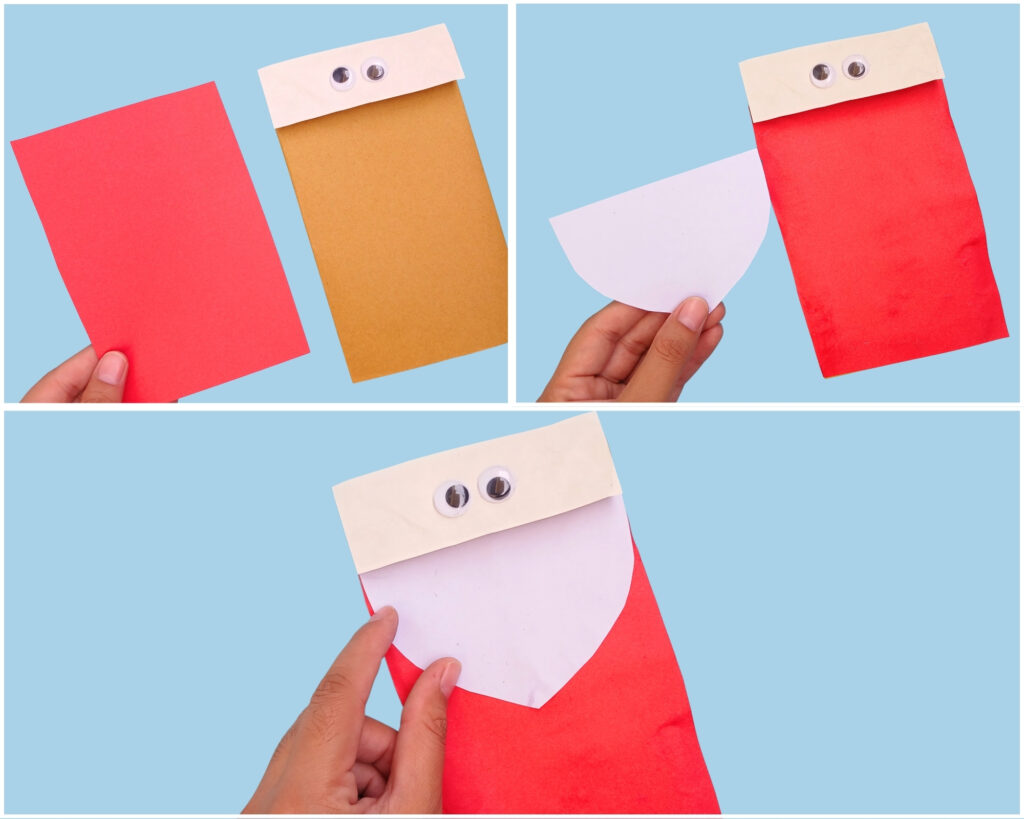
Take a piece of red construction paper and cut it to the size of the paper bag, excluding the folded face section.
Glue the red paper onto the front of the paper bag.
Next, take a piece of white construction paper and draw a beard shape, as shown in the craft.
Cut out the beard and glue it onto the lower part of Santa’s face and red body.
Step 5: Add the mustache
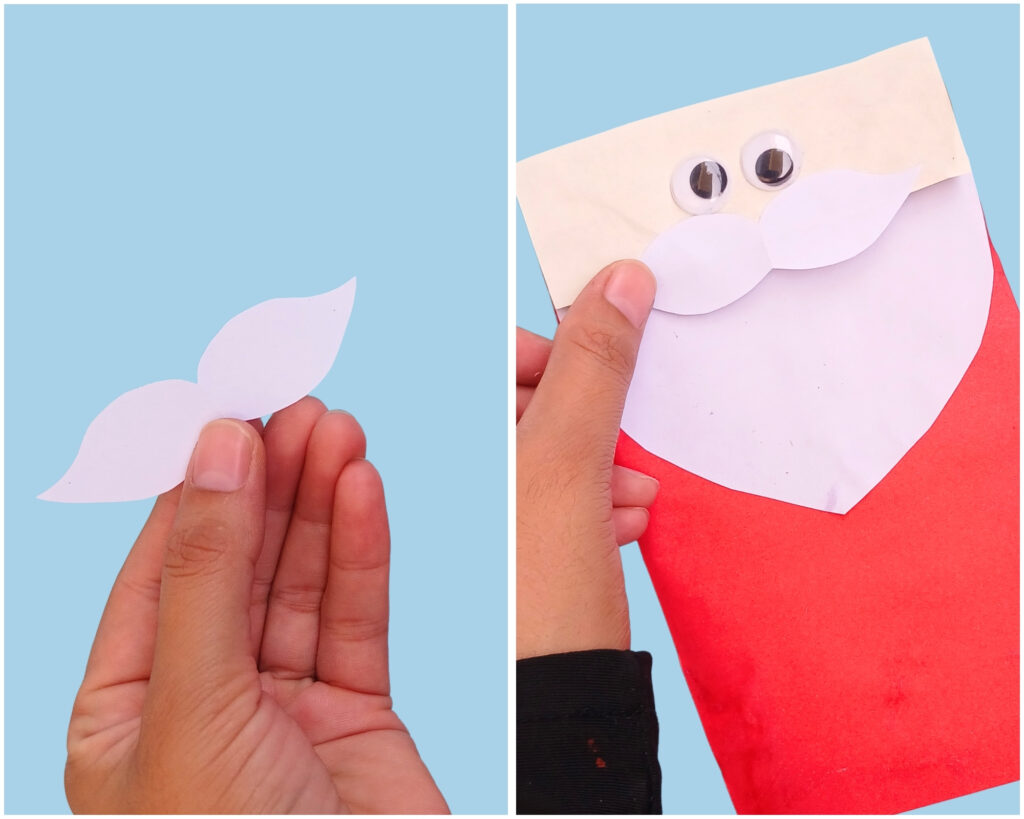
Now let’s give Santa his famous fluffy mustache!
Take a piece of white construction paper and draw a mustache shape.
Cut it out carefully and glue it onto the lower part of the folded face section, underneath Santa’s eyes.
Step 6: Add Santa’s Nose and Mouth
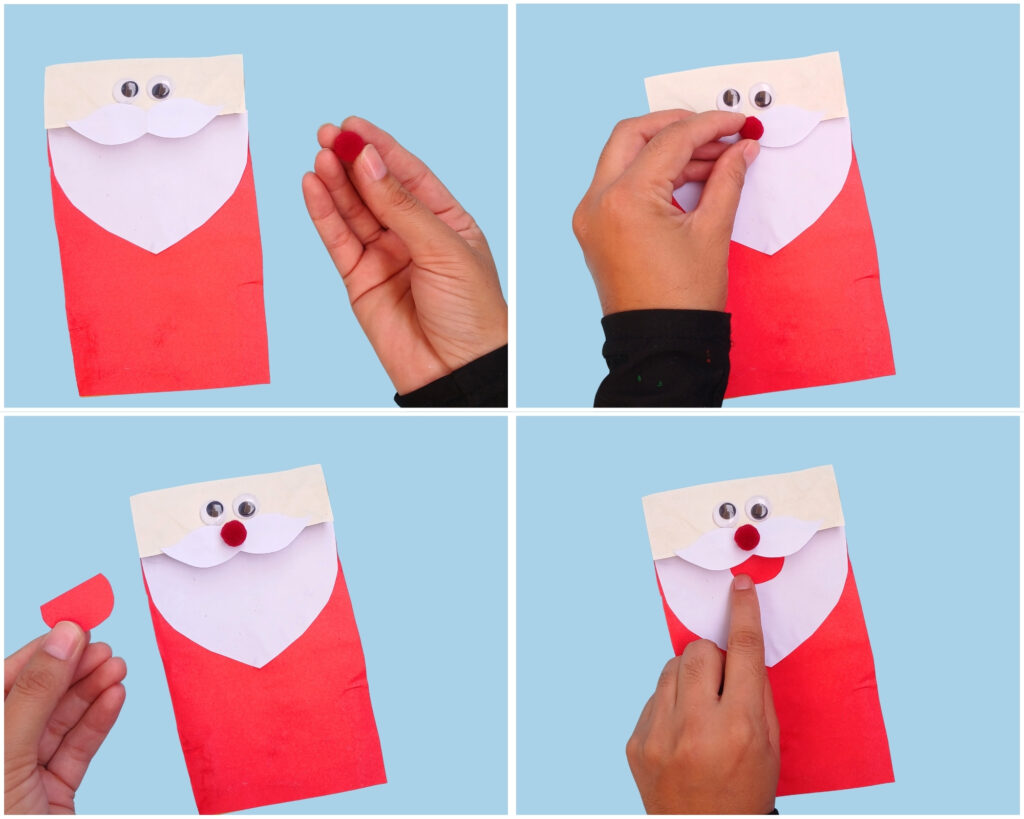
Santa needs a nose and a happy smile!
Cut out a small circle or oval from red or pink paper for Santa’s nose and glue it in the center of the mustache. Or, if you have pom-poms, you can use one for the nose.
Next, add the red mouth piece underneath the mustache.
Step 7: Make Santa’s hat
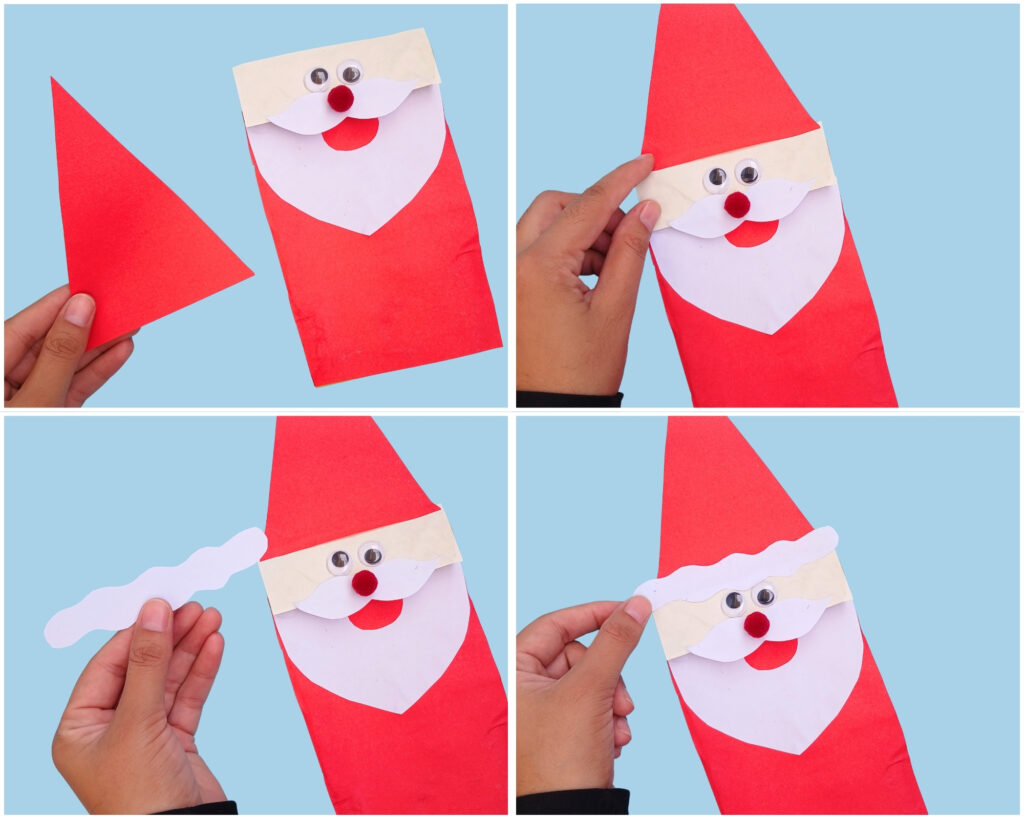
Take a sheet of red construction paper and cut out a large triangle for Santa’s hat.
Place the red hat over the top of the paper bag, making sure it sits neatly above Santa’s face.
Glue the hat securely in place.
Next, take a piece of white construction paper and draw a strip for the hat trim.
Cut out the white trim and glue it right below the red hat.
Step 8: Add the Pom-Pom
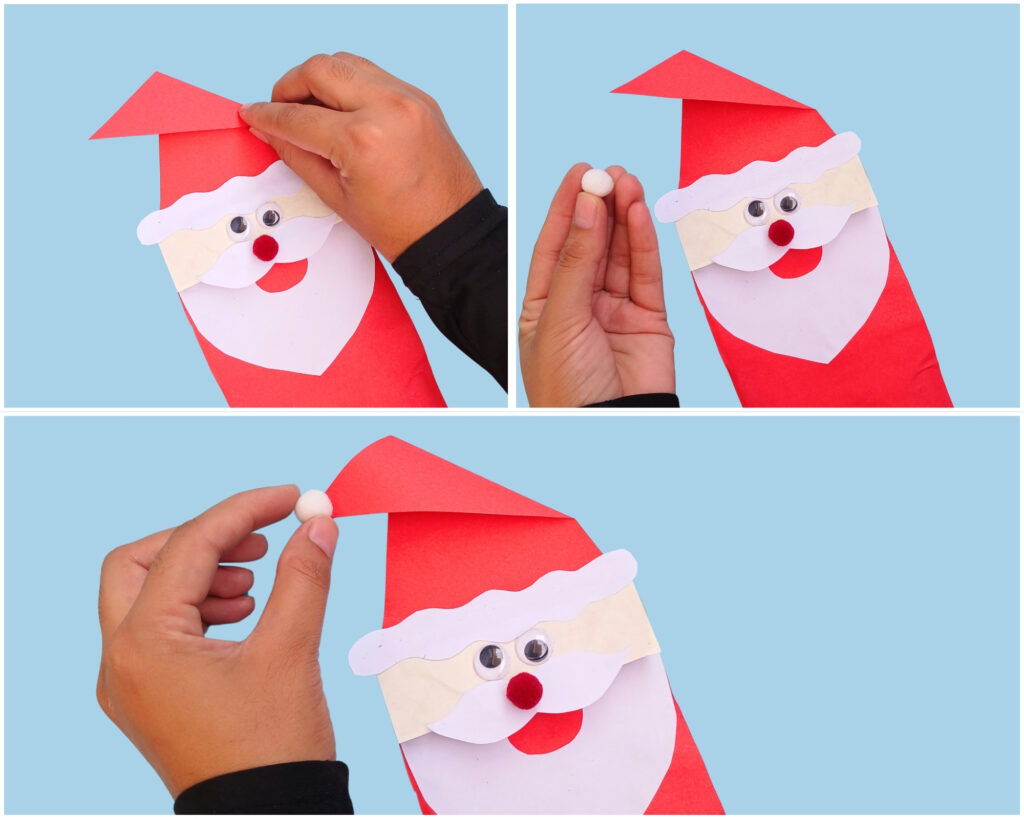
Santa’s hat needs its fluffy finishing touch!
Take a white pom-pom and glue it to the tip of the red hat.
You can slightly bend the hat to one side for a fun and playful Santa look.
Step 9: Add Santa’s buttons
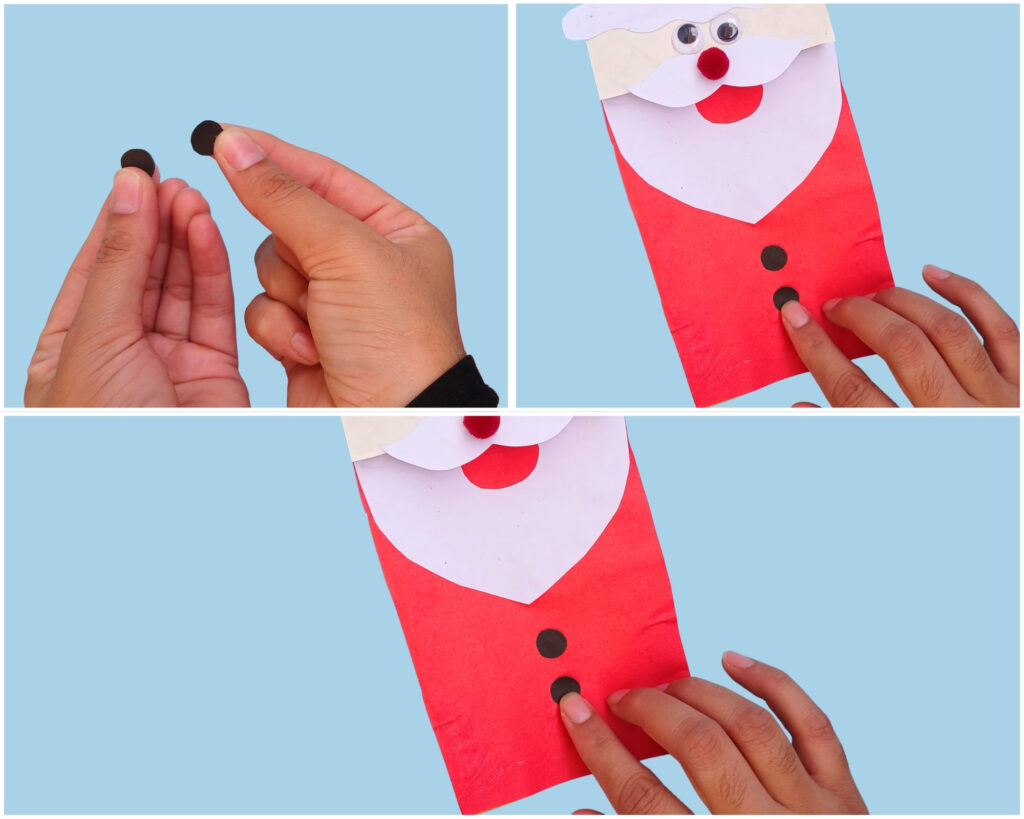
Finally, take some black construction paper and cut out two small circles for Santa’s buttons. You can use real buttons too.
Glue the buttons down the front of the red paper bag.
Once everything is securely attached, allow the glue to dry completely.
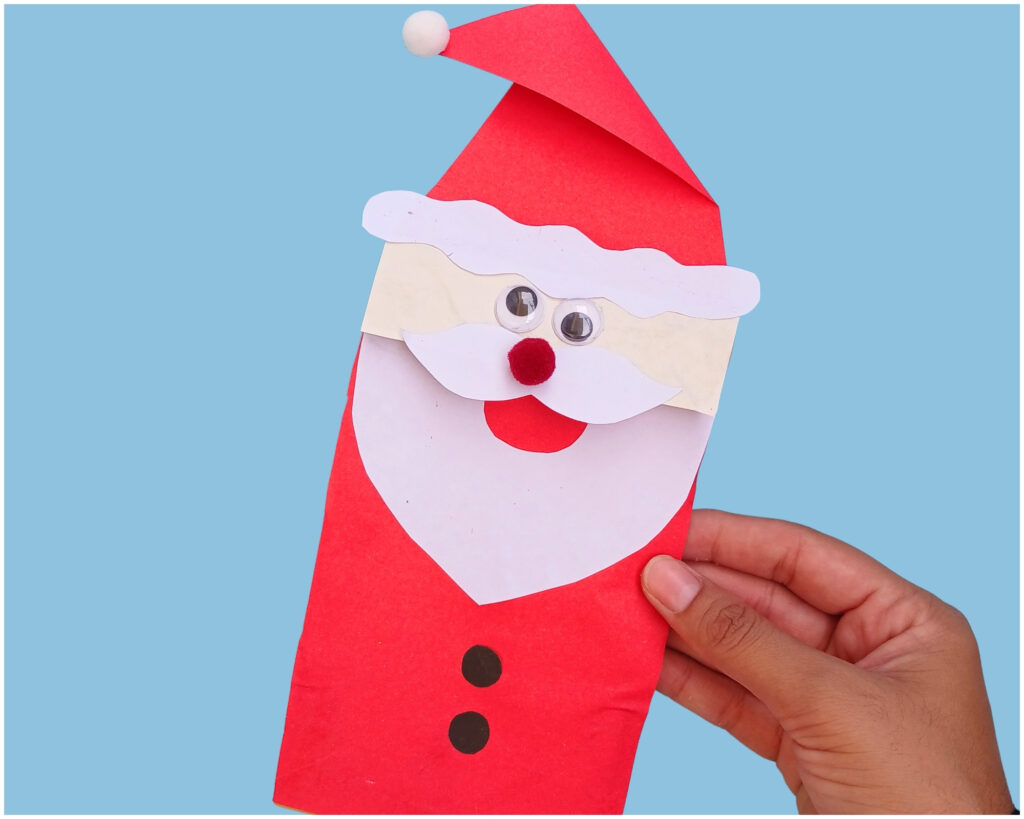
Your adorable Paper Bag Santa Claus is finished!
Ways to use this craft:
- Use the paper bag Santa craft as a festive Christmas activity for preschoolers, kindergarteners, and elementary-aged children.
- Include the craft in a Christmas lesson plan to help children practice cutting, gluing, coloring, and fine motor skills.
- Use the paper bag Santa as a prop for classroom performances, holiday skits, or Christmas sing-alongs.
- Display completed Santa crafts on bulletin boards, shelves, or classroom displays to add festive holiday cheer.
- Make the craft during a Christmas party as a hands-on activity that encourages creativity and imaginative play.
- Include the paper bag Santa craft in a homeschool Christmas unit study to combine art, storytelling, and holiday learning.
Final Words
And just like that, Santa has arrived – straight from the craft table!
This easy Paper Bag Santa Claus craft for kids is a fun way to get little hands busy during the Christmas season.
Be it a Christmas craft for preschoolers, a classroom Christmas activity, or an easy holiday craft to make at home, this little Santa is sure to bring some Christmas cheer.
More Christmas Crafts:
- Paper plate Santa Claus craft for kids (with free template)
- Paper jingle bell ornament craft for kids (step-by-step pictures)
- 45+ Easy Christmas crafts for kids of all ages
- Santa Claus ornament craft for kids
- Paper plate Christmas wreath craft for kids (with free template)
- Cute christmas tree craft using cardboard (with free template)
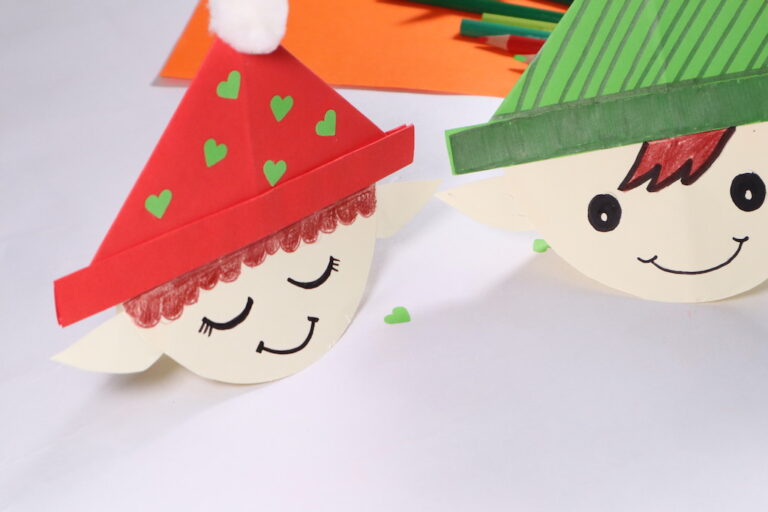
- Christmas Paper elf craft idea for kids
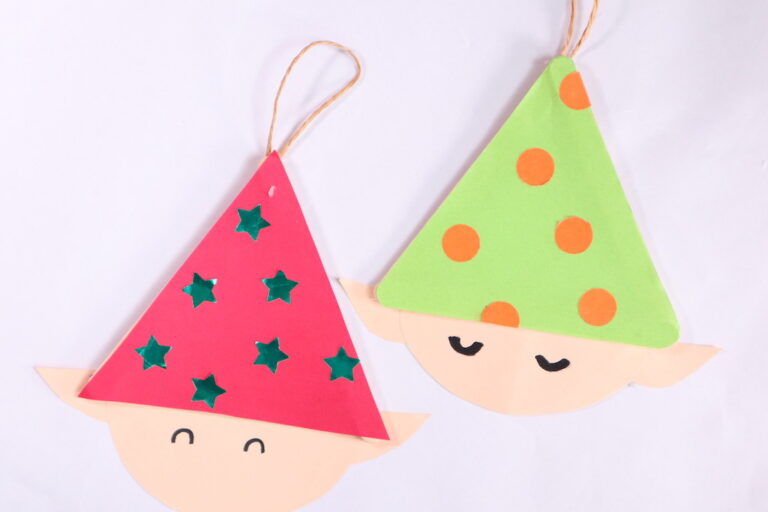
- DIY elf Christmas ornament
Explore more Winter Crafts here