Handprint Groundhog Craft
Easy Groundhog Day craft for kids
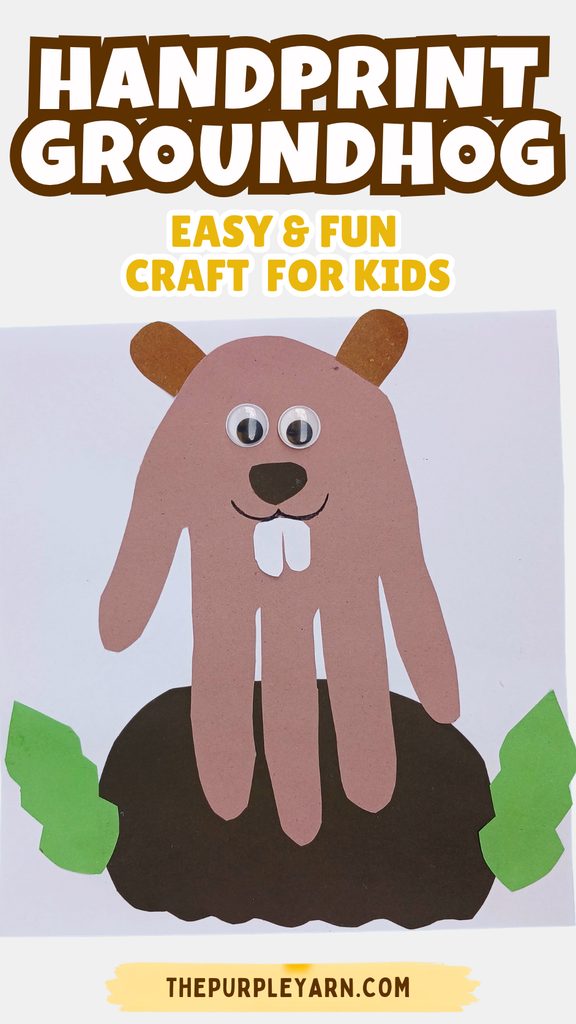
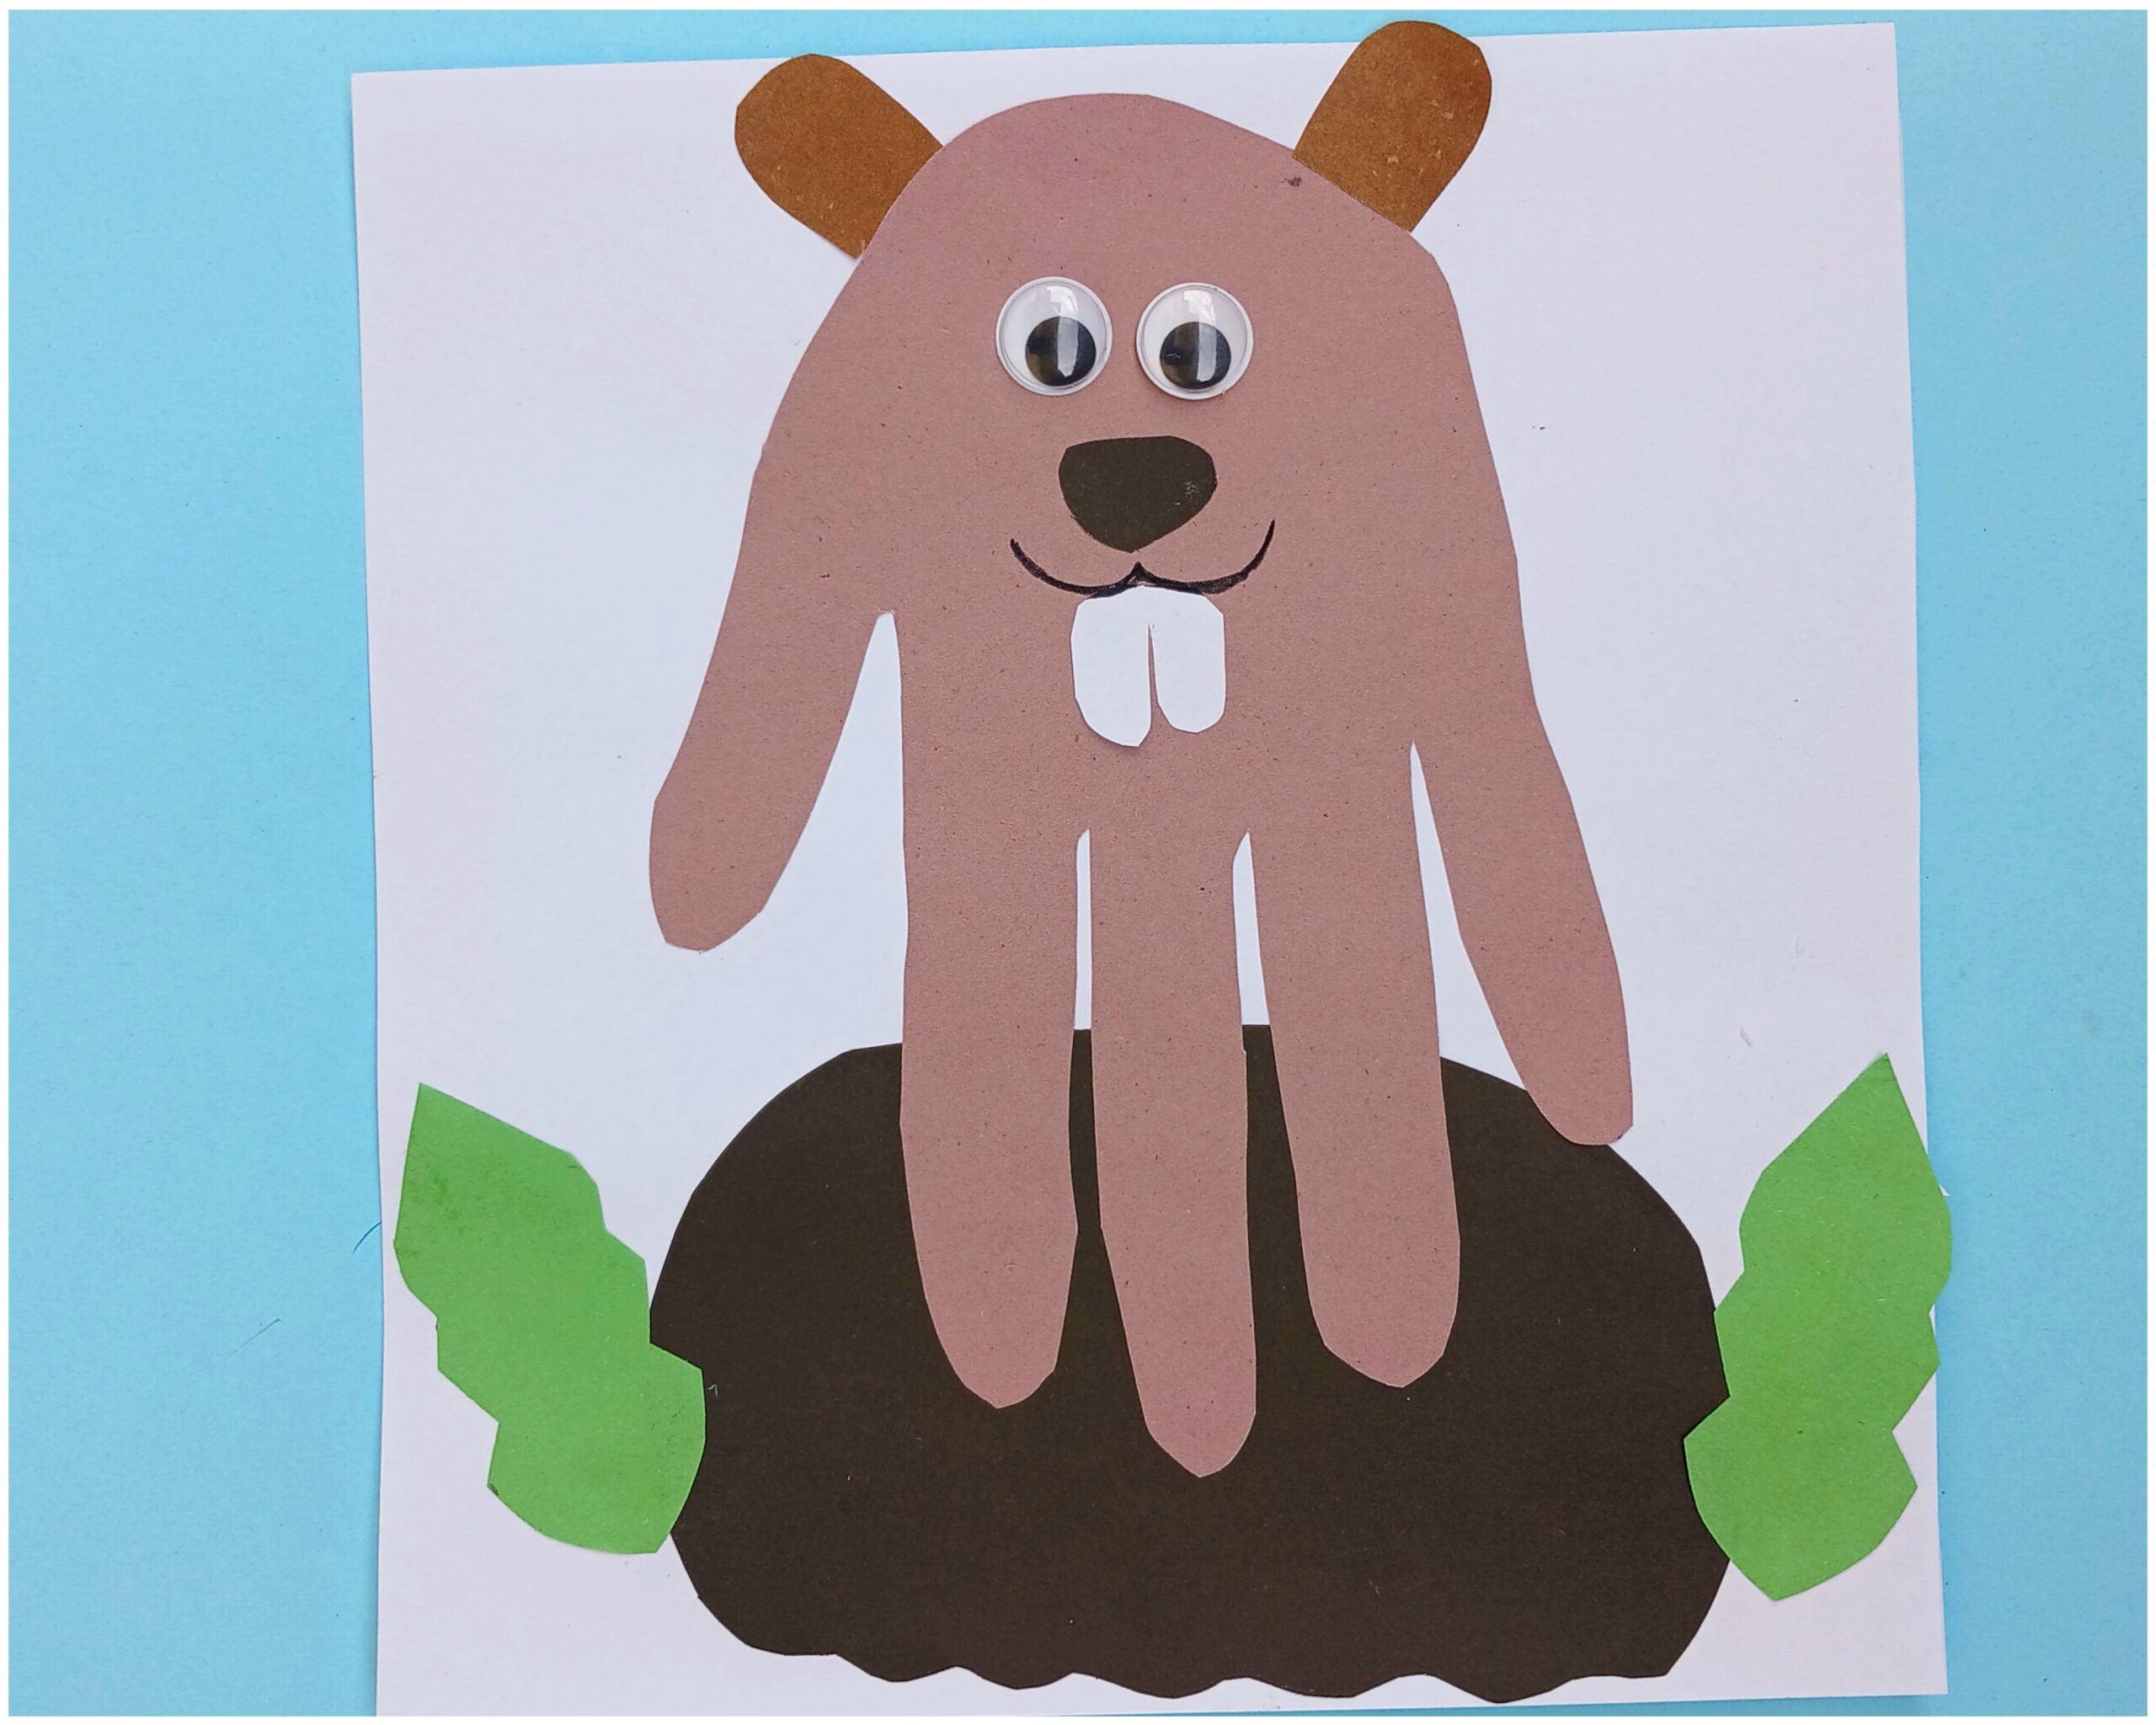
Who knew a little handprint could turn into such a cute groundhog?
Yep, your kiddo’s hand is about to become a groundhog.
We just need some construction paper, googly eyes, and a few basic supplies. Then we add little ears, two big front teeth (every groundhog needs those), and some leaves around the burrow.
It’s a fun one for Groundhog Day, a classroom craft, or any afternoon when the kids are bouncing off the walls. And unlike the real groundhog, this one won’t run off and hide when it sees its shadow.
So grab your supplies and let’s make a groundhog friend!
Before moving on to the craft, we would appreciate it very much if you would check out our YouTube channel and subscribe to it.
We upload new easy craft tutorials there that are different from what we publish on the blog. Thank you!
What you’ll need
- Light brown construction paper
- Dark brown construction paper
- Black construction paper
- White construction paper
- Green construction paper
- Googly eyes
- Black marker
- Pencil
- Ruler
- Scissors
- Glue
How to make a handprint groundhog
Step 1: Gather the materials
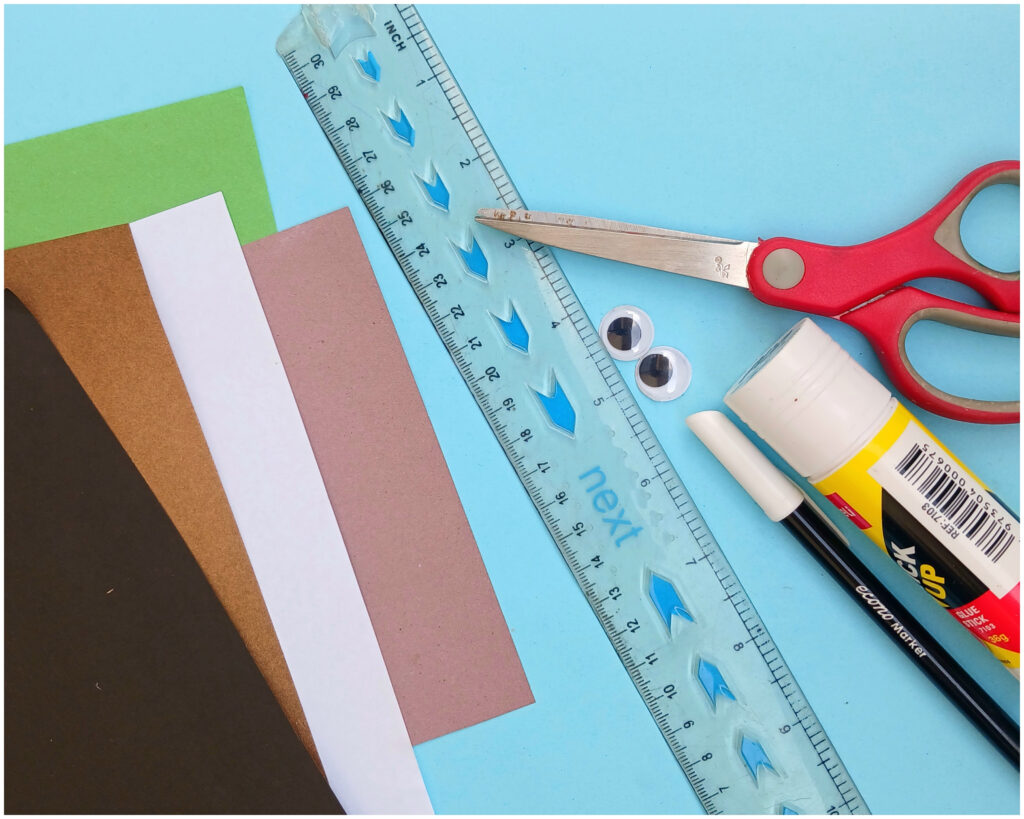
Start by gathering all the materials you will need to make your handprint groundhog.
You will need light brown, dark brown, white, and green construction paper, googly eyes, black marker, pencil, ruler, scissors, and glue.
Once everything is ready, you can begin making your little groundhog.
Step 2: Trace your child’s hand
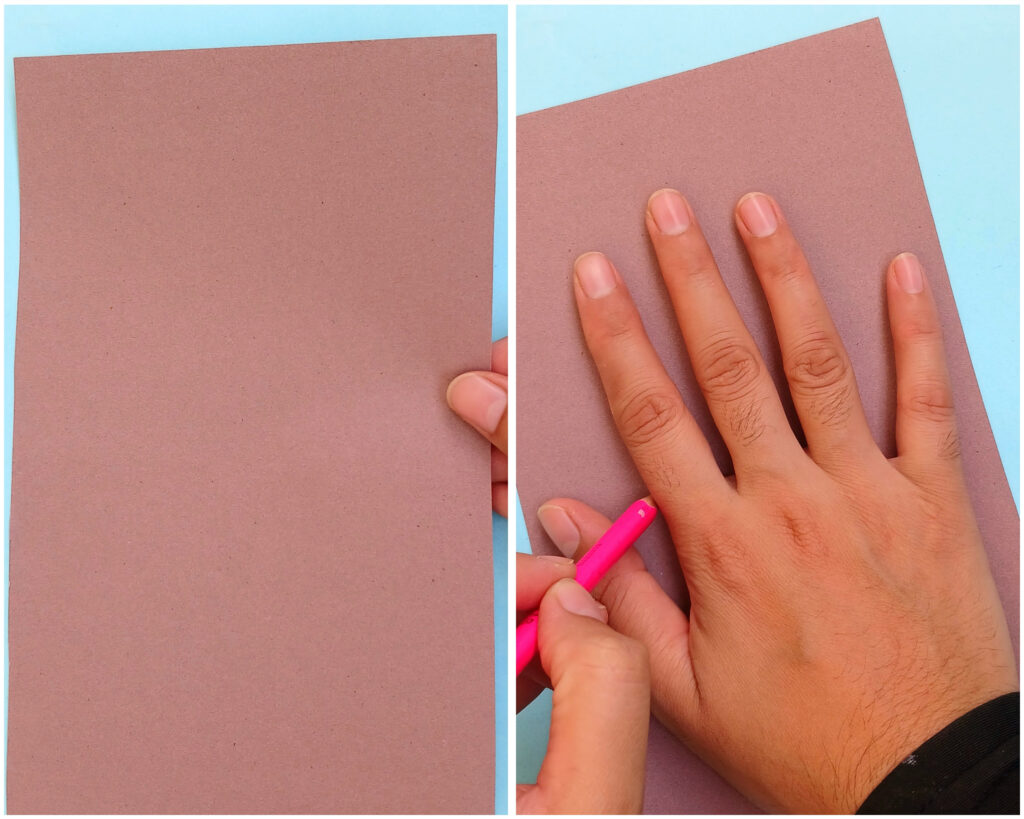
Take a sheet of light brown construction paper and place your child’s hand on it.
Using a pencil, carefully trace around your hand to create the shape of the groundhog. Make sure to trace all five fingers clearly.
Step 3: Cut out the handprint
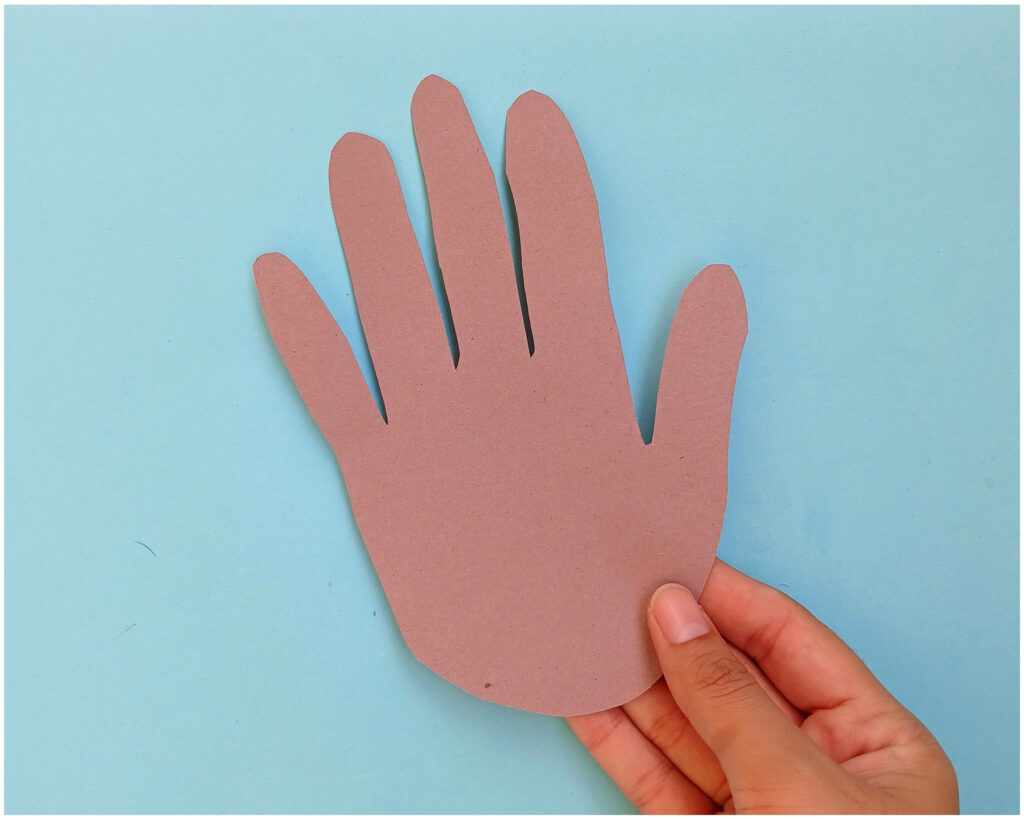
Carefully cut along the outline you have drawn to get your handprint shape.
This will be the main body and head of your groundhog. Keep it aside for the next steps.
Step 4: Prepare the burrow
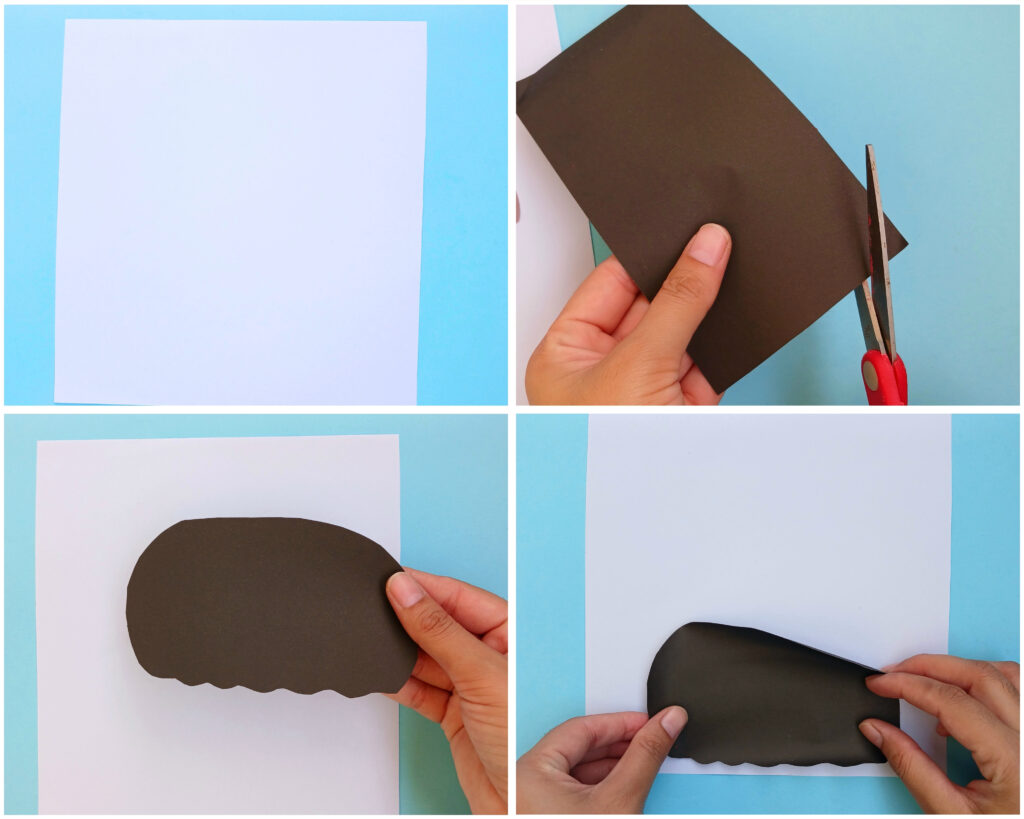
Take the black construction paper and draw a large oval shape with one wavy side. Carefully cut it out.
Glue this piece towards the bottom of a white construction paper to create the groundhog’s burrow.
Step 5: Add the groundhog’s face
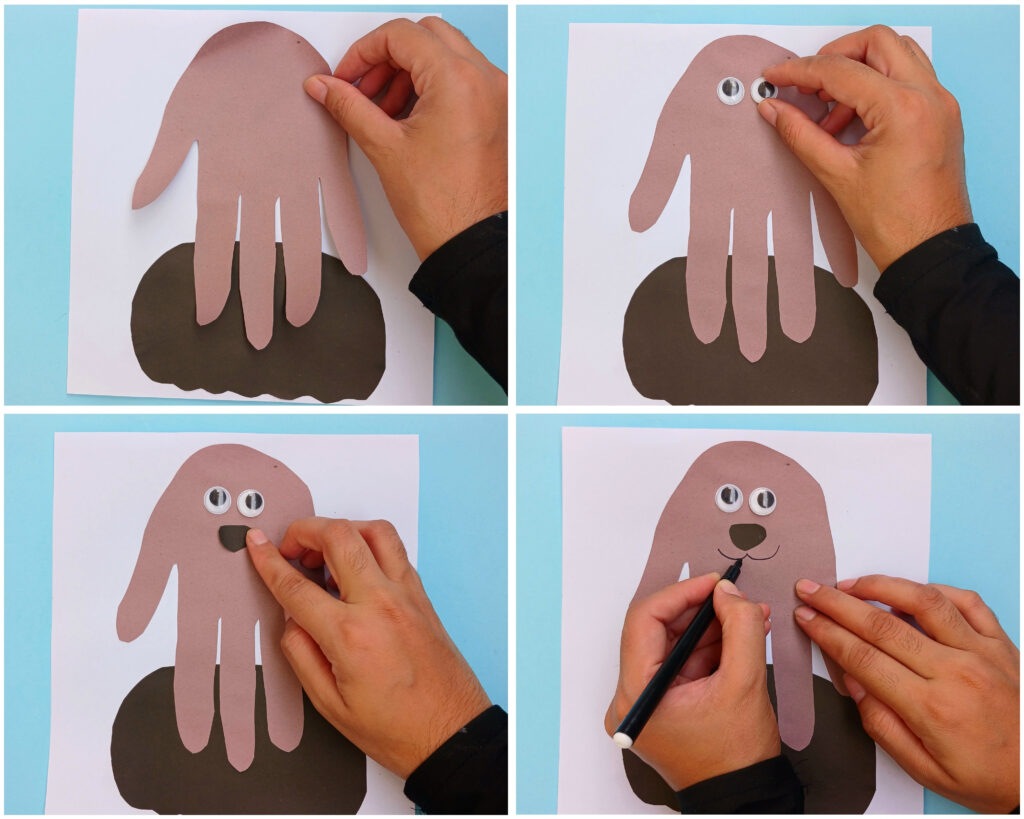
Place the light brown handprint over the dark brown burrow, with the palm facing upwards and the fingers pointing down. Glue it in place.
Stick two googly eyes near the top of the palm to make the groundhog’s eyes.
Next, cut out a small nose from black construction paper and glue it underneath the eyes. Use a black marker to draw the mouth.
Step 6: Add the teeth and ears
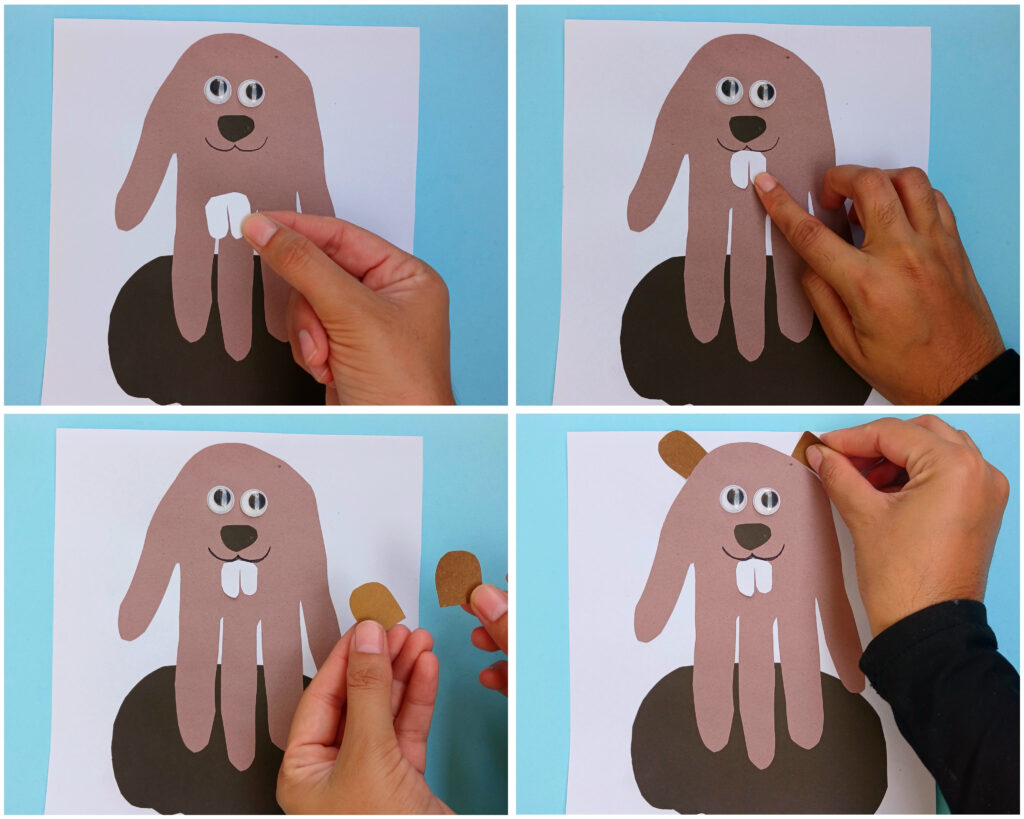
Cut out two small white rectangles with rounded edges and glue them underneath the mouth to create the groundhog’s front teeth.
Next, cut out two small rounded ear shapes from light brown construction paper. Glue one ear behind each side of the groundhog’s head, allowing the ears to peek out from the top.
Step 7: Add the green leaves
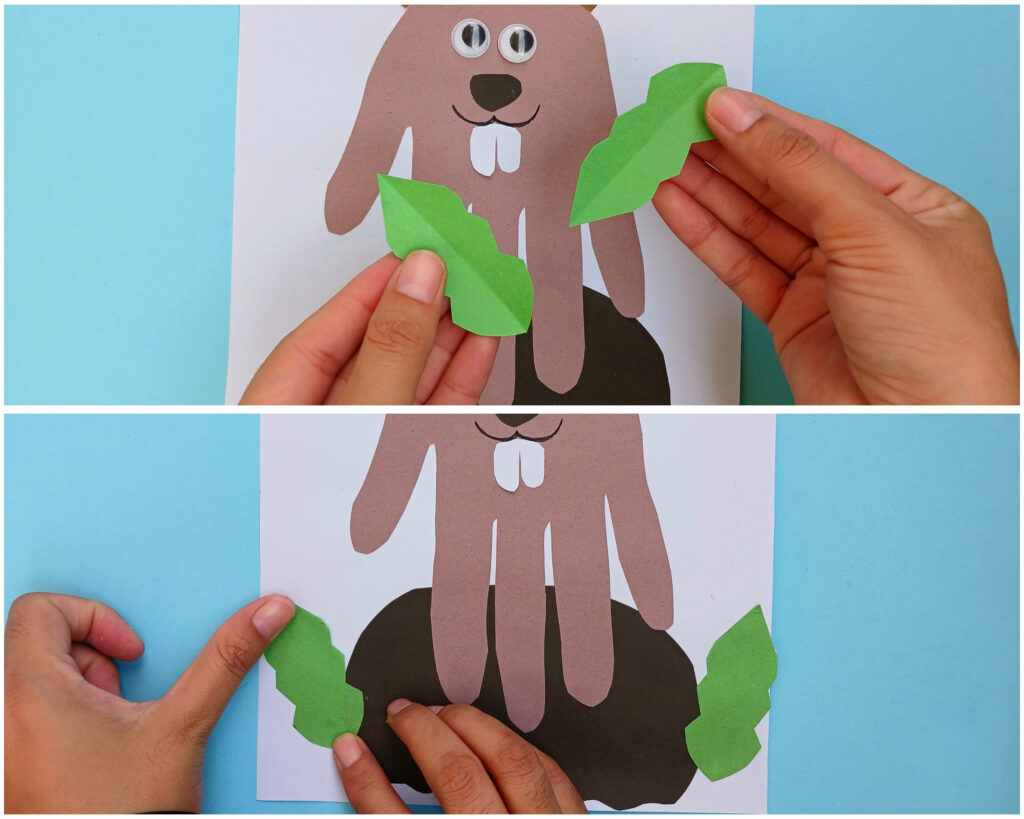
Take the green construction paper and cut out a few leaf shapes.
Glue the leaves on either side of the burrow to create a little grassy look around the groundhog.
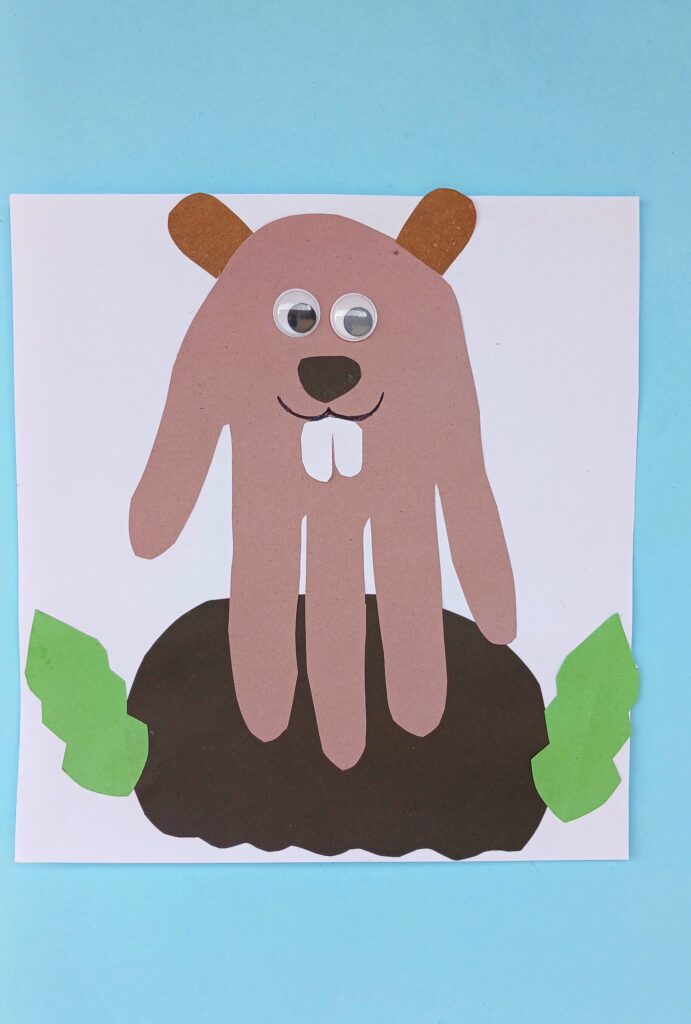
Your handprint groundhog is done!
Final words
And there you have it! A simple handprint has turned into a cute little groundhog hiding in its burrow.
This is such a fun craft to make with kids, especially around Groundhog Day. You can also keep the finished artwork as a sweet handprint keepsake or make more woodland animal crafts to create your own little animal collection.
Just have fun, get creative, and enjoy making your very own groundhog!
More Groundhog Day crafts:
- Paper Plate Groundhog Craft
- Groundhog Day Paper craft for Kids
- Paper cup Peeking Groundhog craft for preschoolers and Kindergarteners